Étape 1 sur 8
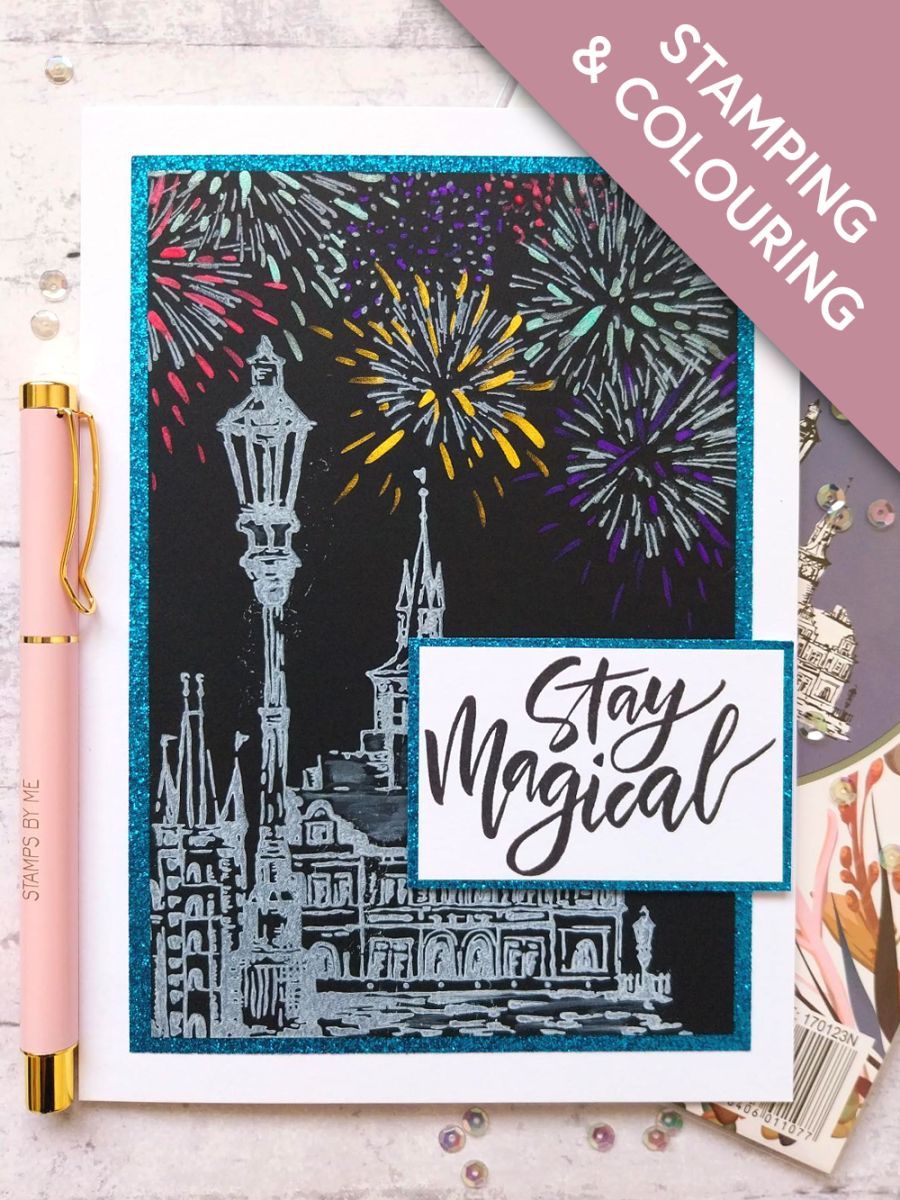
Ink up this beautiful stamp with the Cotton pigment ink and stamp just off the bottom left corner of the black card, cut to 6 1/2 x 4 1/2".
Pigment ink is slow drying and the ink will smudge, so blast it dry with your heat tool.








 Deal Huntersmar. 10 nov. 14 h 00
 Hidden Gemsmer. 11 nov. 10 h 00
 The Thursday Dropjeu. 12 nov. 18 h 00
Les prix sont mis à jour immédiatement. Chaque langue est notre propre traduction, pas Google.
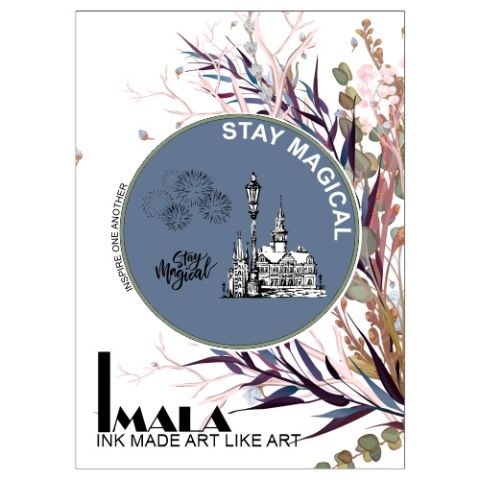 Imala - Stay Magical Stamp SetImala Stay Magical Stamp Collection17,99 £ACHETER✓ AJOUTÉ
Ink up this beautiful stamp with the Cotton pigment ink and stamp just off the bottom left corner of the black card, cut to 6 1/2 x 4 1/2".
Pigment ink is slow drying and the ink will smudge, so blast it dry with your heat tool.
Ink up the fabulous fireworks stamp with Cotton, stamp above your buildings then dry with your heat tool.
Spray a little water in each of the Confetti inks and using a paint brush, paint flecks of colour to the fireworks.
Pop a little of the Cotton ink on to your glass mat and add water. Using a paint brush, lightly watercolour areas of the stamped image, as required. I painted the roofs, tower and foreground, but the choice is yours.
Set to one side to dry thoroughly, or blast with heat tool if you're impatient like me!!
Ink the sentiment stamp with Midnight, stamp on to white card and trim to size.
Adhere on to a piece of the teal glitter card and trim to size.
Adhere your artwork on to the teal glitter card, cut to 6 3/4 x 4 3/4".
Adhere this on to your white card blank.
Finally, adhere your sentiment with foam pads, to the right of your card.
Partagez votre création avec la communauté Stamps By Me - et gardez ce tutoriel pour la prochaine fois.
Vous préférez l’ancienne présentation ? Ouvrir l’ancienne page.



