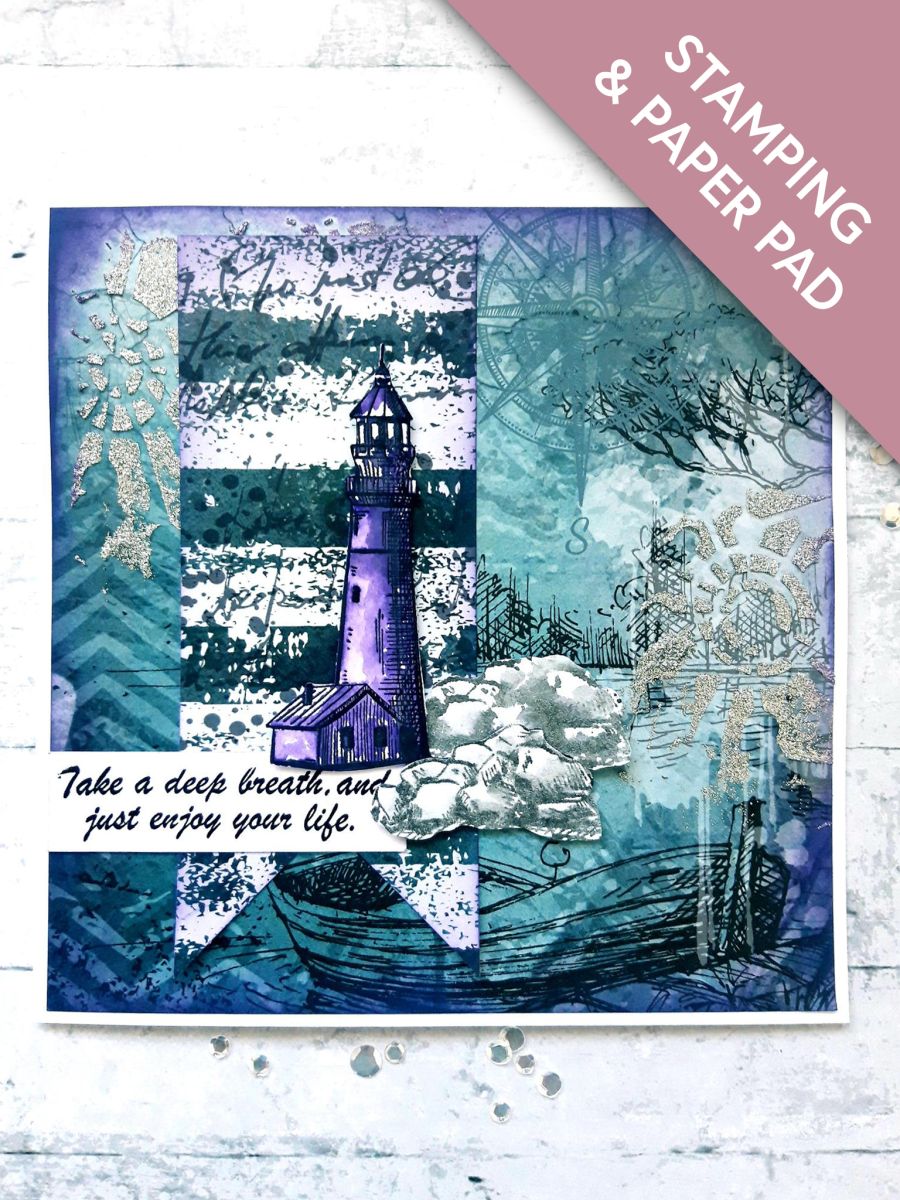
Tampons de la collection Soulful Pencil Sketch Stamp Collection
Tampons de la collection Soulful Pencil Sketch Elements Stamp Collection
Pinceau
Pastilles mousse 3D
Colle Perfect Together Glue
Massicot
Cochez ce que vous avez - cet appareil s’en souvient.
Étape par étape
touchez une image pour l’agrandir · touchez TERMINÉ au fur et à mesure - cet appareil s’en souvient
Étape 1 sur 13
Choose a sheet of paper from the Imala Nautical Paper Pad, and cut to 6 1\2 x 6 1/2".
Lay the Abstract Mask off the right hand edge, and blend the Izink Glitter Paint randomly through it, with a palette knife.
Lay the mask off the top left corner and blend the Glitter Paint through it.
Put to one side and allow the paint to dry thoroughly. If impatient like me, you can dry it with a heat gun!
Étape 2 sur 13
Tear out another sheet of coordinating paper, from the Nautical Paper Pad, and cut to 6 x 2 1/2".
Use the Banner Punch to create a tag at one end.
Étape 3 sur 13
Ink around the edges of your stencilled paper, and tag, with the Villainous Potion Distress Oxide.
Étape 4 sur 13
Mat the stencilled paper on to the front of your card blank.
Étape 5 sur 13
Adhere the tag to the left side of the stencilled paper, applying glue to the top half of the tag only, allowing it to hang loosely.
Set your card to one side.
Étape 6 sur 13
Ink up the solid Lighthouse stamp, from the Soulful Pencil Sketch Lamination Collection, in the Villainous Potion Distress Oxide.
Spritz with water and stamp on to one side of the white cardstock (you will be stamping other images, and the sentiment, on to the remaining cardstock).
Use a paintbrush to pull out the wet ink, to colour in your image, as desired.
You can spray the stamped image if you want a looser watercolour effect, or apply more ink and stamp again, if you want a deeper effect.
Dry the stamped image thoroughly.
Étape 7 sur 13
Ink up the detailed, outline Lighthouse stamp, in the Onyx Black Versafine.
Line up and stamp in place over your solid stamped image.
Étape 8 sur 13
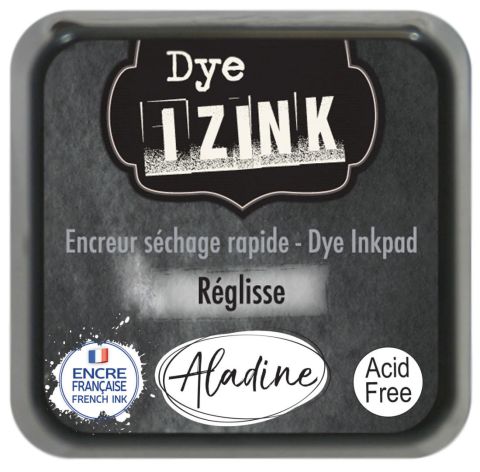
Ink up the rocks stamp, from the Soulful Sketch Elements Lamination Stamp Collection, in the Izink Reglisse ink.
Spritz with water and stamp on the remaining white cardstock.
Repeat a second time.
Dry thoroughly.
Étape 9 sur 13
Cut out the Lighthouse and rocks. Set remaining white cardstock to one side.
Étape 10 sur 13
Adhere the Lighthouse on to the inked tag, on your card blank, using foam pads, or 3D glue gel.
Étape 11 sur 13
Glue one of the cut out rocks, so its tucked just behind the right hand side of the Lighthouse.
Glue the remaining stamped rocks in front of the other, slightly to the left, with foam pads to add dimension.
Étape 12 sur 13
Ink up the sentiment stamp, from the Celebrate And Create Lamination Stamp Collection, in the Onyx Black Versafine ink.
Stamp on the remaining white cardstock, and cut to size.
Ink around the edges of the card with the Villainous Potion ink pad.
Étape 13 sur 13
Glue the sentiment, with wet glue, so it sits flush with the left hand side of the inked paper, and tucked just under the bottom of the Lighthouse and the rocks.
Bravo, c’est fait !
Partagez votre création avec la communauté Stamps By Me - et gardez ce tutoriel pour la prochaine fois.
Demandez à Toni L'assistante créative IA de ToniTAILLE
Bonjour ! Je suis l'assistante créative IA de Toni : je connais les projets des émissions de Toni, nos tutoriels et tout ce qui se trouve dans la boutique. Posez-moi toutes vos questions, par exemple « Quelles matrices de découpe vont avec ce set de tampons ? » ou « De quoi ai-je besoin pour débuter le mélange d'encres ? »
Un assistant IA (et non Toni en personne), qui répond à partir des émissions de Toni et de notre boutique – merci de vérifier la fiche produit avant d'acheter.