Cochez ce que vous avez - cet appareil s’en souvient.
Étape par étape
touchez une image pour l’agrandir · touchez TERMINÉ au fur et à mesure - cet appareil s’en souvient
Étape 1 sur 8
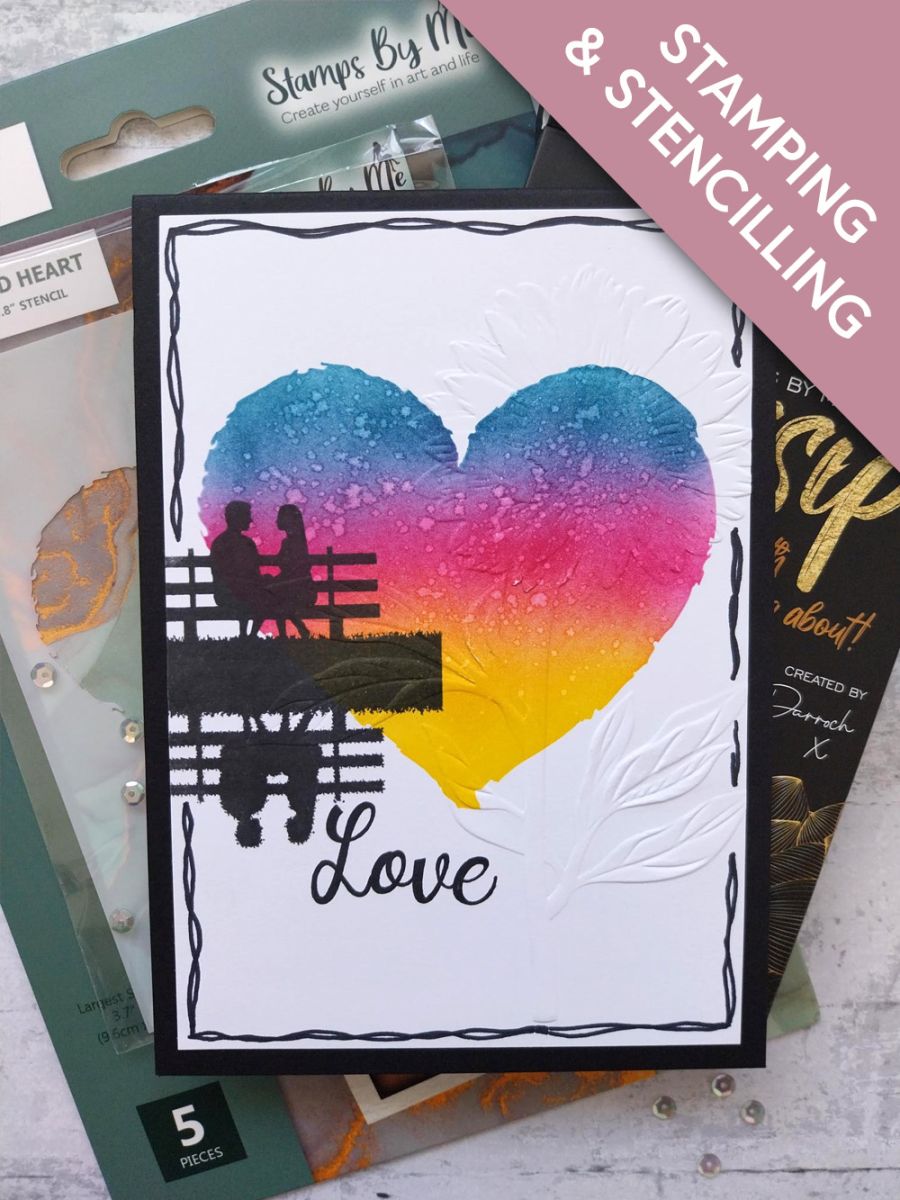
Secure the Stylized heart stencil on top of the white card, centrally but slightly towards the top.
Use your blending tools to apply Sherbet ink across the bottom third of the heart stencil, then Magenta and finally Tiffany at the top.
Étape 2 sur 8
Swirl the Gossip Gold iridescent glitter pen, to activate the glitter, then squeeze some on to your glass mat. Use a paint brush to add splats within your heart stencil.
Étape 3 sur 8
Carefully remove your stencil, before drying your artwork with your heat tool.
Étape 4 sur 8
Ink up our beautiful couple with the Midnight hybrid ink and stamp just off the left side of the card, as seen here.
Étape 5 sur 8
Once your artwork is dry, place inside your Quattro D Sunflower embossing folder, so it captures the Sunflower down the right side of your artwork. Run through your embossing machine.
Tip: Hang the edge of the folder, where it sits directly down the card, over the edge of the embossing plates. This will prevent a line being imprinted down your card.
Étape 6 sur 8
Ink up "Love", from Better Together, with the Midnight and stamp just below your stamped image.
Étape 7 sur 8
Use a black pen to draw a decorative, wiggly frame around your artwork.
Étape 8 sur 8
Finally, adhere on to your black card blank.
Bravo, c’est fait !
Partagez votre création avec la communauté Stamps By Me - et gardez ce tutoriel pour la prochaine fois.
Demandez à Toni L'assistante créative IA de ToniTAILLE
Bonjour ! Je suis l'assistante créative IA de Toni : je connais les projets des émissions de Toni, nos tutoriels et tout ce qui se trouve dans la boutique. Posez-moi toutes vos questions, par exemple « Quelles matrices de découpe vont avec ce set de tampons ? » ou « De quoi ai-je besoin pour débuter le mélange d'encres ? »
Un assistant IA (et non Toni en personne), qui répond à partir des émissions de Toni et de notre boutique – merci de vérifier la fiche produit avant d'acheter.