Étape 1 sur 11
Shake the Pixie Powder on to the white card, then spray with water and watch the magic happen! You can add more powder and/or water, until you are happy with your background.
Use your heat tool to dry it.








 Deal Huntersmar. 10 nov. 14 h 00
 Hidden Gemsmer. 11 nov. 10 h 00
 The Thursday Dropjeu. 12 nov. 18 h 00
Les prix sont mis à jour immédiatement. Chaque langue est notre propre traduction, pas Google.
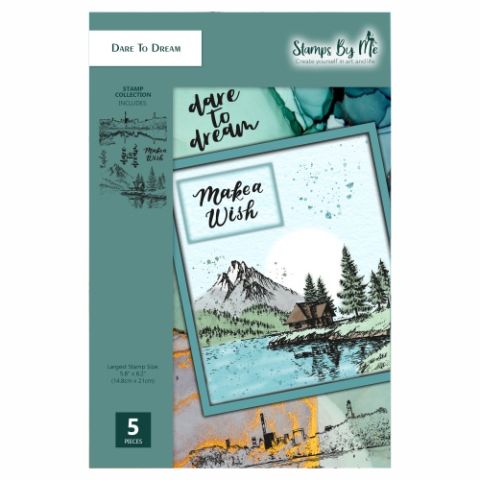 Stamps By Me - A5 Reflection Stamp Set - Dare To DreamCollection de tampons Dare To Dream18,99 £ACHETER✓ AJOUTÉ
 Outil d'estompage rectangulaire (Blending Tool)Outil de mélange (blending tool)
Shake the Pixie Powder on to the white card, then spray with water and watch the magic happen! You can add more powder and/or water, until you are happy with your background.
Use your heat tool to dry it.
Shake your blue Gossip iridescent pen, to activate the glitter before squeezing some on to your glass mat. Use a paint brush to splatter the glitter over your background, before drying it with your heat tool.
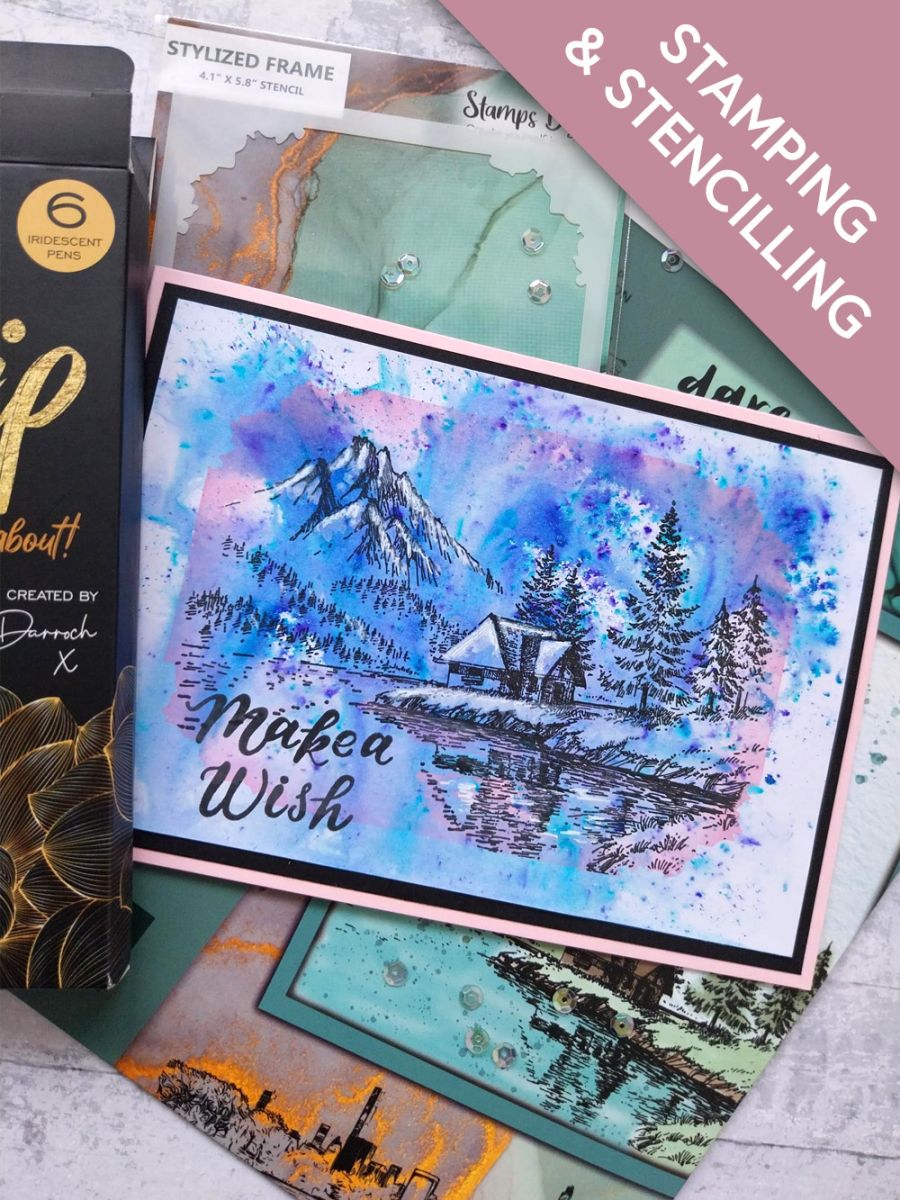
Lay your background in landscape view, place the Stylized Frame stencil on top and secure with low tack tape.
Using a blending tool, apply the Kitsch Flamingo around the inner edges of the stencil
Keeping the stencil in place, ink the beautiful stamp from Dare To Dream, with the Midnight hybrid ink and stamp within your frame stencil.
Carefully remove the stencil and dry your artwork with your heat tool.
Pop some of the Kitsch Flamingo on to your glass mat, add water and paint within the reflection of the cabin, as though the sunset is reflecting in the water.
Shake the blue Gossip pen again, then add sparkle to the reflective water.
Apply the Cotton pigment ink to your glass mat, add water and paint accents and highlights as required. I added them to the tops of the mountains, on the roof of the cabin, on the water banks and a few in the reflections in the water.
Dry your artwork with your heat tool, as pigment ink is slow drying and it will smudge!!
Ink up "Make A Wish" with the Midnight and stamp in the bottom left corner of your artwork.
To finish, adhere your artwork on to the black card and then on to your pink, landscape card blank.
Partagez votre création avec la communauté Stamps By Me - et gardez ce tutoriel pour la prochaine fois.
Vous préférez l’ancienne présentation ? Ouvrir l’ancienne page.



