Étape 1 sur 12
Ink up our cute Gnomes stamp with the Midnight hybrid ink and stamp on to a piece of white card.








 Deal Huntersmar. 10 nov. 14 h 00
 Hidden Gemsmer. 11 nov. 10 h 00
 The Thursday Dropjeu. 12 nov. 18 h 00
Les prix sont mis à jour immédiatement. Chaque langue est notre propre traduction, pas Google.
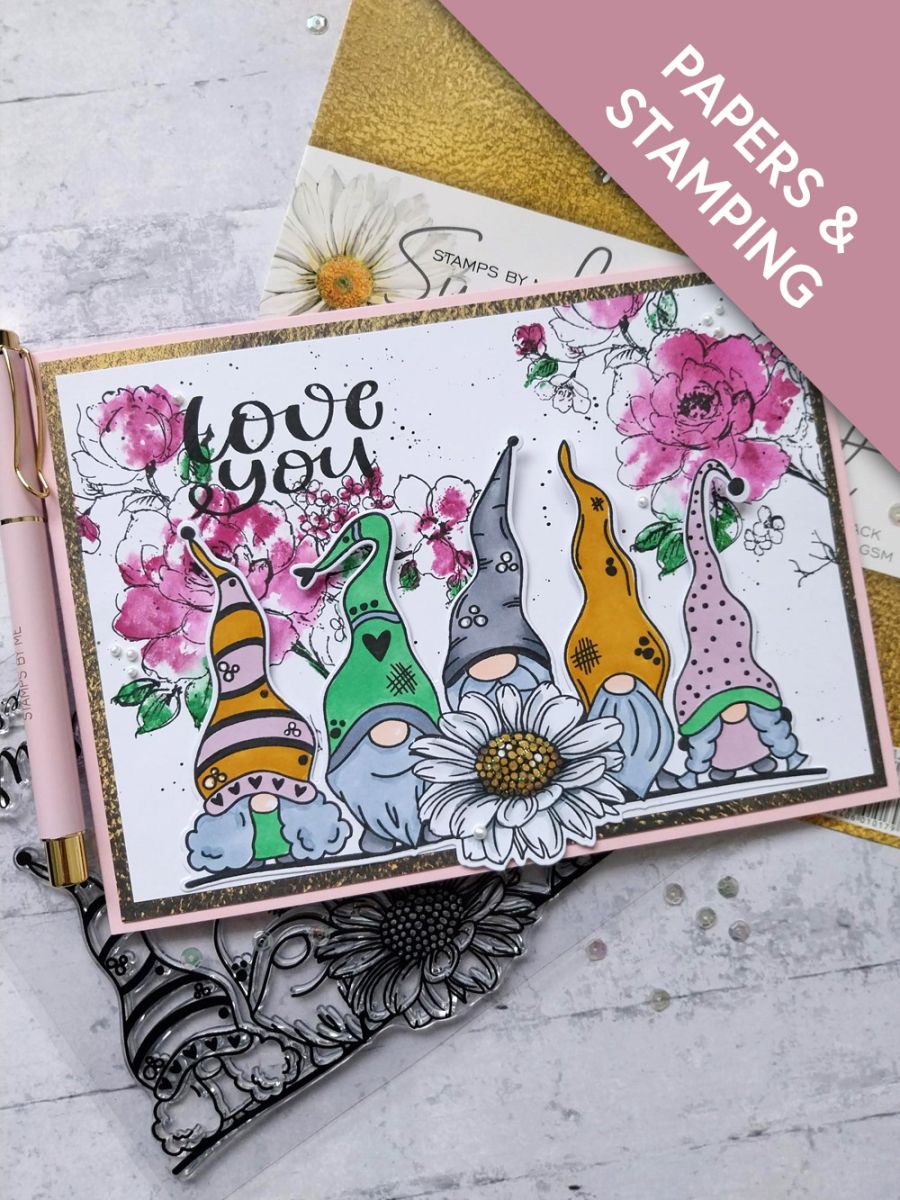
Ink up our cute Gnomes stamp with the Midnight hybrid ink and stamp on to a piece of white card.
Line up the coordinating die over your stamped image and run through your die cutting machine.
Use your alcohol pens to colour in these gorgeous characters.
Tip: When using alcohol pens, place a sheet of copy paper underneath. This protects your work surface from being damaged by the alcohol ink, that will bleed through cardstock.
Place the white card, cut to 7 1/2 x 5 1/4", in landscape view, inside your Eureka 101.
Ink up the solid stamp, from the Be Happy Lamination Collection, with Fandango ink on the floral elements and Hedgerow on the foliage. Spritz the inked stamp lightly with water, then stamp to the left of your card.
Re-ink and stamp again, but this time coming across the top right corner of the card.
Ink up the coordinating detailed stamp with the Midnight Hybrid ink and stamp over your first image. Re-ink and stamp over the second.
If you are unsure how these stamps line up, please refer to the packaging which has images to assist you. However, our lamination stamps are designed to give a loose, watercolour effect and do not line up perfectly.
Pop a little of the Midnight on to your glass mat. Add a touch of water, then use a paint brush to splatter the ink over your artwork. I like lots of splats but the choice is yours!
Choose a sheet of decorative paper, from the Sunshine In My Pocket Textured Paper Pack and trim to 7 3/4 x 5 1/2".
Adhere your stamped, lamination background on to the decorative paper.
Adhere this to the front of your pink, landscape card blank.
Ink up the "Love You" sentiment stamp, from Sunshine Gnomes, with the Midnight and stamp through the top left floral image.
Use foam pads to adhere your die cut Gnomes on to your background.
Use your Stickles to add a touch of sparkle, to the centre of the coloured Daisy.
To finish, add Liquid Pearl Drops to your artwork, as required.
Partagez votre création avec la communauté Stamps By Me - et gardez ce tutoriel pour la prochaine fois.
Vous préférez l’ancienne présentation ? Ouvrir l’ancienne page.



