Étape 1 sur 11
Using a large paint brush, wet a panel down the middle of the white card. Don't be too precious about it as you want to create an arty look!








 Deal Huntersmar. 10 nov. 14 h 00
 Hidden Gemsmer. 11 nov. 10 h 00
 The Thursday Dropjeu. 12 nov. 18 h 00
Les prix sont mis à jour immédiatement. Chaque langue est notre propre traduction, pas Google.
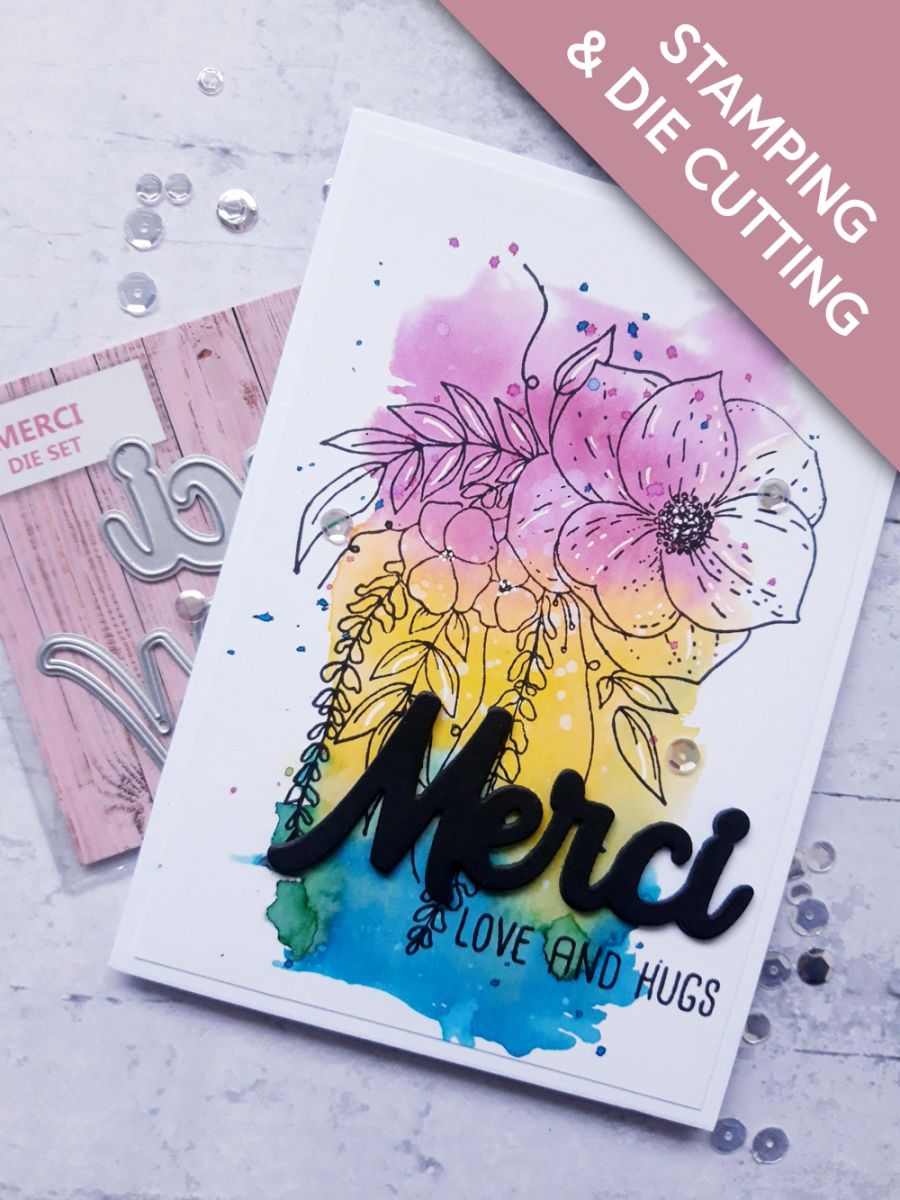
Using a large paint brush, wet a panel down the middle of the white card. Don't be too precious about it as you want to create an arty look!
Apply the Premium inks to your glass mat, then drop the colours in to the wet panel, allowing the inks to move and blend. Mop up the excess water/ink, with a paper towel, then when you're happy, blast it with your heat tool. You can add your colour in stripes, as I have done or you can create a completely abstract inky panel. The choice is yours.
Splatter your artwork with water and mop up the excess water with a paper towel, then finish splattering with the inks, before blasting it dry.
Ink up this beautiful floral stamp, from the Just For You Stamp and Die Collection, with the Midnight hybrid ink and stamp on to your inky panel. Set to one side to dry.
Use the Merci die to cut out FOUR word elements, from the black card.
Adhere one on top of the other, to create a more substantial, 3D word element. You can, of course, do more than four die cuts, making it as thick as you want.
Ink up the Love and Hugs stamp, from the Just For You set, with Midnight. Then using your 3D die cut element as a guide, stamp it so when adhered, it will sit below the die cut.
Adhere your 3D Merci element in place.
Adhere your artwork on to the front of your white card blank.
Add sequins to your artwork, as required.
Finish off by adding accents and highlights, with a white gel pen.
Partagez votre création avec la communauté Stamps By Me - et gardez ce tutoriel pour la prochaine fois.
Vous préférez l’ancienne présentation ? Ouvrir l’ancienne page.



