Cochez ce que vous avez - cet appareil s’en souvient.
Étape par étape
touchez une image pour l’agrandir · touchez TERMINÉ au fur et à mesure - cet appareil s’en souvient
Étape 1 sur 8
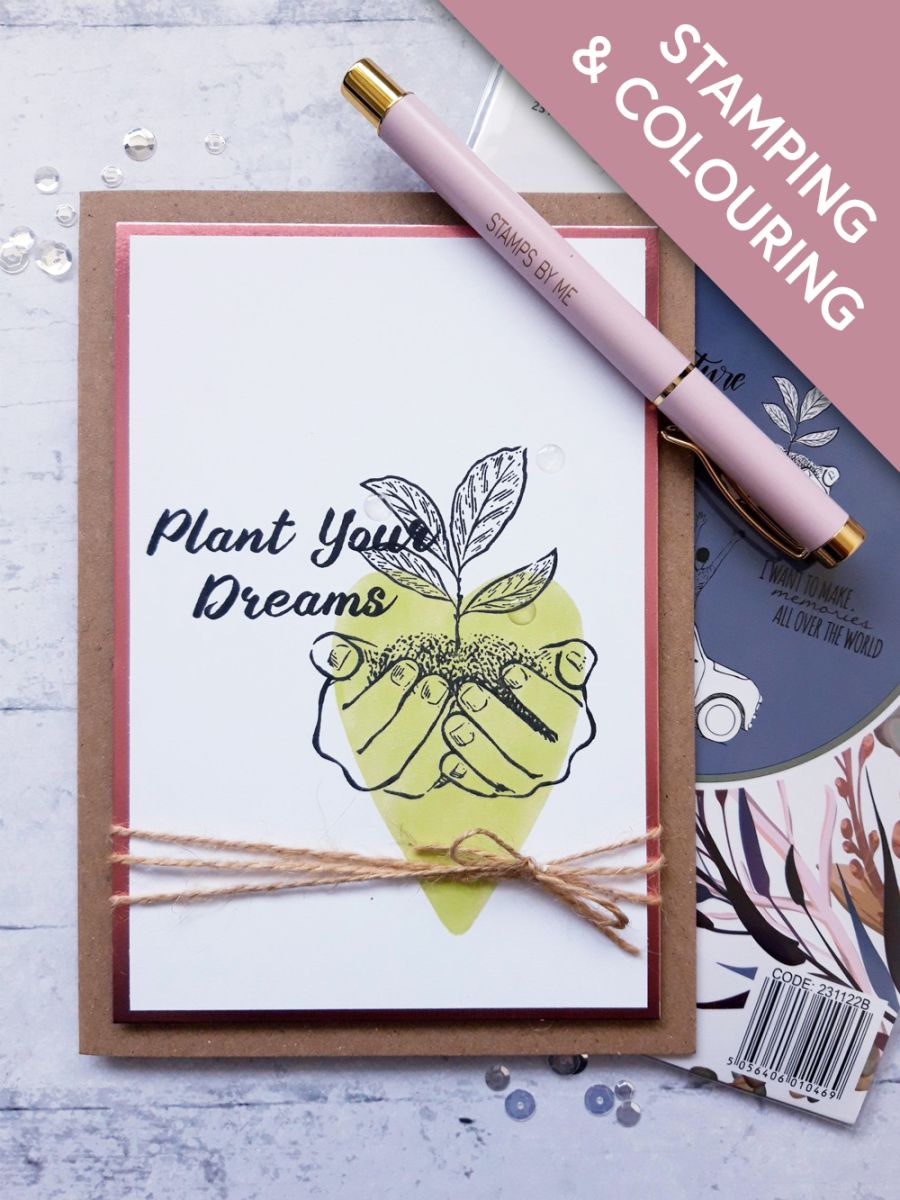
You need to create a heart aperture stencil, out of the copy paper, that will fit in the lower right corner of your card, as seen in the finished design.
You can either use a nesting heart die or, like me, you can go for a more "organic" look and draw your own heart freehand, then cut it out!! Go on...be brave.
Étape 2 sur 8
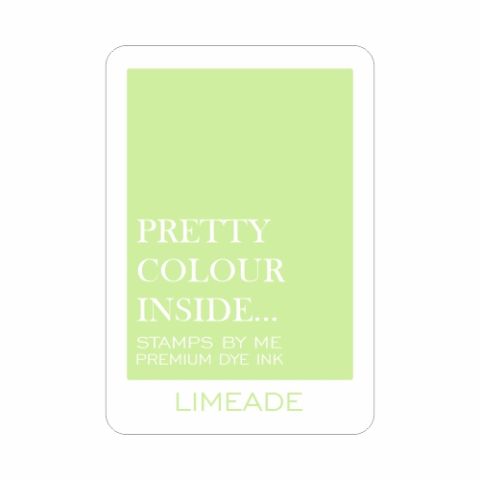
Postion your heart stencil towards the lower right corner of the white card, cut to 6 1/4 x 4 1/4" and using your blending tool, apply the Limeade ink within.
Étape 3 sur 8
Ink up this very beautiful stamp, from the Imala Adventure set, with the Midnight hybrid ink and stamp on to your inked heart. I wanted the plant stem to grow up through the centre of the heart, but you can stamp yours wherever you want.
Étape 4 sur 8
Ink up the sentiment stamp with Midnight and stamp to the left of your image, but so they are connected, rather than having a floating sentiment.
Étape 5 sur 8
Adhere your artwork on to the Blush mirri card.
Étape 6 sur 8
Wrap some twine around your card three times, then tie in a bow and trim off any excess.
Étape 7 sur 8
Adhere on to your kraft card blank with foam pads.
Étape 8 sur 8
To finish, add clear adhesive water drops to your artwork.
Bravo, c’est fait !
Partagez votre création avec la communauté Stamps By Me - et gardez ce tutoriel pour la prochaine fois.
Demandez à Toni L'assistante créative IA de ToniTAILLE
Bonjour ! Je suis l'assistante créative IA de Toni : je connais les projets des émissions de Toni, nos tutoriels et tout ce qui se trouve dans la boutique. Posez-moi toutes vos questions, par exemple « Quelles matrices de découpe vont avec ce set de tampons ? » ou « De quoi ai-je besoin pour débuter le mélange d'encres ? »
Un assistant IA (et non Toni en personne), qui répond à partir des émissions de Toni et de notre boutique – merci de vérifier la fiche produit avant d'acheter.