Cochez ce que vous avez - cet appareil s’en souvient.
Étape par étape
touchez une image pour l’agrandir · touchez TERMINÉ au fur et à mesure - cet appareil s’en souvient
Étape 1 sur 6
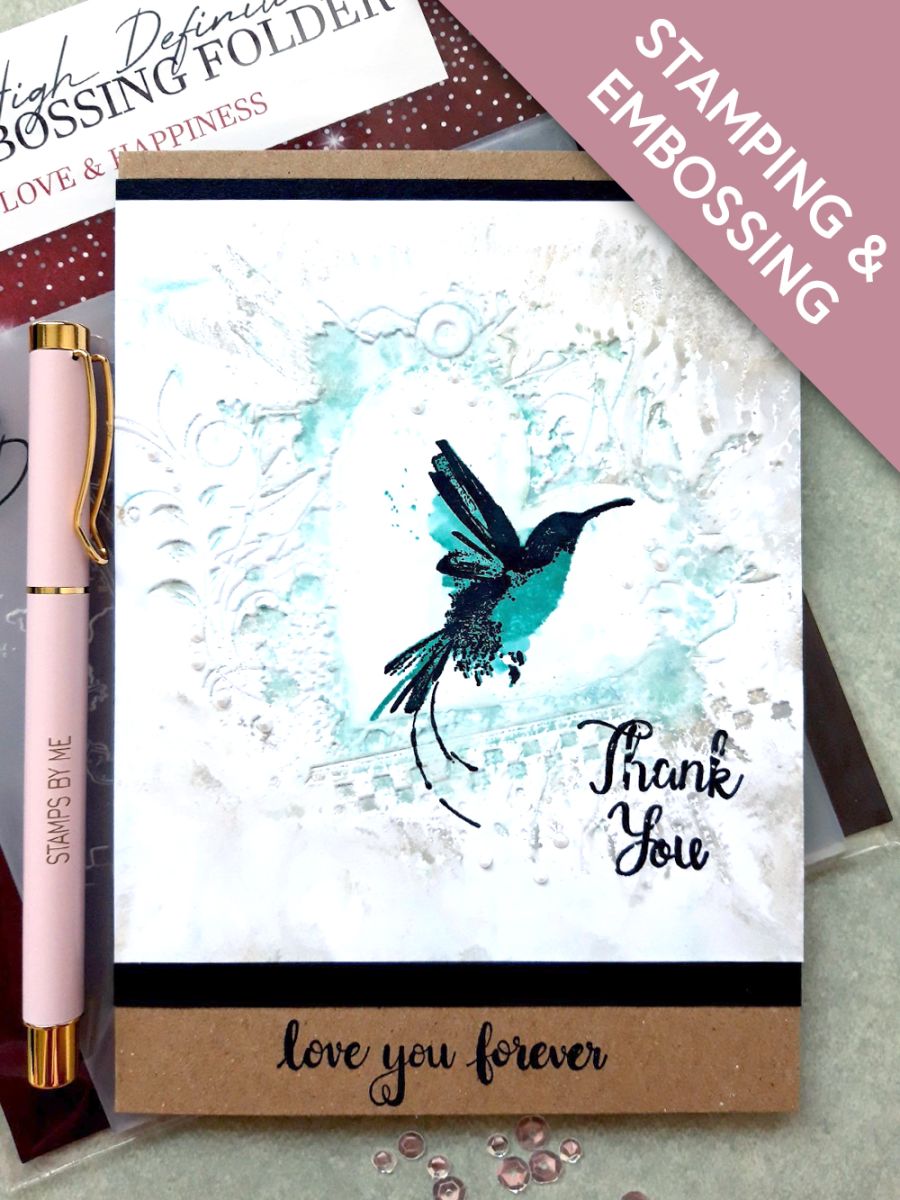
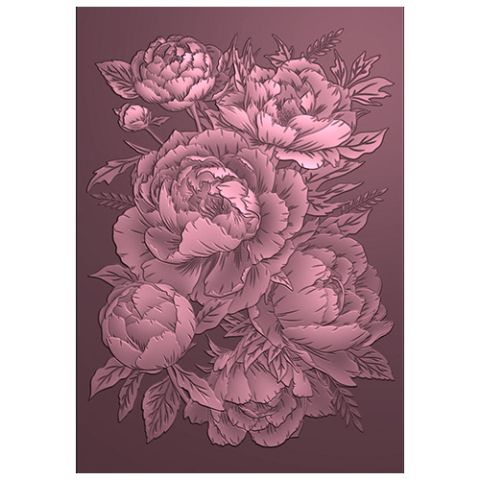
For this card we are going to ink up BOTH sides of the HD3D Love & Happiness embossing folder, then you get to choose whether to use the embossed or debossed side!!
Rub the Peacock Feathers ink pad roughly around the heart area, then rub the Hickory Smoke ink pad randomly, on the remaining area of folder. Do this on BOTH sides.
Spritz both sides lightly with water, place the 5 1/2 x 5" card wherever you want within the folder, then run it through your embossing machine.
Open the folder and VOILA!! Which side will you choose...I decided to go with the debossed side but it was a tough decision!
Blast your card with a heat tool, to dry off all the ink/water, on both sides.
Étape 2 sur 6
Ink up the solid bird lamination stamp, from the New Adventures Lamination Collection, with the Peacock Feathers Oxide and stamp within the embossed/debossed heart.
Blast it dry with your heat tool.
Étape 3 sur 6
Ink up the coordinating, detailed bird stamp, with the Onyx Black Versafine and stamp over your solid image.
Étape 4 sur 6
Ink up the sentiment stamp, from the same set, with the Versafine and stamp in the bottom right corner of your artwork.
Étape 5 sur 6
Once dry, adhere your artwork on to the black card, ensuring the side edges are flush and there is black card visible top and bottom, to create a border.
Adhere this on to your kraft card blank, again gluing it flush with the sides but this time, leave a small border of kraft card visible at the top and a bigger panel of kraft card at the bottom, as shown here.
Étape 6 sur 6
Ink up the sentiment stamp from the Small Town Girl Lamination Collection, with the Onyx Black Versafine and stamp along the kraft card, as seen here.
Bravo, c’est fait !
Partagez votre création avec la communauté Stamps By Me - et gardez ce tutoriel pour la prochaine fois.
Demandez à Toni L'assistante créative IA de ToniTAILLE
Bonjour ! Je suis l'assistante créative IA de Toni : je connais les projets des émissions de Toni, nos tutoriels et tout ce qui se trouve dans la boutique. Posez-moi toutes vos questions, par exemple « Quelles matrices de découpe vont avec ce set de tampons ? » ou « De quoi ai-je besoin pour débuter le mélange d'encres ? »
Un assistant IA (et non Toni en personne), qui répond à partir des émissions de Toni et de notre boutique – merci de vérifier la fiche produit avant d'acheter.