Étape 1 sur 16
Place stencil 1 on to the white card 7 x 5" and blend through with Izink Cerise.
You can ink through the 4 hearts, in the corners of the stencil, to help you line each stencil up, if this makes it easier for you.








 Deal Huntersmar. 10 nov. 14 h 00
 Hidden Gemsmer. 11 nov. 10 h 00
 The Thursday Dropjeu. 12 nov. 18 h 00
Les prix sont mis à jour immédiatement. Chaque langue est notre propre traduction, pas Google.
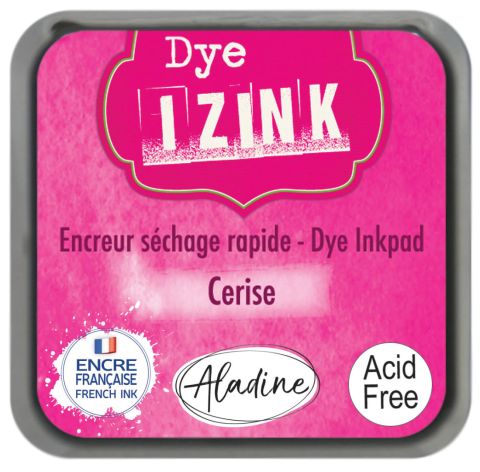 ENCREUR IZINK À BASE DE COLORANT 5 X 5CM - CERISE 050821fEncreurs Izink Dye : Cerise, Ocean3,99 £ACHETER✓ AJOUTÉ
 Eureka 101 Replacement Bar MagnetsEureka 10110,99 £ACHETER✓ AJOUTÉ
Place stencil 1 on to the white card 7 x 5" and blend through with Izink Cerise.
You can ink through the 4 hearts, in the corners of the stencil, to help you line each stencil up, if this makes it easier for you.
Place stencil 2 in position and ink through with Unchartered Mariner Oxide.
Line up stencil 3 and blend with the Izink Ocean.
Place stencil 4 in position and add the Black Soot Oxide.
Now be brave!!! Spray your stencilled image with a little water, allow the ink to "bleed" and then mop up any excess ink with a paper towel.
Dry your artwork with your heat tool.
Place the coordinating die in place, secure with low tack tape and run it through your die cutting machine.
Place the die cut Magnolia inside the embossing folder, with the raised image on the bottom and run it through your machine, ensuring you have swapped the plates over first, if required!!
Wipe your die cut Magnolia over with an anti-static bag.
Ink up the stamp with the WOW embossing ink and stamp on to your Magnolia.
Sprinkle the WOW gold powder over your stamped image and, ensuring your heat tool is hot, heat set the powder. Move your tool as soon as the powder starts to turn, to avoid warping the card or burning the powder.
Set to one side.
Wipe the white card (3 x 1") with your anti-static bag.
Ink up the sentiment stamp from Small Town Girl Lamination, with the WOW embossing ink pad.
Sprinkle the WOW powder over the stamped sentiment and heat set, as before.
Trim your card to the size required.
Add water to your Goldmine Confetti Ink and, with a paint brush, splatter over the white card 7 1/2 x 5".
Repeat the previous step using the Unchartered Mariner Oxide.
Dry your inky background with your heat tool.
Adhere on to the gold glitter card.
Adhere on to the front of your pink, top folding card blank.
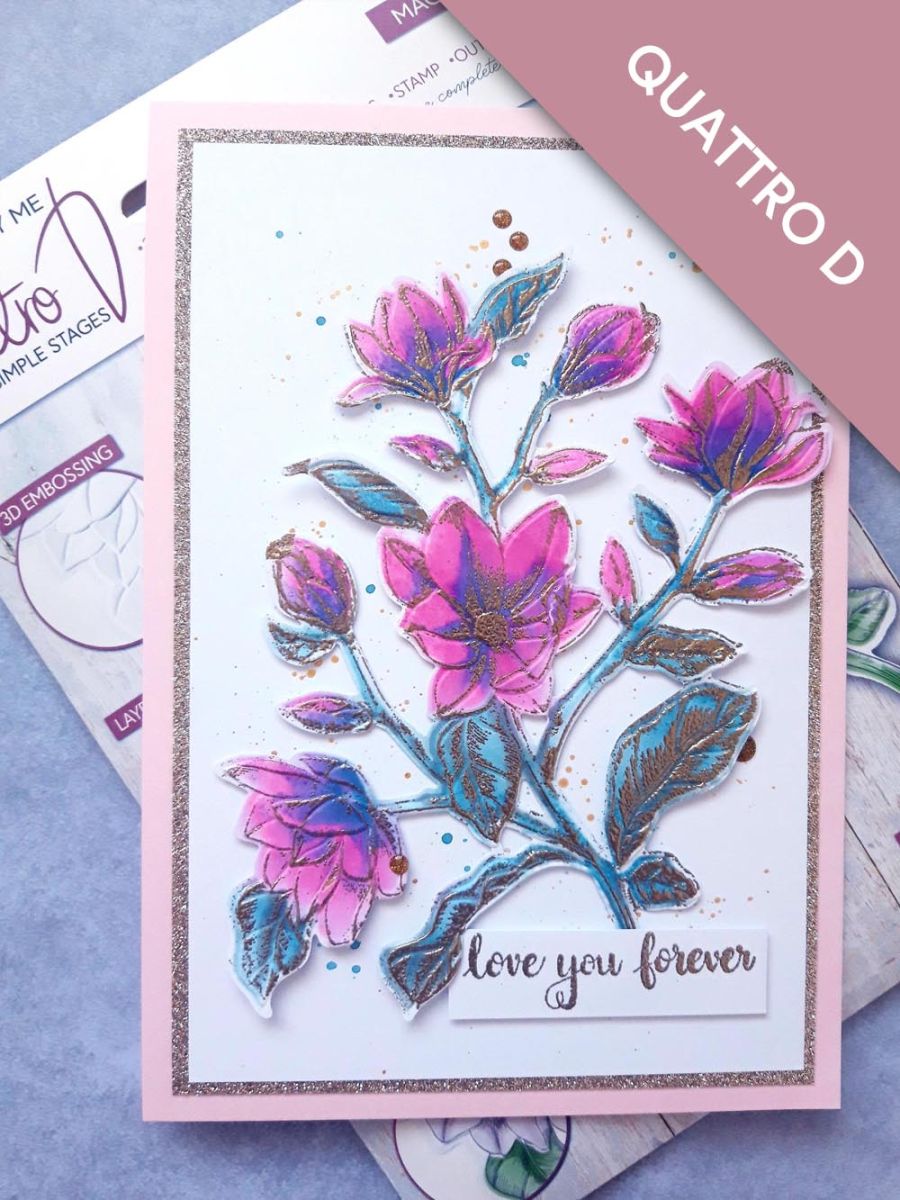
Adhere your die cut Magnolia on to your card, using foam pads.
Adhere your sentiment to the bottom right of your artwork, tucked just under the leaf and over the bottom of the stem.
To finish, add gold enamel dots tucked under, on and around your artwork.
Partagez votre création avec la communauté Stamps By Me - et gardez ce tutoriel pour la prochaine fois.
Vous préférez l’ancienne présentation ? Ouvrir l’ancienne page.



