Étape 1 sur 10
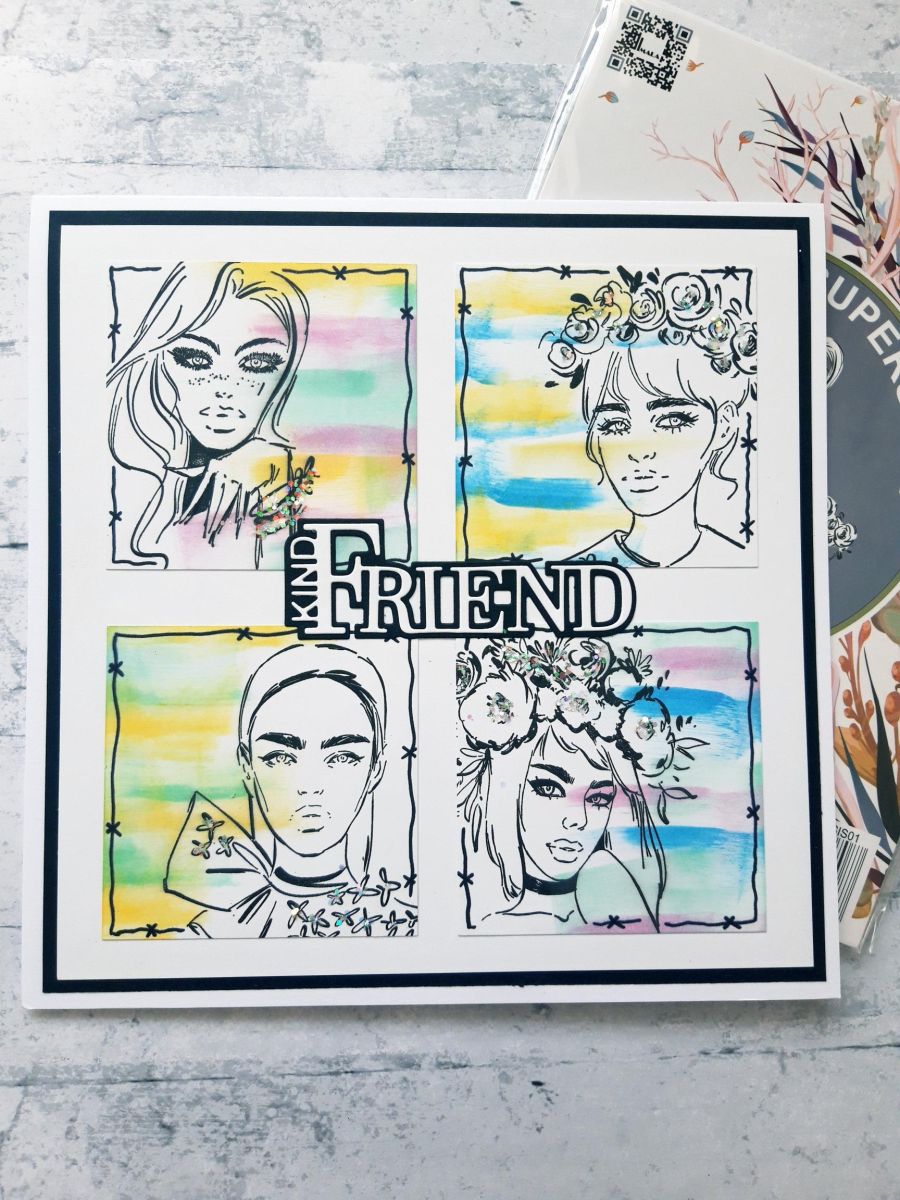
Ink up each of the 4 ladies, from Imala Superstar Stamp Collection, with the Versafine ink. Stamp them on to the 4 white card squares, each being stamped off the edge, in different configerations.








 Deal Huntersmar. 10 nov. 14 h 00
 Hidden Gemsmer. 11 nov. 10 h 00
 The Thursday Dropjeu. 12 nov. 18 h 00
Les prix sont mis à jour immédiatement. Chaque langue est notre propre traduction, pas Google.
 Eureka 101 Replacement Bar MagnetsEureka 10110,99 £ACHETER✓ AJOUTÉ
Ink up each of the 4 ladies, from Imala Superstar Stamp Collection, with the Versafine ink. Stamp them on to the 4 white card squares, each being stamped off the edge, in different configerations.
Using all the Izink Pigment ink pads, in DIFFERENT combinations, swipe them from the edge of each of the squares, going in towards the stamped lady. Differ the lengths and widths of each swipe.
Use a black pen to draw a decorative frame, around each of the squares.
Place the 4 stamped squares on to the white card (7 1/2 x 7 1/2"), to form a square. Once you are happy with the placement, glue them in position.
Adhere this on to the black card.
Adhere on to the front of your card blank and set to one side.
Place the Kind Friend detailed die on to the white card (4 x 2") and the solid die on to the black card (4 x 2") and run them through your die cutting machine.
Adhere the white die cut, on top of the black die cut.
Adhere to the centre of your card.
To finish add glitter to each of the stamped lady's, be it in their hair, on their eyelashes, centres of flowers...the choice is yours!!
Partagez votre création avec la communauté Stamps By Me - et gardez ce tutoriel pour la prochaine fois.
Vous préférez l’ancienne présentation ? Ouvrir l’ancienne page.



