¡Regálales a tus amigos £10 de descuento en su primer pedido!
Recomienda a un AMIGO








 The Friday Final Cutvie 6 nov 10:00 a. m.
 Community Showcaselun 9 nov 10:00 a. m.
 Hobbymaker Tvlun 9 nov 2:00 p. m.
Los precios cambian al instante. Cada idioma es nuestra propia traducción, no Google.
Un proyecto de nuestro programa en vivo CREATE TOGETHER CLUB - Programa 3 - Acompaña a Toni - Transmitido el 30 de marzo 22 · 30/03/2022 · velo desde 7:45
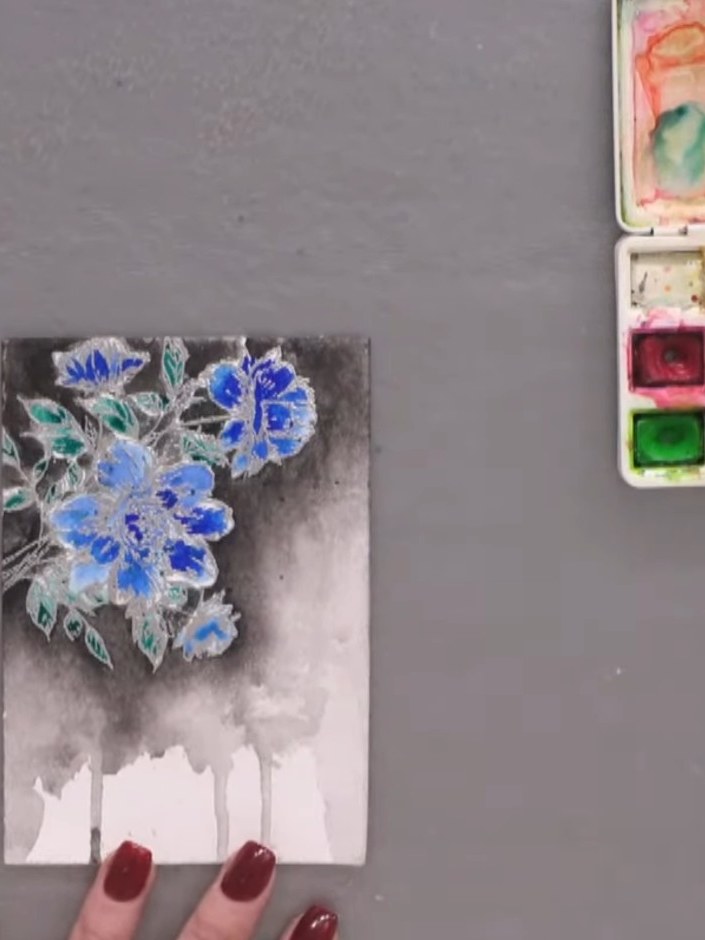
Create an elegant watercolour card featuring beautiful blue flowers with shimmering silver embossed outlines set against a soft grey graduated wash. This sophisticated design combines heat embossing with watercolour resist techniques to produce stunning depth and dimension. The flowing colour gradients blend beautifully around the embossed floral stamp, finished with delicate black ink details.
 CREATE TOGETHER CLUB- Chapter One - 030921a fblVERLO
 100133 - HTCN - IZINK PAQUETE DE ALMOHADILLAS DE TINTA PIGMENTADA GRANDES - TROPICAL - 201121aVERLO
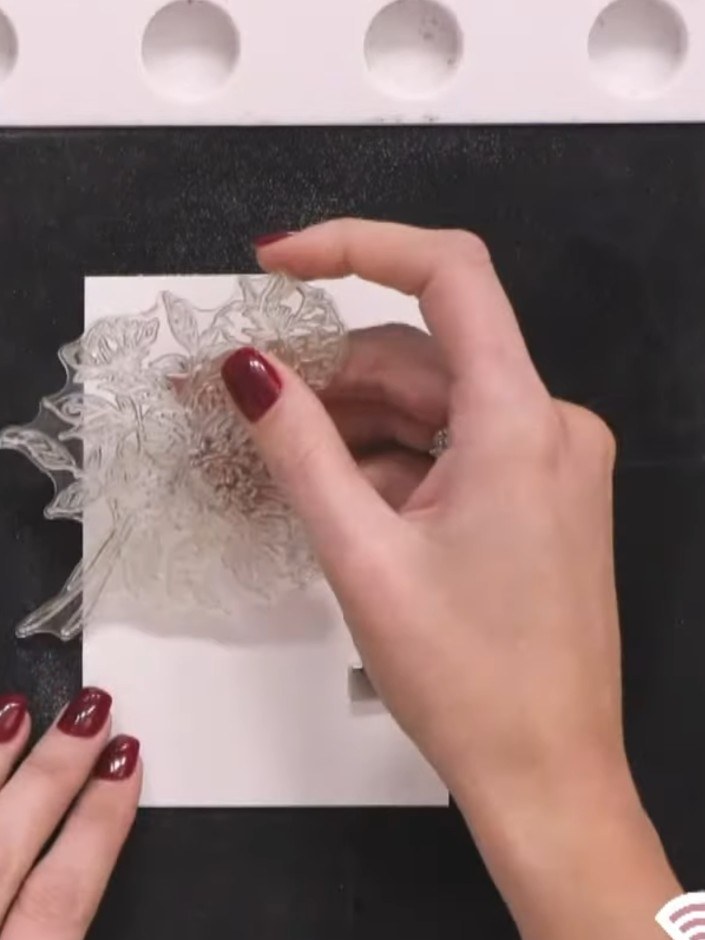
Place your watercolour card onto the stamping block. Position the bouquet stamp face down onto the card and press firmly to transfer the image.
▶ ver este paso (8:00)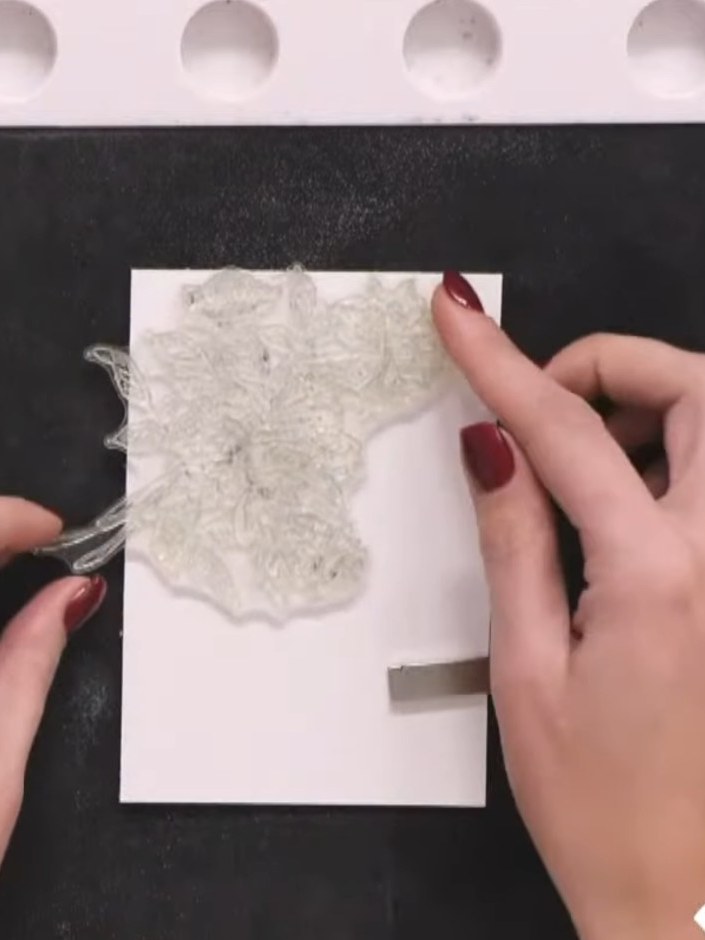
Stamp the floral bouquet image onto white watercolour card using pigment ink, pressing down firmly to capture all the detail.
▶ ver este paso (8:15)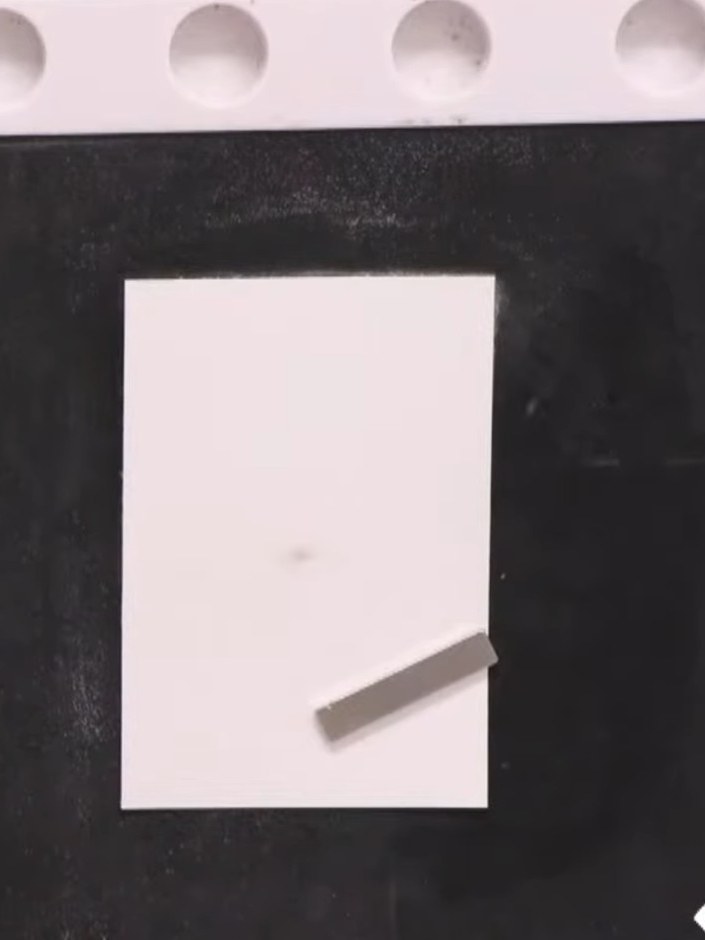
Use an anti-static bag to remove any dust or fingerprints from the stamped watercolour card panel.
▶ ver este paso (8:30)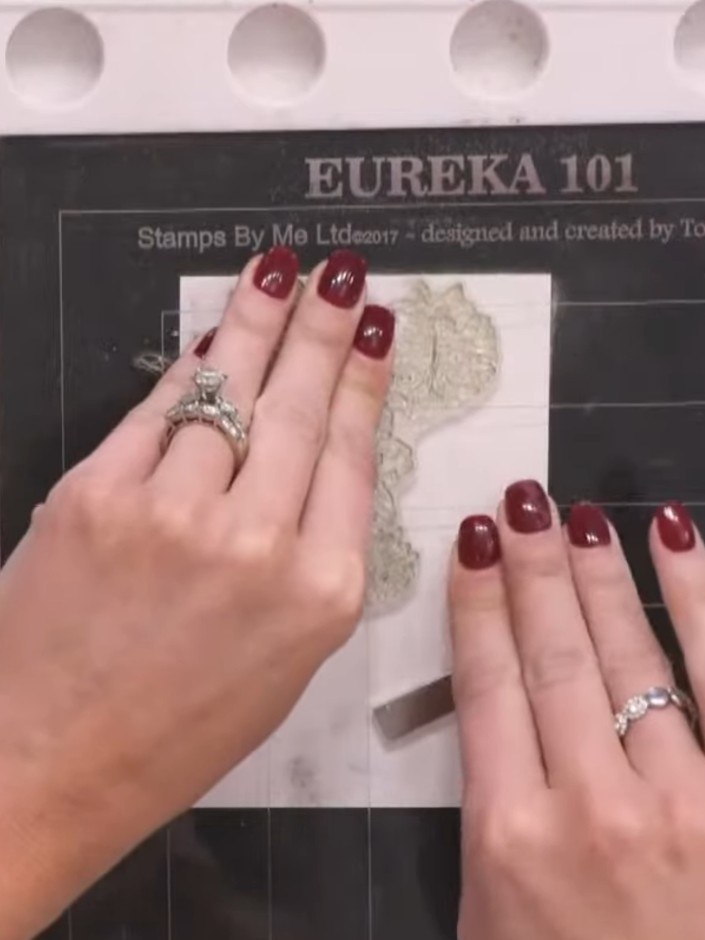
Apply silver heat embossing powder over the wet stamped image. Heat set with your heat gun until the powder melts and sparkles.
▶ ver este paso (8:45)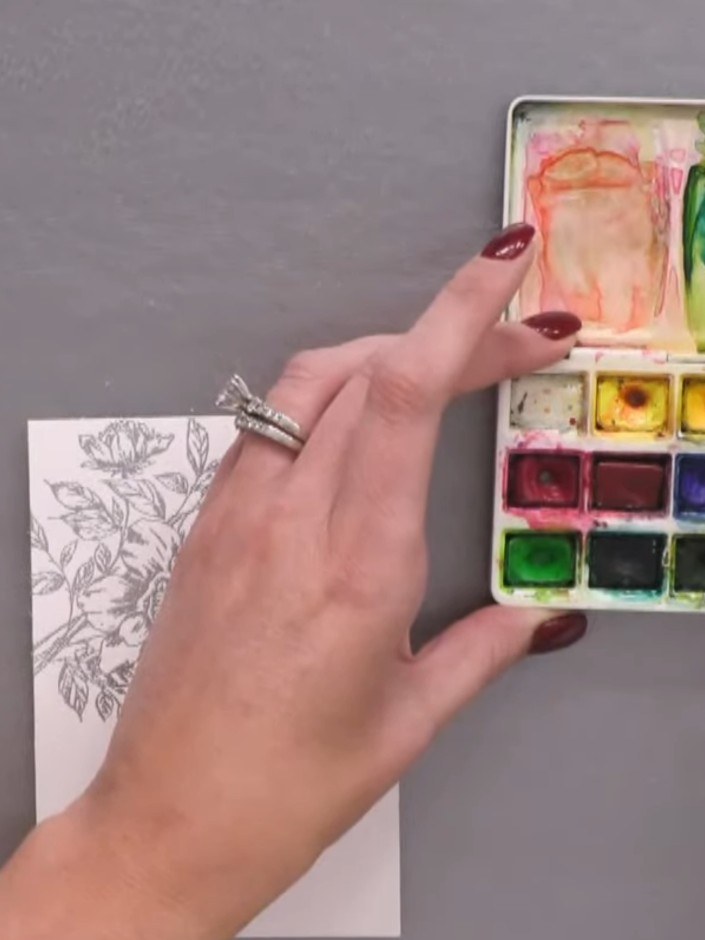
Using your brush, mix black watercolour pigment with water on your palette to create a very dark, concentrated consistency.
▶ ver este paso (12:30)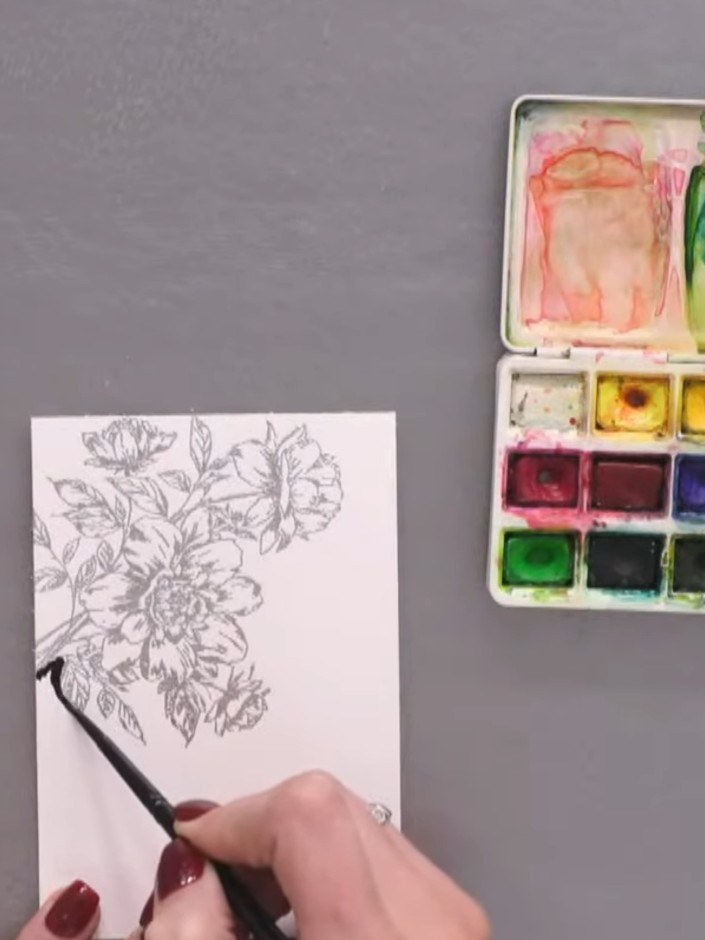
Using a fine brush and black pigment ink, carefully outline the embossed floral image. Work in small segments, following the stamped lines to create a dark black outline around the flowers and leaves.
▶ ver este paso (12:45)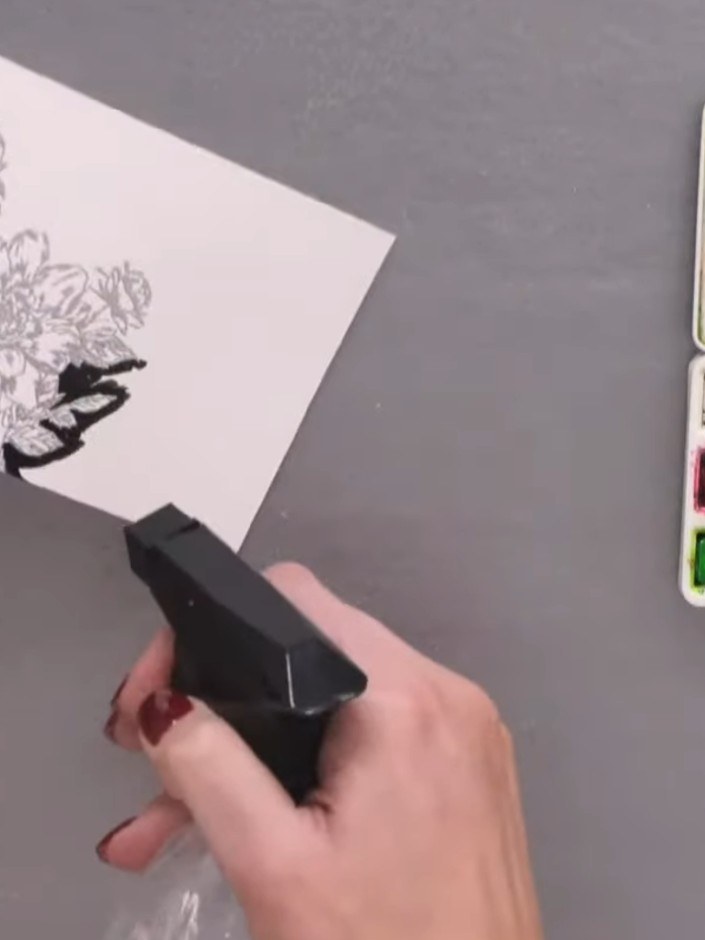
Spray the stamped card with water from a spray bottle. Hold the card at an angle to allow the black ink to flow downwards, creating a watercolour resist effect.
▶ ver este paso (13:30)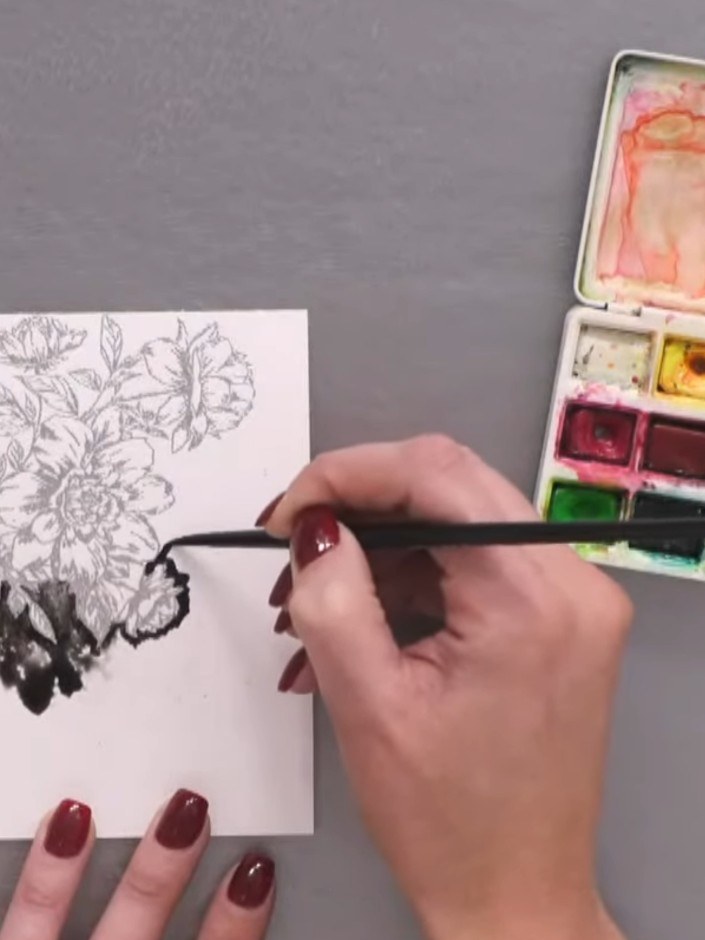
Continue adding more black pigment to intensify the design at the base of the floral image. Spray again with water to create the wash effect and allow the black ink to blend and spread.
▶ ver este paso (14:00)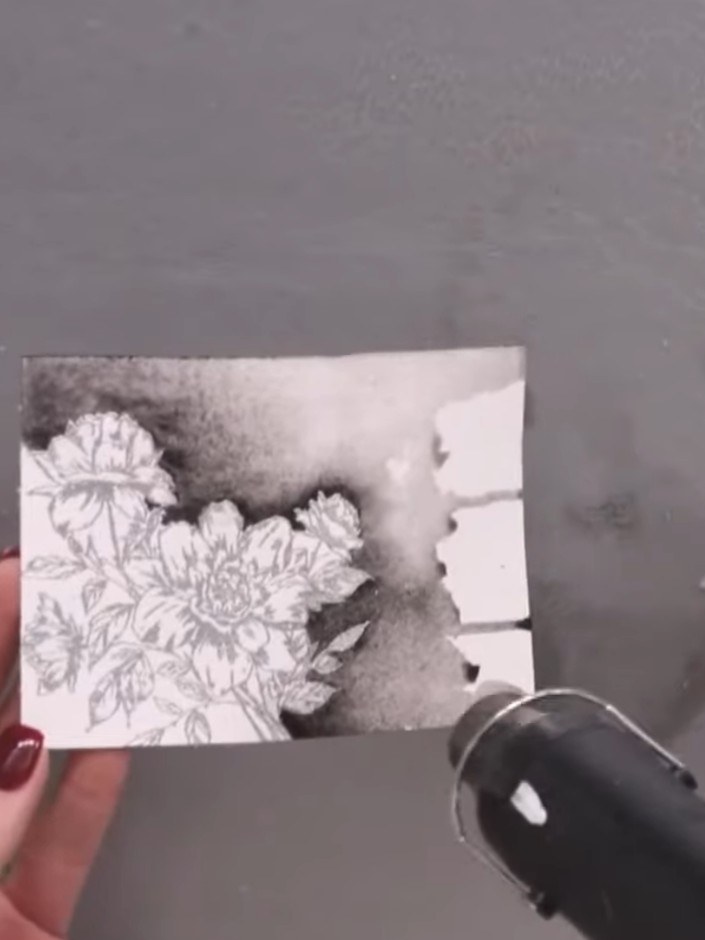
Allow the first layer to dry completely. Apply a second glaze layer using less water to add depth to the watercolour wash.
▶ ver este paso (16:45)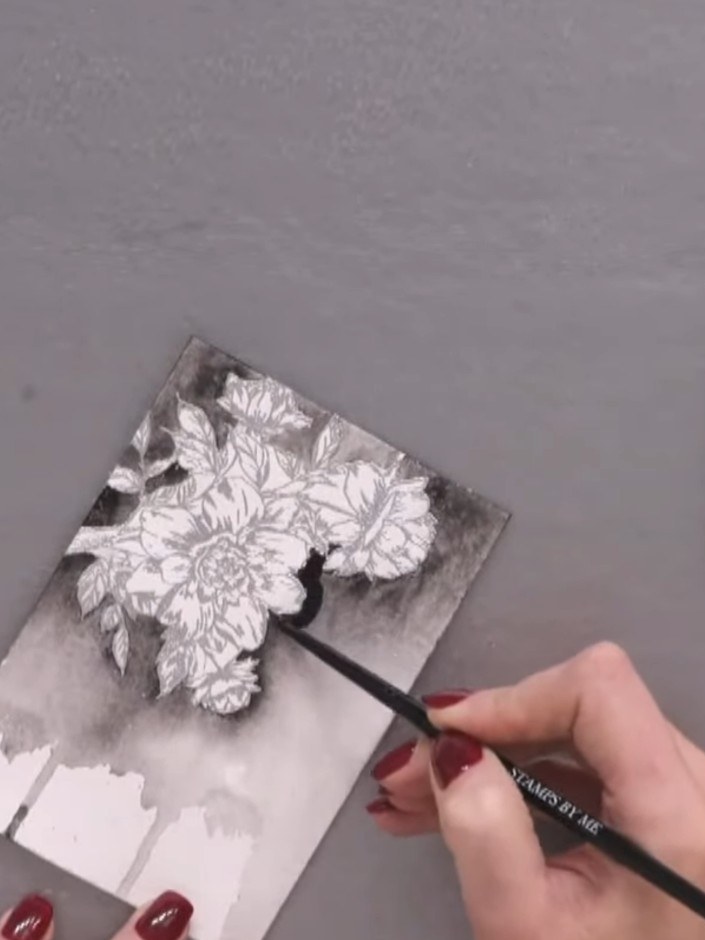
Add blue watercolour into the flower areas and green into the leaf areas, layering darker shades whilst still wet to create depth and dimension.
▶ ver este paso (20:00)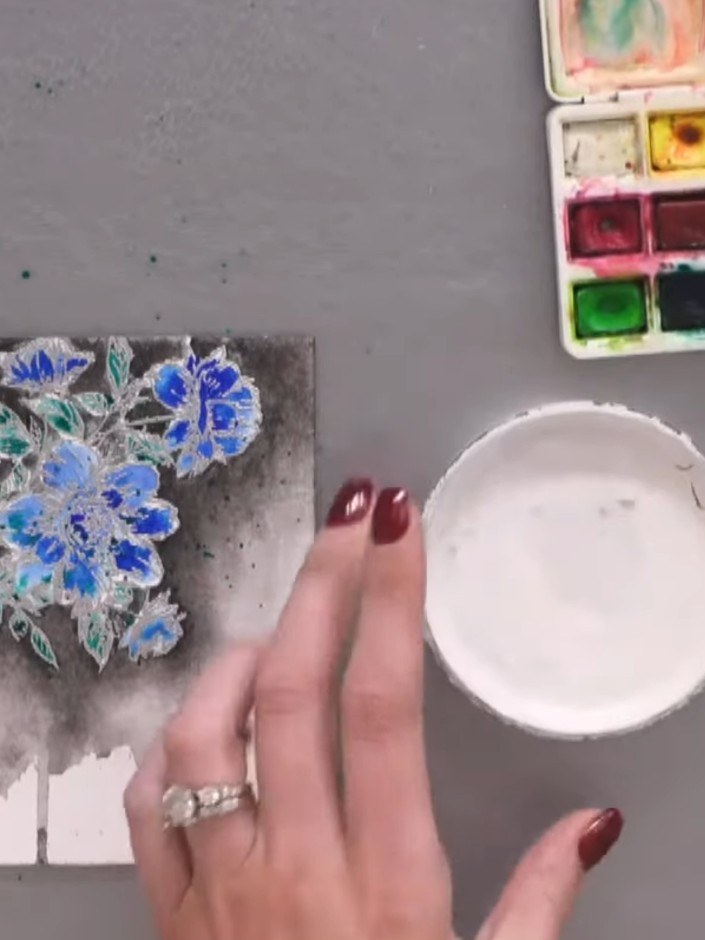
Añade salpicaduras blancas por toda la tarjeta con confeti blanco o un medio para salpicar, para unificar el diseño.
▶ ver este paso (27:30)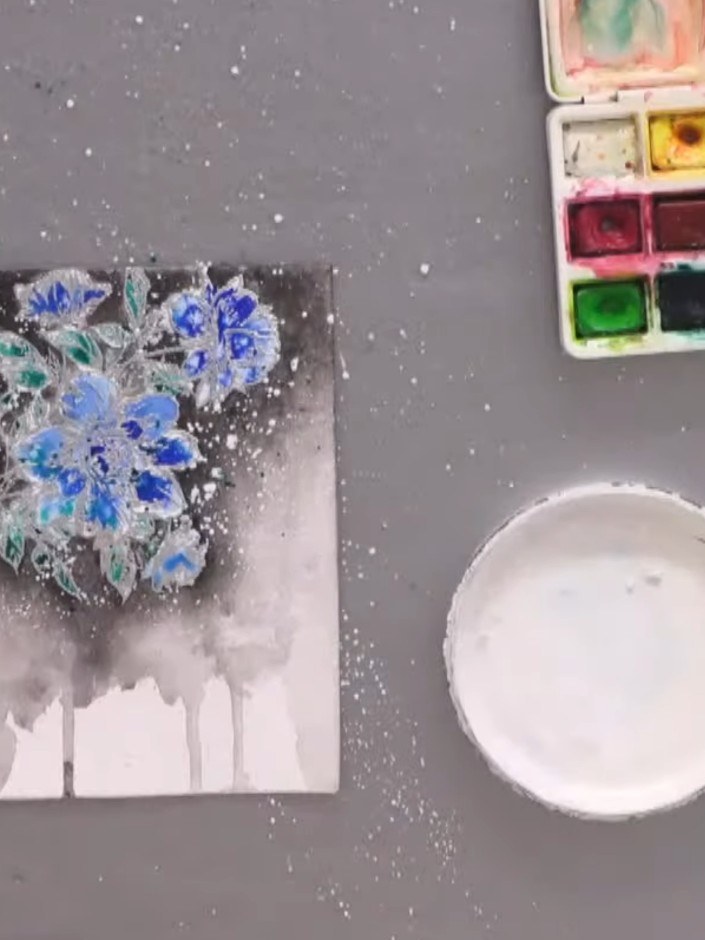
Deja que la tarjeta se seque al aire por completo antes de manipularla o fijarla con calor. This ensures the watercolour and resist technique is fully set.
▶ ver este paso (28:15)Redactado a partir del propio programa. Mira todas las guías de nuestros programas · guías paso a paso gratis · mira en vivo en My Telly