¡Regala a tus amigos 10 £ de descuento en su primer pedido!
Invita a una AMIGA








 Deal Huntersmar 17 nov 13:00
 Hidden Gemsmié 18 nov 10:00
 The Thursday Dropjue 19 nov 18:00
Los precios cambian al instante. Cada idioma es nuestra propia traducción, no Google.
Un proyecto de nuestro programa en directo THE FRIDAY FINAL CUT - Emitido el 13 de noviembre de 2026 · 13/11/2026 · míralo desde 15:10
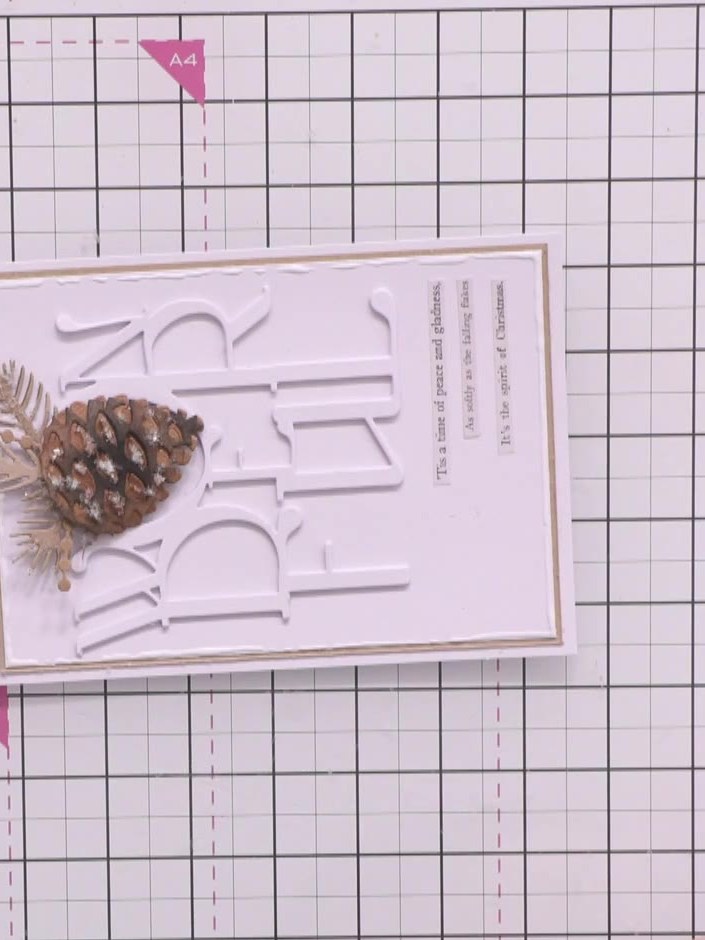
Create an elegant Christmas card featuring a three-dimensional pine cone nestled in the 'O' of the word 'Wonderful'. This sophisticated design combines kraft and white cardstock layers with a realistic pine cone die-cut embellishment adorned with delicate foliage, finished with colourless glitter for a frosty, sparkly effect. The card includes a sentiment strip with festive text to complete the seasonal greeting.
 TV - TROQUEL A5 - NAVIDAD - PIÑAS PERFECTAS - 120621hVER
 STAMPS BY ME SET DE TROQUELES - WONDERFUL & WOW - 180624CVER
 PERFECT PINECONES - EDICIÓN GRANDE - 141224BVER
 MEDIA GLITTER - PURPURINA INCOLORA - 050923AVER
 Rotulador de embossing doble II transparente - punta pincelVER
 Tim Holtz - Distress - Tampón de tinta Frayed BurlapVER
 Pegamento transparente Dry Clear 8Oz.VER
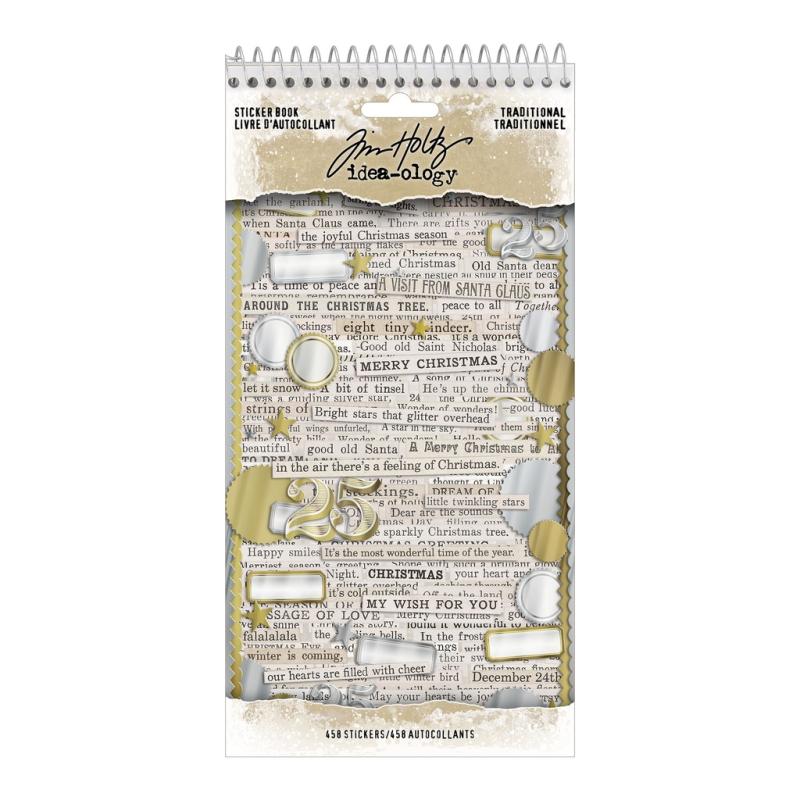 Tim Holtz Idea-ology - Sticker Book TraditionalVER
 Pinzas de precisión Crafters - Se vende por unidadVER
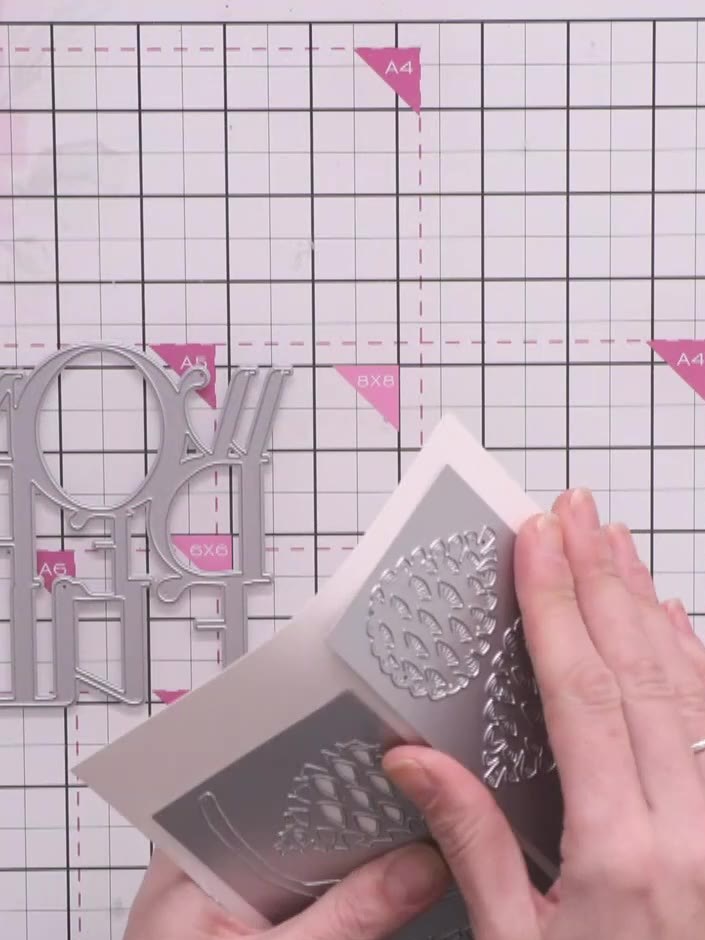
Cut the pine cone jacket and fern pieces from kraft cardstock using the Perfect Pinecones die. Place a spare piece of card underneath the cardstock to help the die cut through properly.
▶ ver este paso (21:24)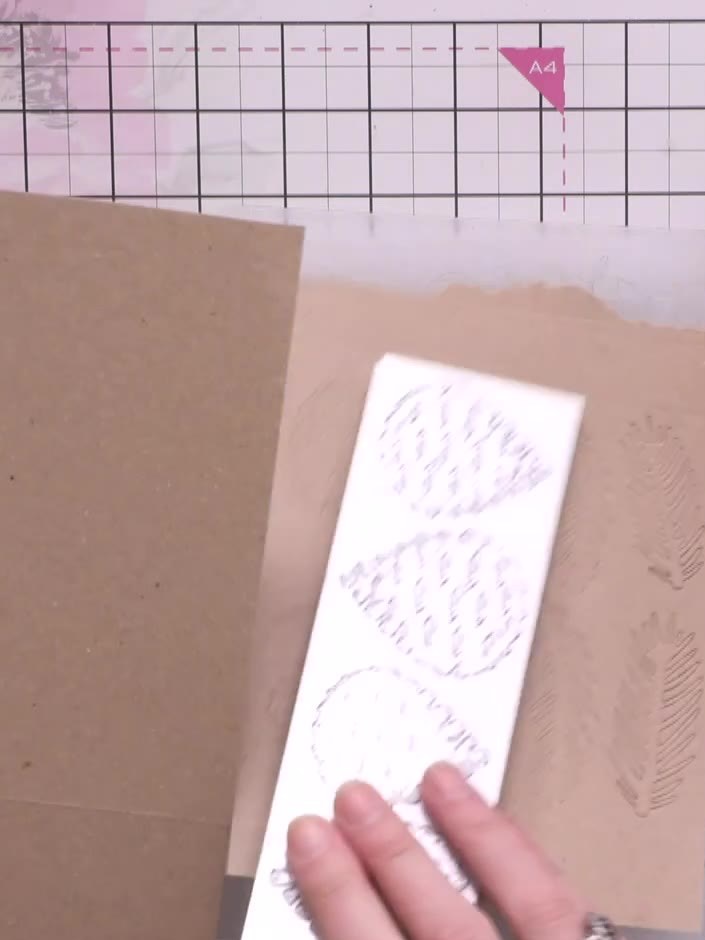
Cut the word 'Wonderful' from white cardstock using the Wonderful & Wow die set. Create four separate layers by running the die through your die-cutting machine four times.
▶ ver este paso (28:15)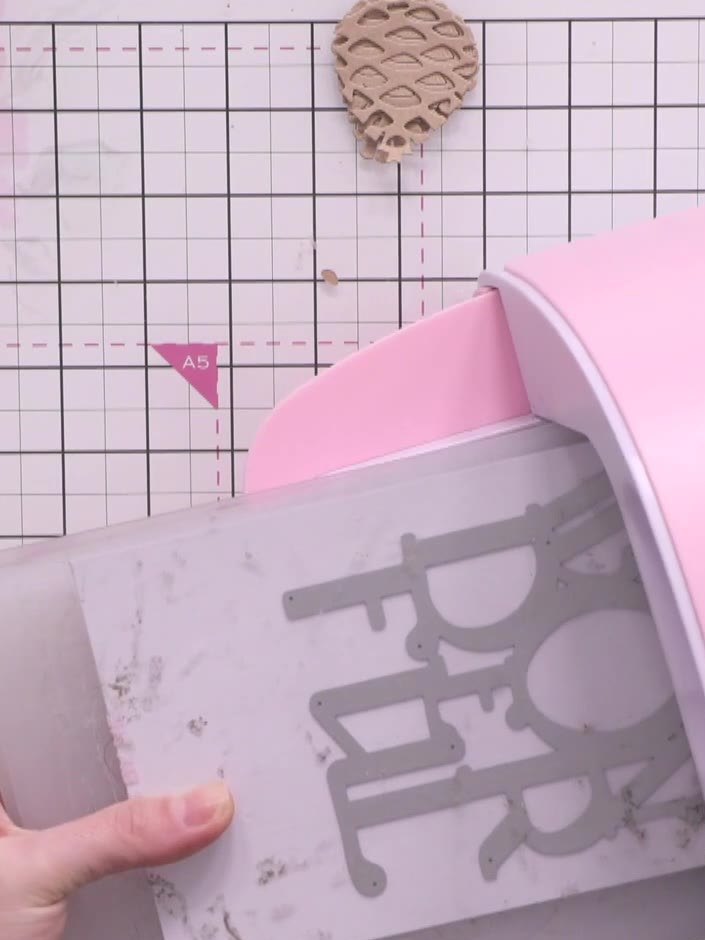
Stack all four 'Wonderful' die-cut pieces together using fast-drying glue to create a raised 3D embellishment. Press down firmly to ensure all the embossed layers stick together securely.
▶ ver este paso (31:00)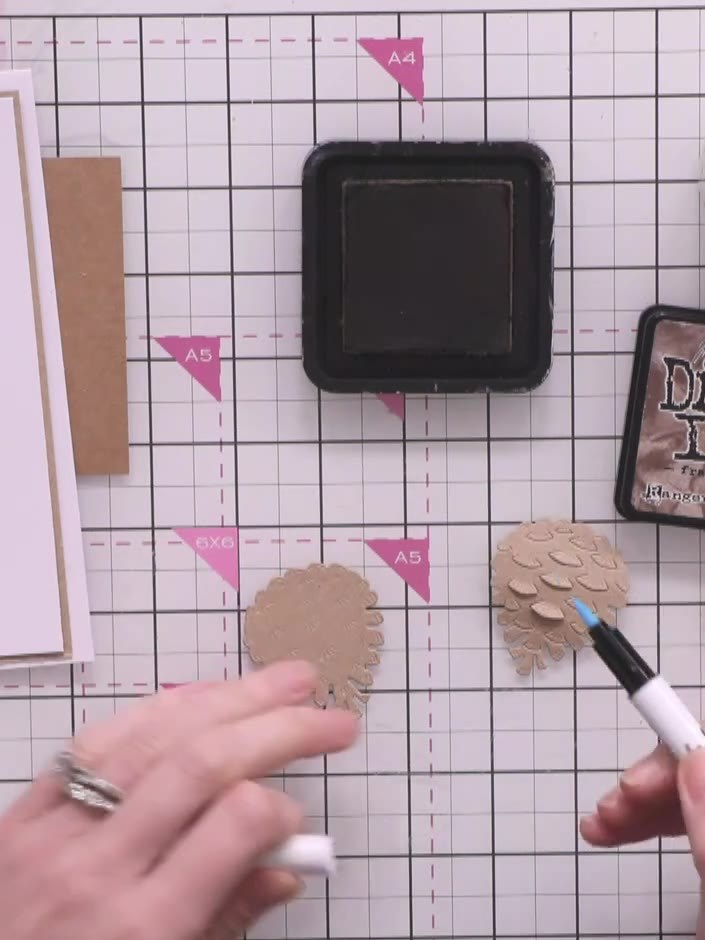
Blend Frayed Burlap distress ink onto the pine cone layers using an ink blending tool. Apply the ink to add depth and realism to the pine cone pieces.
▶ ver este paso (44:32)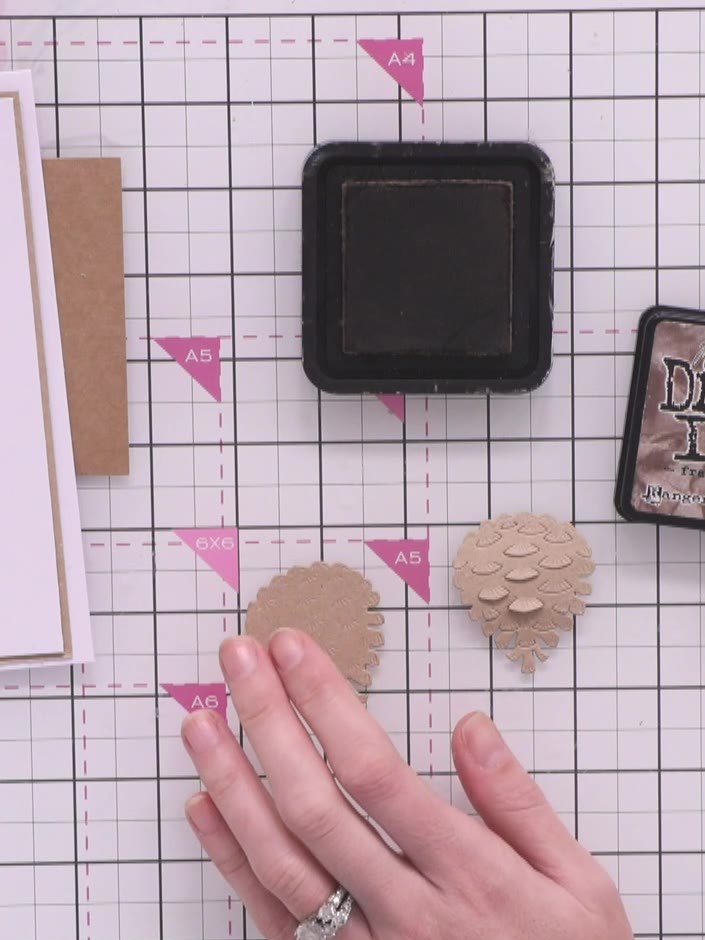
Glue the inked pine cone layers together, keeping glue away from the embossed legs. Manipulate the legs to create an organic pine cone shape.
▶ ver este paso (45:38)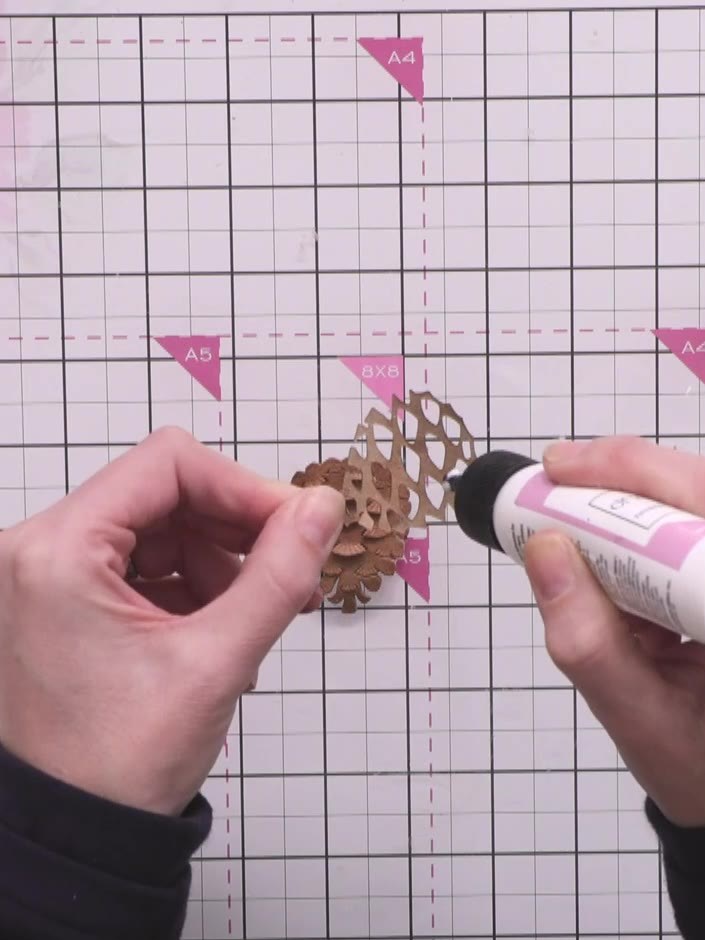
Slot the jacket piece under the pine cone's legs to create a shadow effect. Use glue to secure the legs down firmly to the jacket piece.
▶ ver este paso (50:45)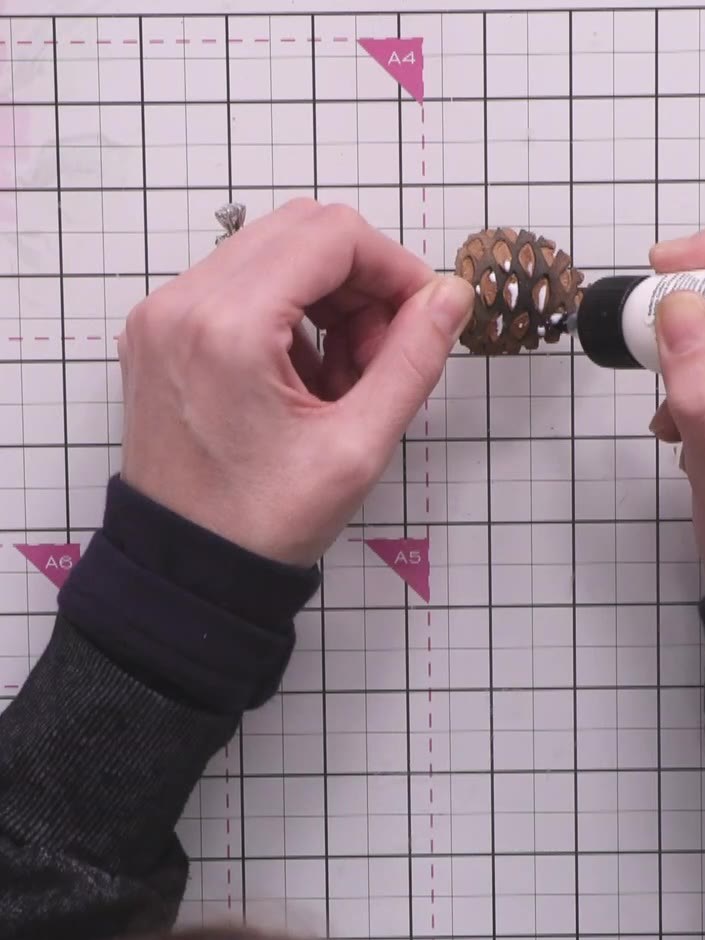
Apply fast-drying glue to the pine cone's legs using a precision applicator. Sprinkle colourless glitter over the glued areas and allow to dry completely, leaving crystal sparkles on the pine cone.
▶ ver este paso (52:45)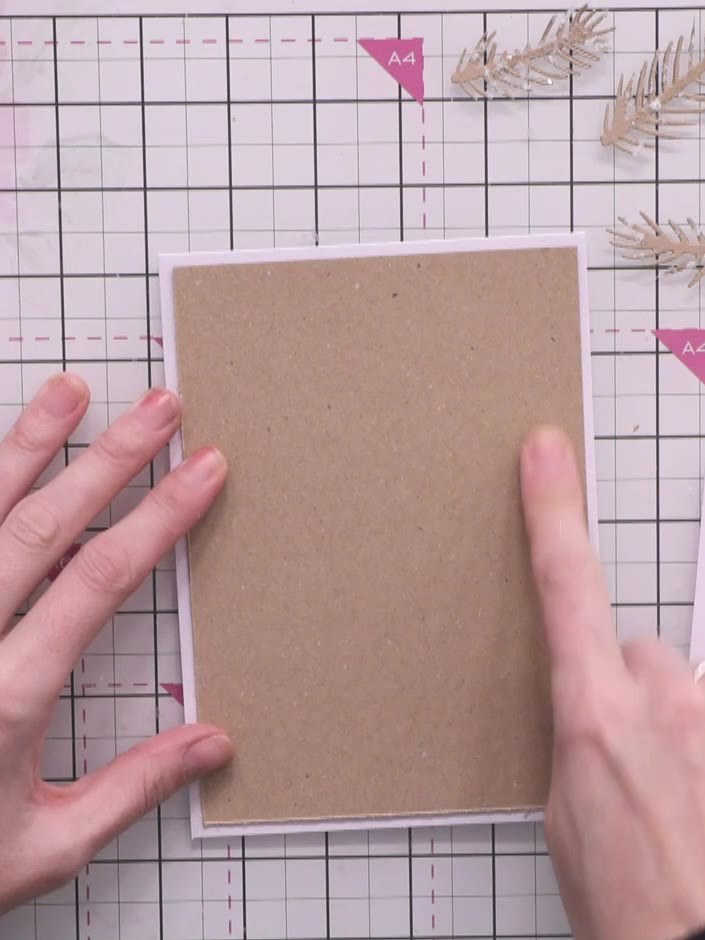
Create a card base by layering kraft cardstock as the bottom layer with white cardstock on top. Burnish the layers together with your hands to ensure they are firmly adhered.
▶ ver este paso (55:00)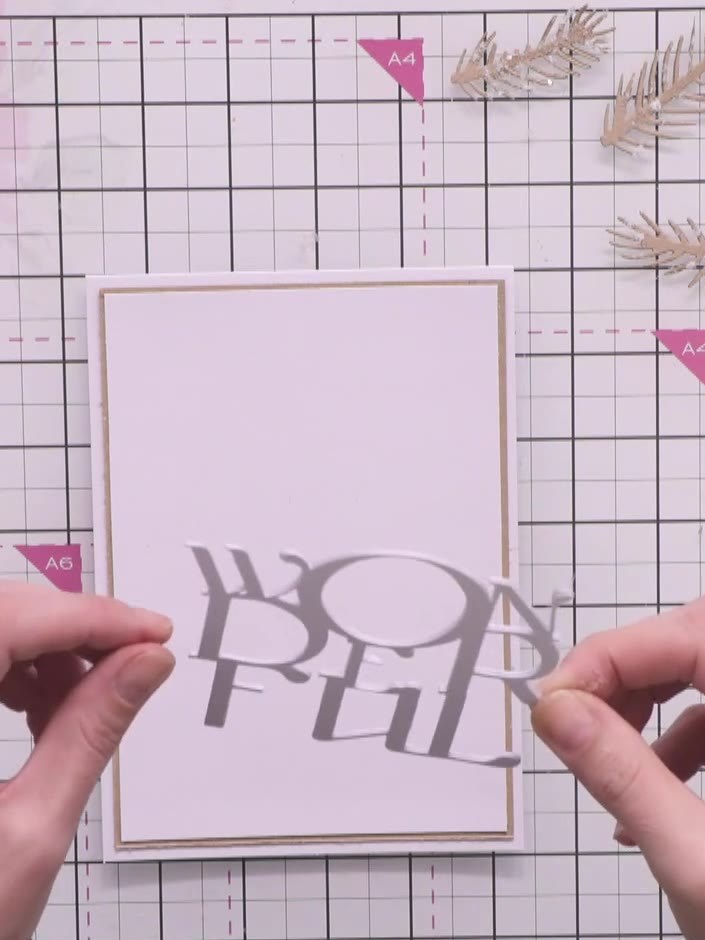
Glue the stacked 'Wonderful' die-cut embellishment onto the white cardstock layer, positioning it centrally to leave space for the pine cone and foliage elements.
▶ ver este paso (56:15)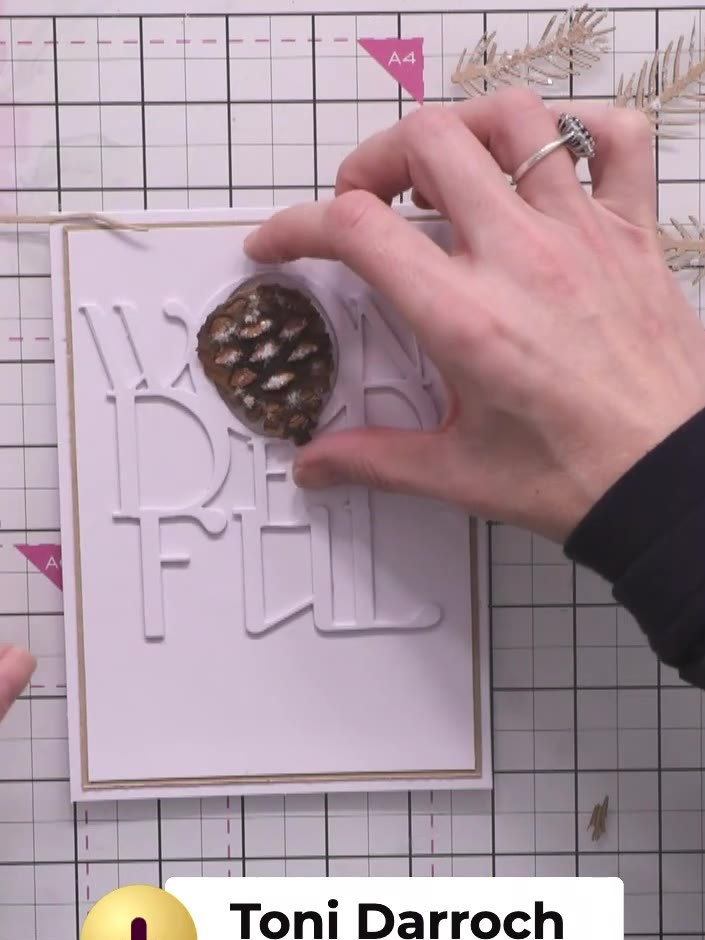
Using foam pads or glue, attach the completed pine cone embellishment into the centre of the 'O' in the 'Wonderful' word die-cut on your card front.
▶ ver este paso (58:30)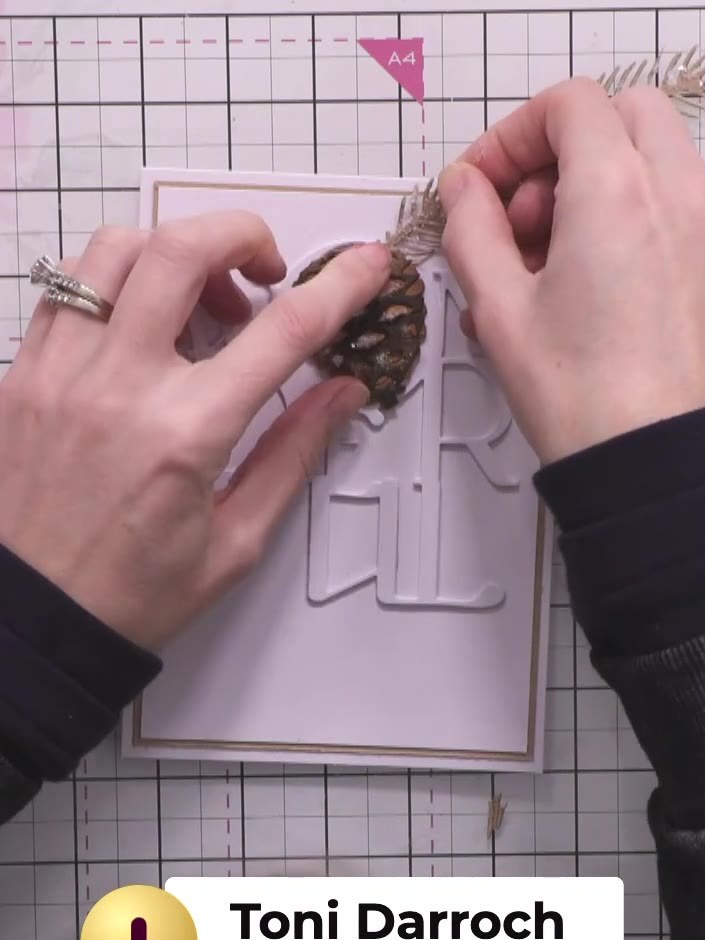
Add foliage adornment fillers around the pine cone using glue, tucking them in to fill the space and create a natural arrangement. Position the fillers to complement the pine cone and create depth in your design.
▶ ver este paso (59:15)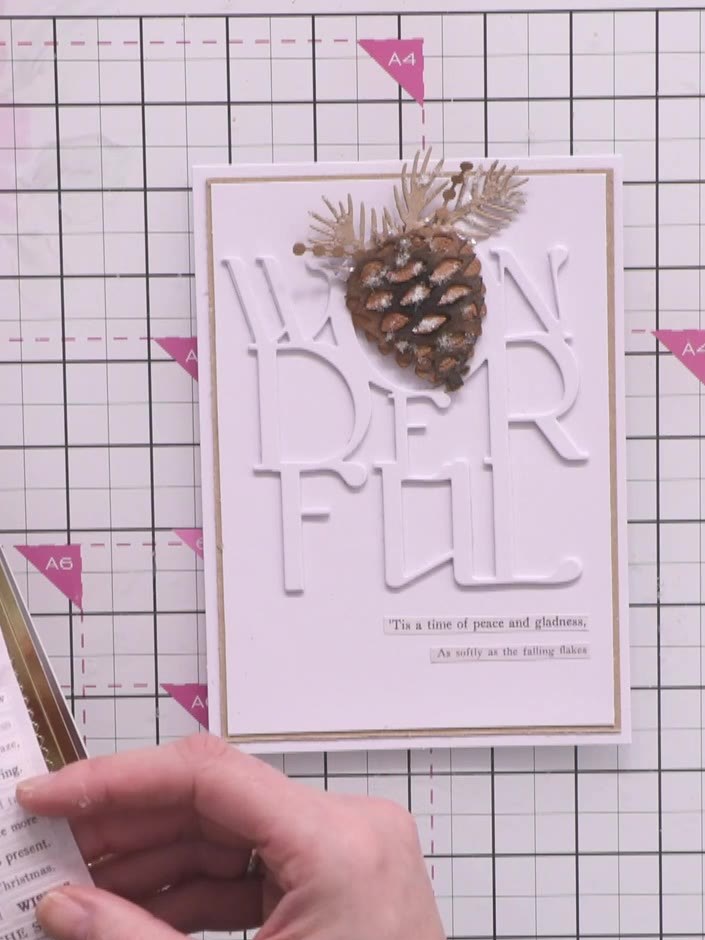
Add a sentiment strip below the 'Wonderful' letters with text such as 'Tis a time of peace and gladness, As softly as the falling flakes, It's the spirit of Christmas.'
▶ ver este paso (1:02:45)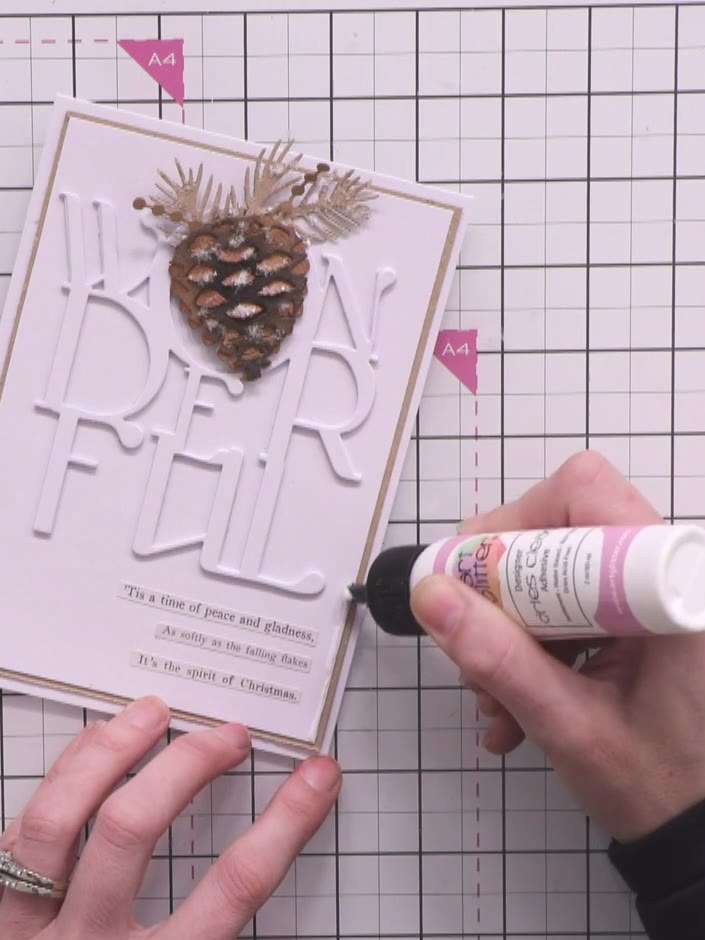
Apply fast-drying glue around the entire edge of the card border. Sprinkle colourless glitter over the glued edges to create a sparkly frame finish.
▶ ver este paso (1:03:45)Redactado a partir del propio programa. Mira todos los tutoriales de nuestros programas · tutoriales gratis · míralo en directo en My Telly