Schenke deinen Freundinnen und Freunden 10 £ Rabatt auf ihre erste Bestellung!
Freunde WERBEN








 The Friday Final CutFr., 20. Nov. 10:00 Uhr
 Aus der CommunityMo., 23. Nov. 10:00 Uhr
 Deal HuntersDi., 24. Nov. 13:00 Uhr
Preise ändern sich sofort. Jede Sprache ist unsere eigene Übersetzung, nicht Google.
Ein Projekt aus unserer Live-Show HIDDEN GEMS – Ausstrahlung vom 18. November 2026 · 18.11.2026
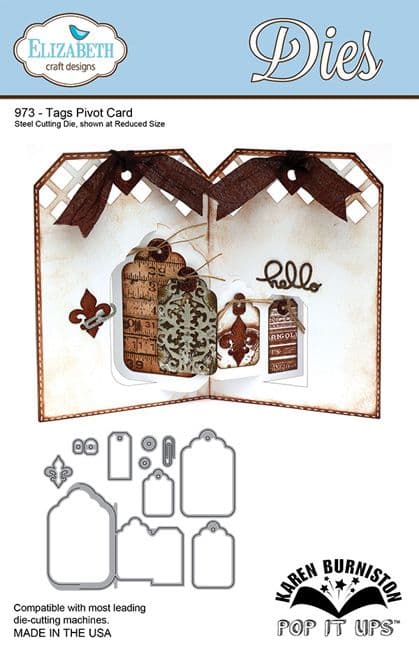
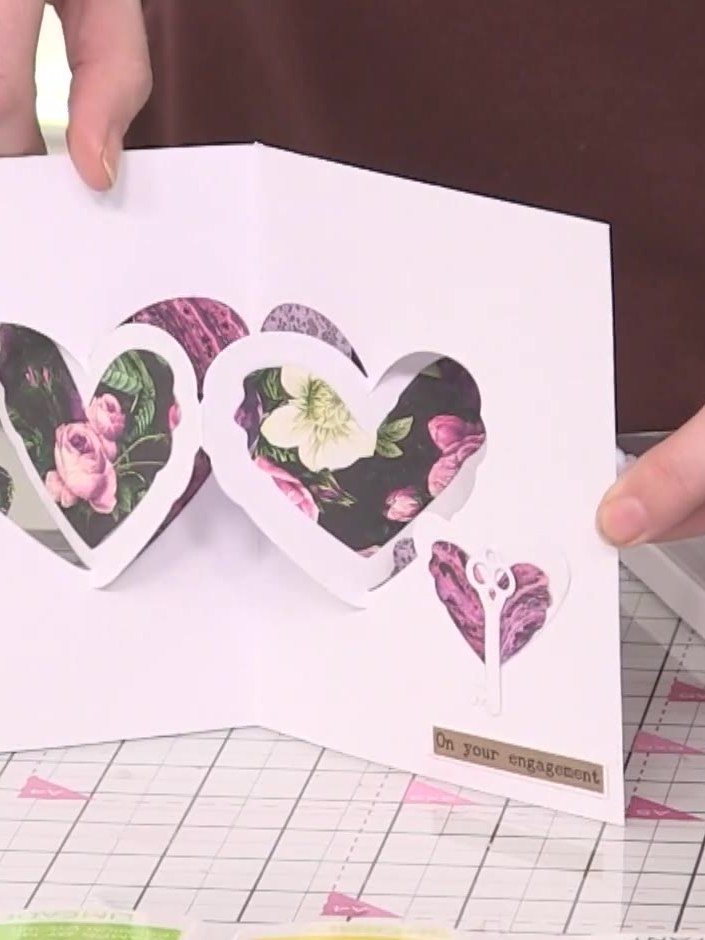
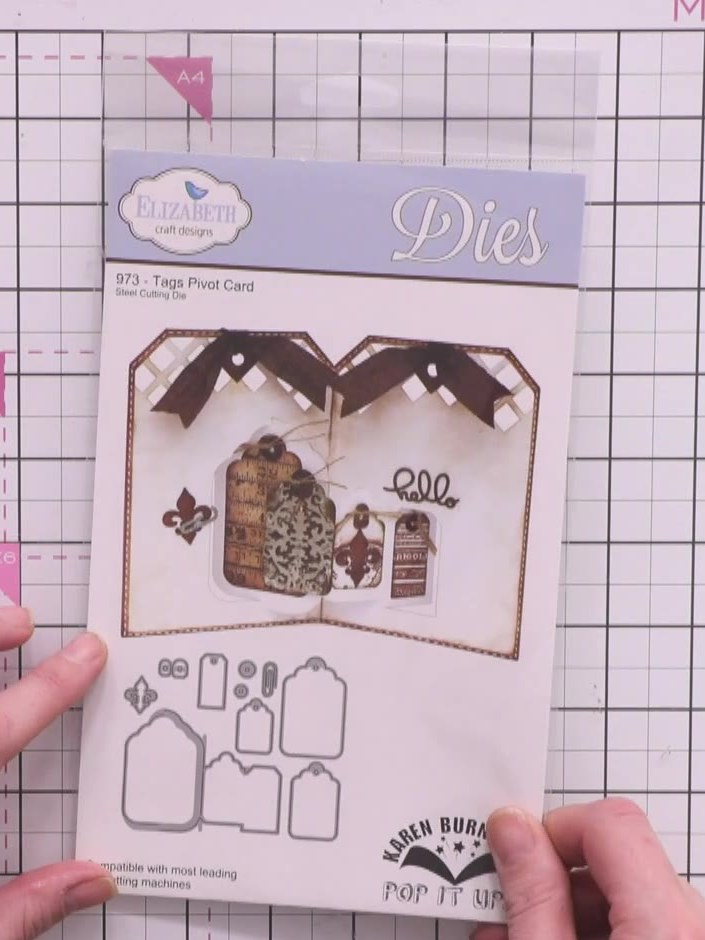
Create a charming pop-up card featuring layered tags that spring forward when opened. This elegant design showcases vintage-style tags with decorative elements including butterflies, a paperclip accent, and the word 'hello', all arranged within an arched frame. The project uses the Tags Pivot Card die set to achieve a dimensional, interactive greeting card perfect for any occasion.
 1
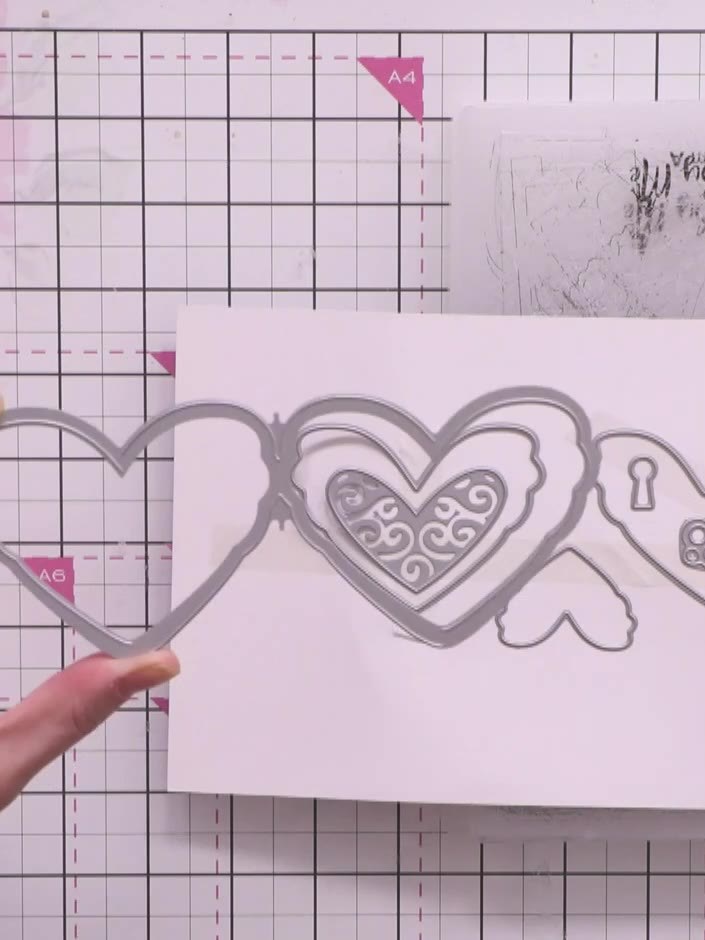
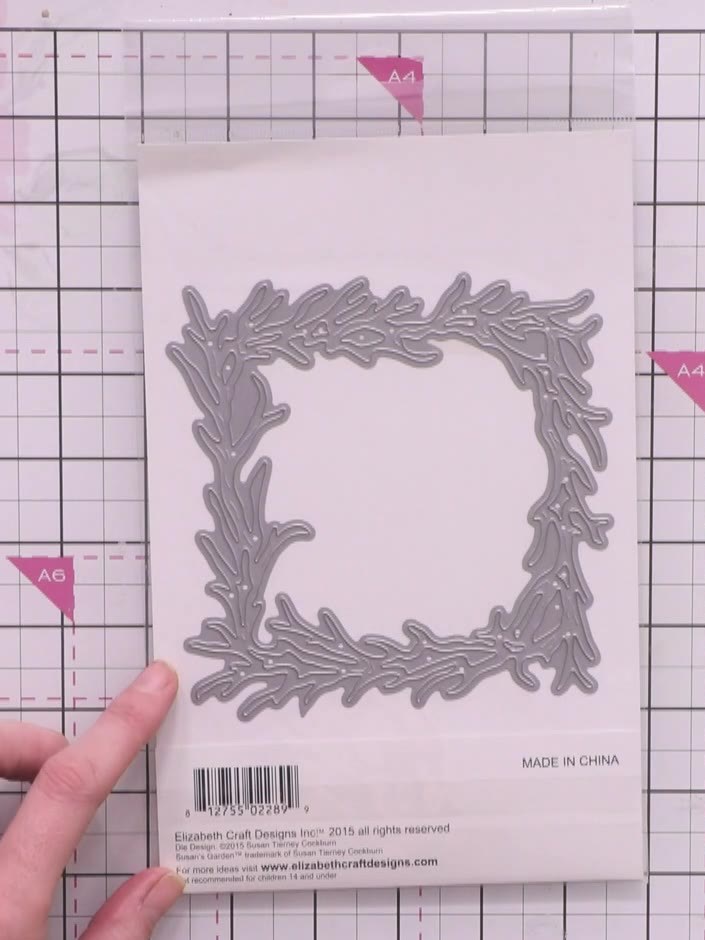
Remove the Tags Pivot Card die from its packaging. The die features a decorative wreath frame design with leaves and branches forming a square border.
 2
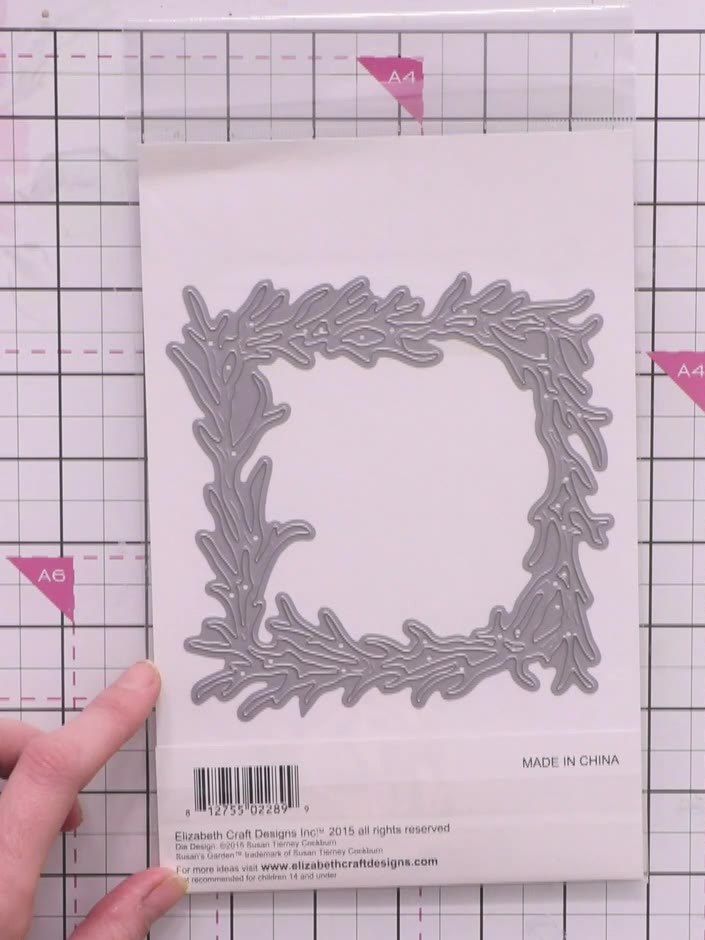
Fold your card in half and position it on your cutting mat. Place the Tags Pivot Card die on top of the folded card, ensuring it is properly aligned.
 3
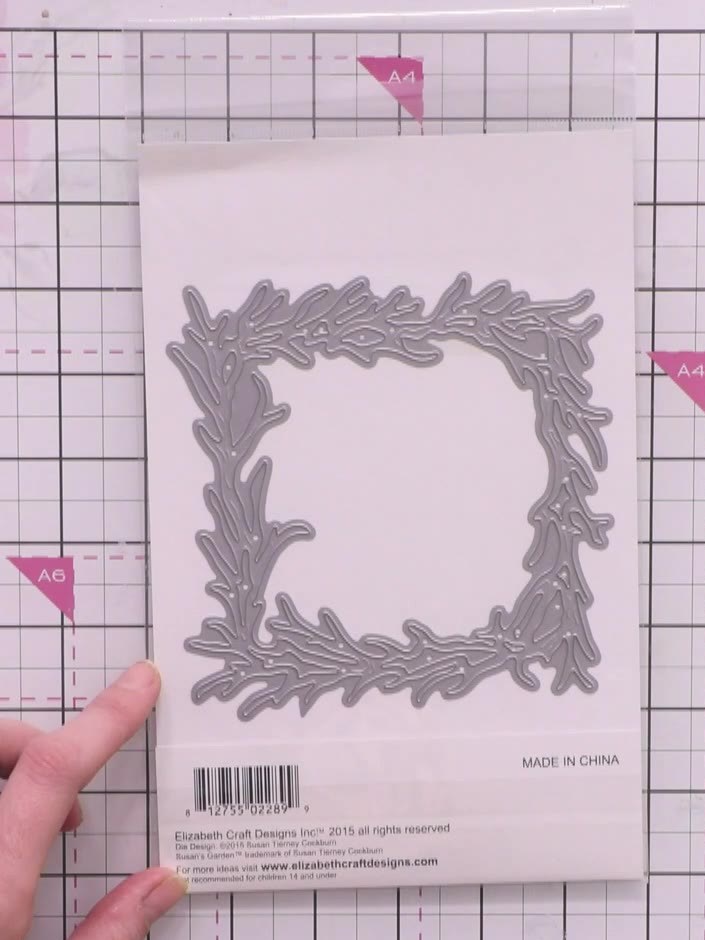
Align the die's centre crease line with your card's fold line. Position the die so that the central vertical line of the die matches up with the fold line of your card. Run the assembled card through your die-cutting machine using the Tags Pivot Card die to create the pop-up tag mechanism. Ensure the card is properly positioned before running it through the machine.
Teile dein Projekt mit der Stamps By Me Community - und behalte diese Anleitung für das nächste Mal.
Direkt aus der Show aufgeschrieben. Alle Anleitungen aus unseren Shows · kostenlose Anleitungen · live auf My Telly ansehen · die bisherige Ansicht