Schenke deinen Freundinnen und Freunden 10 £ Rabatt auf ihre erste Bestellung!
Freunde WERBEN








 Hidden GemsMi., 11. Nov. 10:00 Uhr
 The Thursday DropDo., 12. Nov. 18:00 Uhr
 The Friday Final CutFr., 13. Nov. 10:00 Uhr
Preise ändern sich sofort. Jede Sprache ist unsere eigene Übersetzung, nicht Google.
Ein Projekt aus unserer Live-Show HOBBYMAKER TV - Sendung vom 9. November 2026 · 09.11.2026 · ab 27:00 ansehen
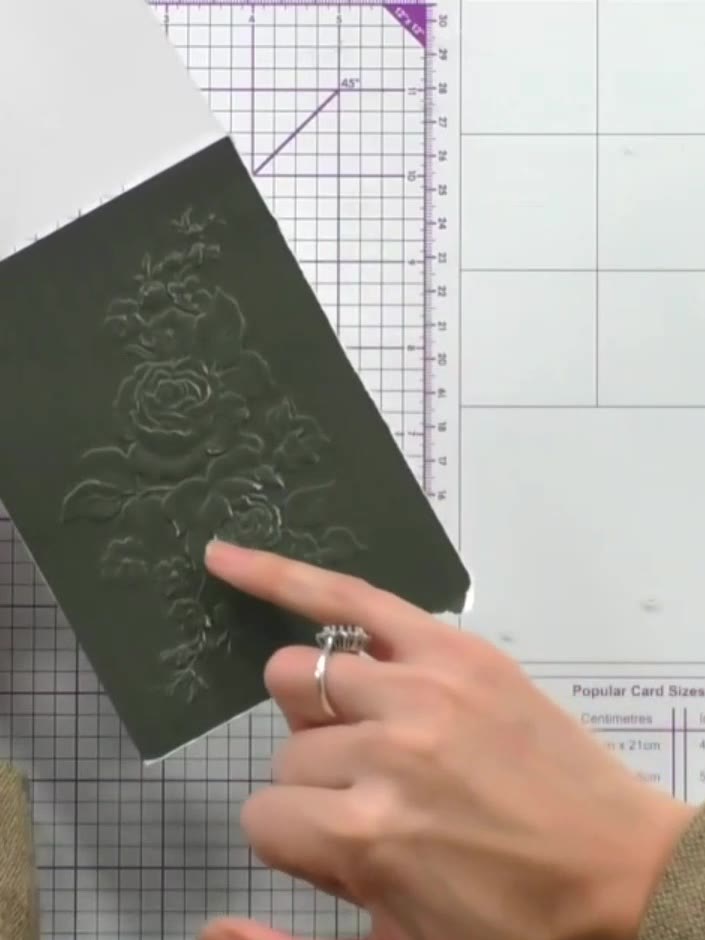
Create an elegant card featuring embossed heritage paper in a rich olive green shade. The design showcases a delicate floral motif with raised details that are highlighted to create depth and dimension. This sophisticated technique combines embossing with selective ink application to produce a vintage-inspired card perfect for special occasions.
DIESE ANLEITUNG HERUNTERLADEN (PDF)
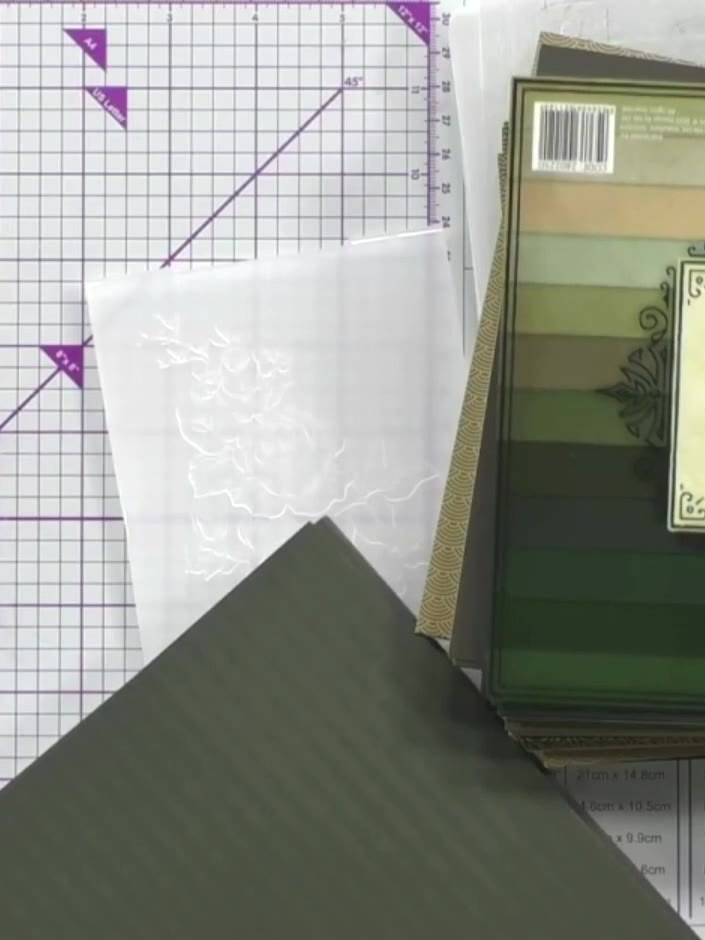
Select a dark green cardstock from the heritage paper collection. Place it into the embossing folder with the raised side of the design facing upwards.
▶ diesen Schritt ansehen (27:30)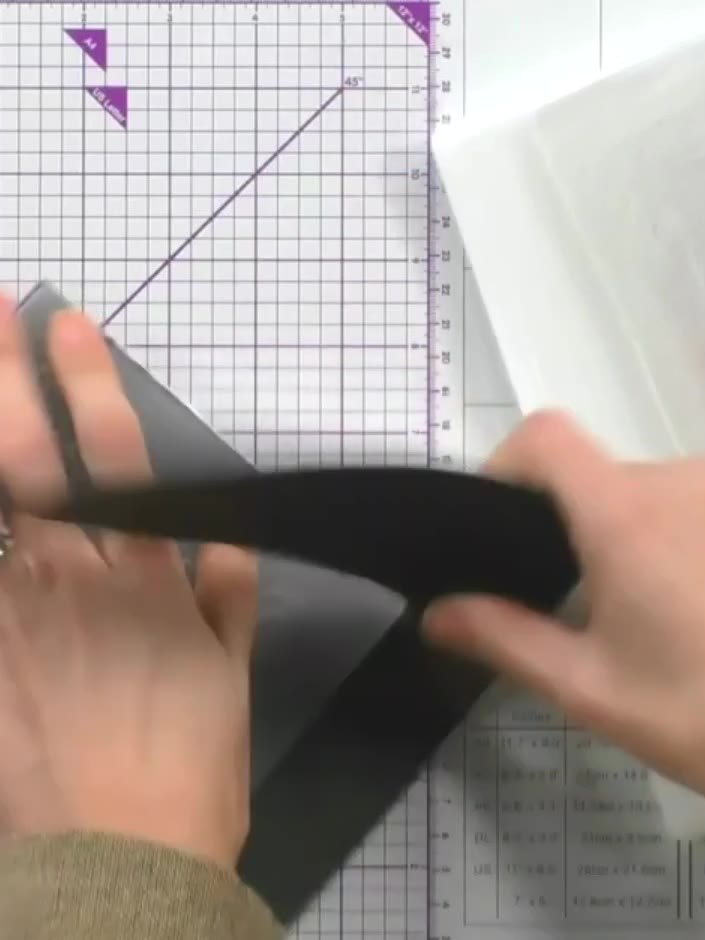
Run the dark green cardstock and embossing folder through your die-cutting machine using the appropriate plates to create the embossed pattern.
▶ diesen Schritt ansehen (28:00)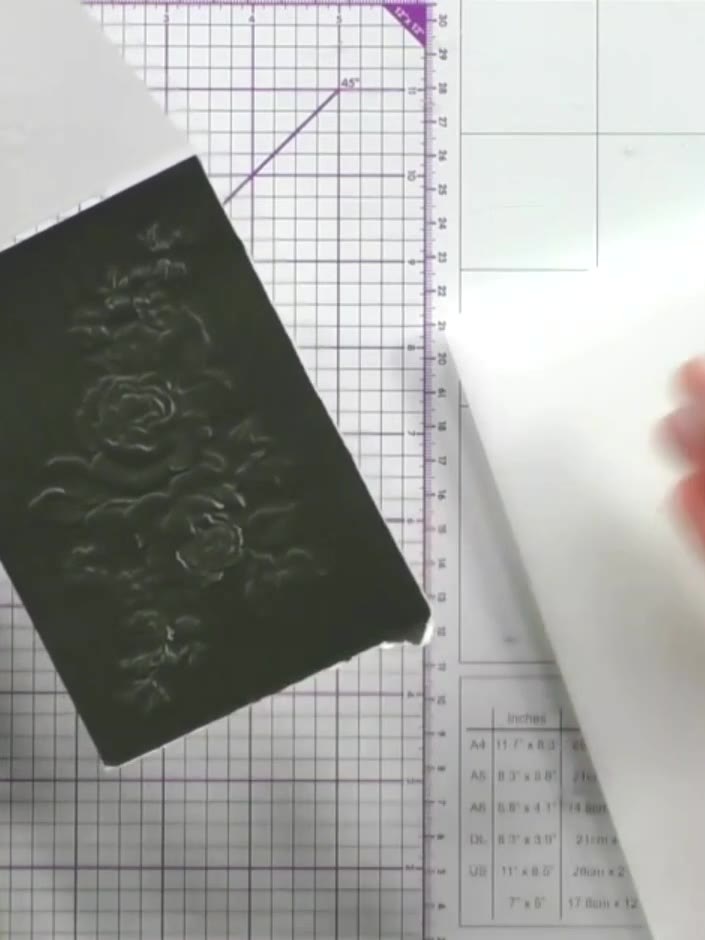
Remove the dark green cardstock from the embossing folder to reveal the embossed floral design.
▶ diesen Schritt ansehen (28:30)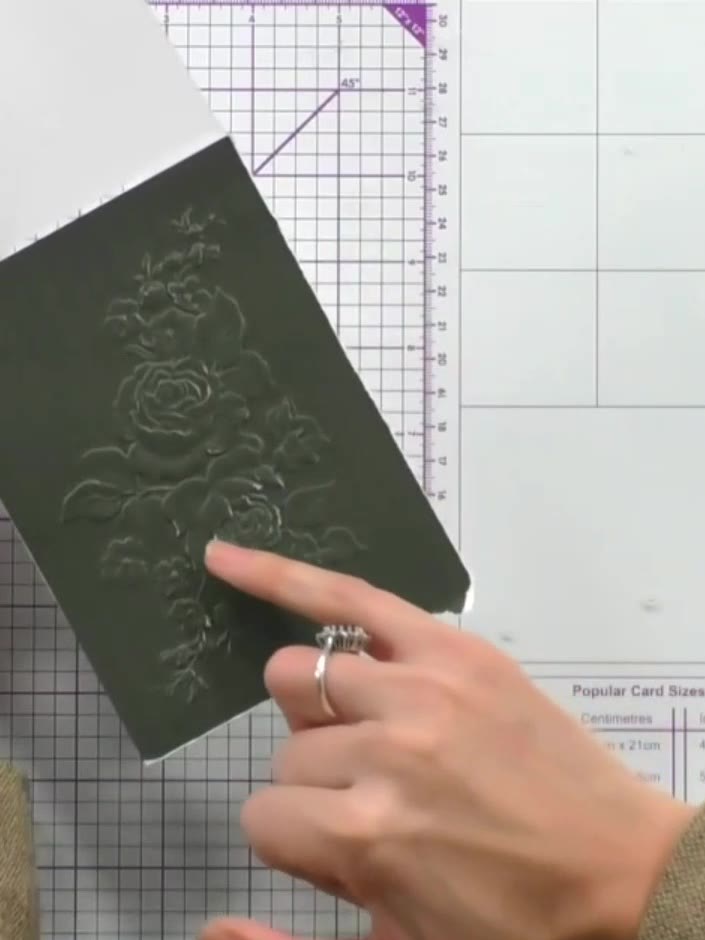
Using a white ink pad, gently tap it over the embossed floral design on the dark green card to highlight the raised details. Work lightly to catch just the raised surface, creating a subtle contrast against the dark background.
▶ diesen Schritt ansehen (29:00)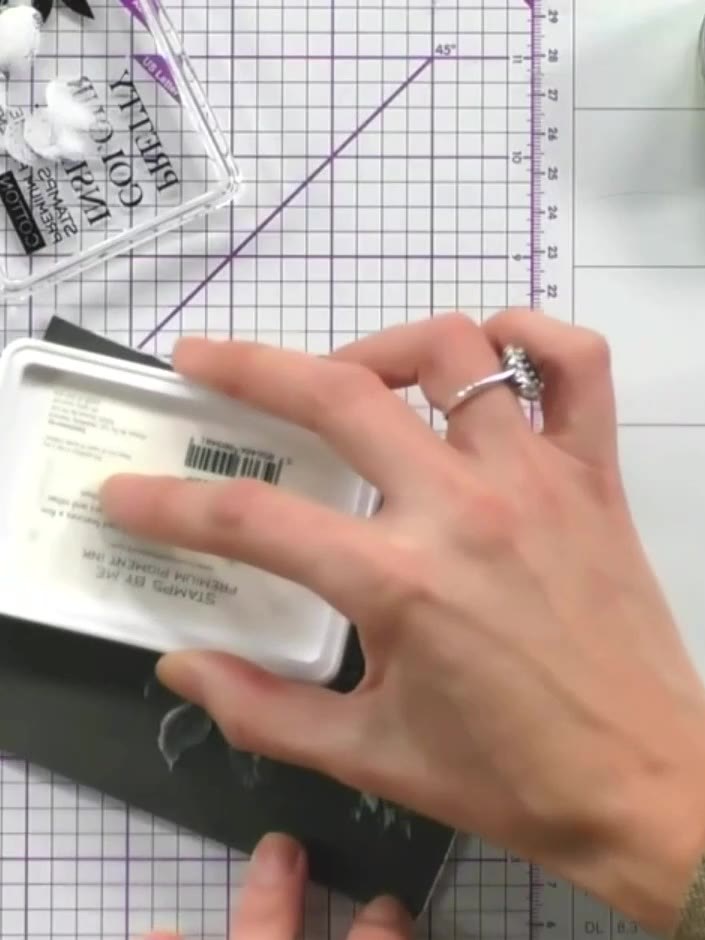
Apply a gold or metallic wax to the embossed areas by rubbing it on with your finger and buffing to create a highlighted finish. Mount the embossed and highlighted green cardstock panel onto your white card base, ensuring it is centred and secure.
▶ diesen Schritt ansehen (29:45)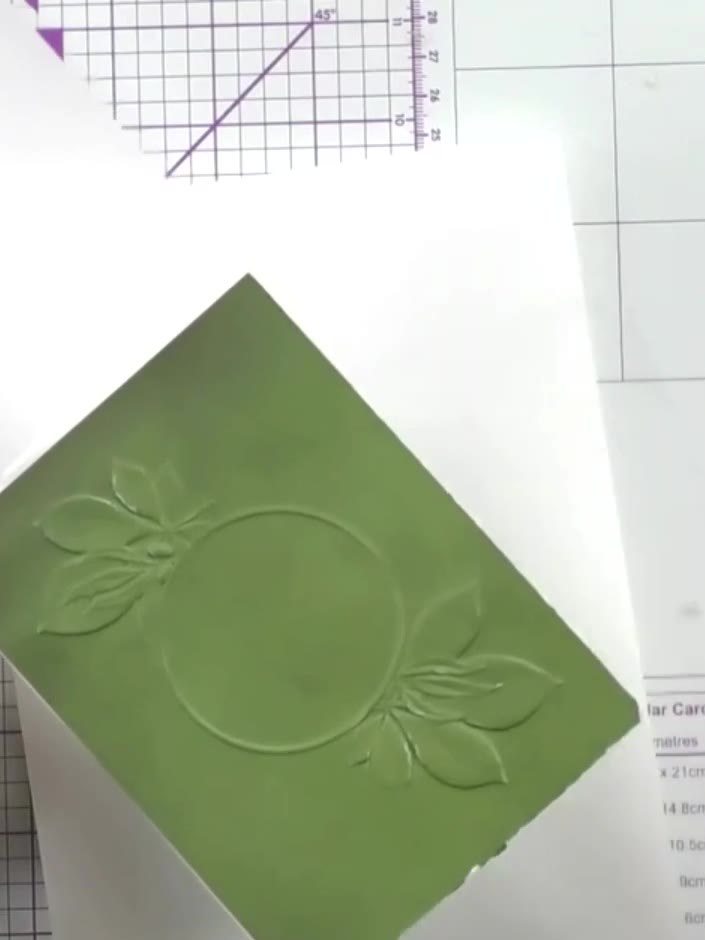
Add a sentiment or greeting to complete your card. Position it on the card front and adhere in place.
▶ diesen Schritt ansehen (31:15)Direkt aus der Show aufgeschrieben. Alle Anleitungen aus unseren Shows ansehen · kostenlose Anleitungen · live auf My Telly ansehen