Schenke deinen Freundinnen und Freunden 10 £ Rabatt auf ihre erste Bestellung!
Freunde WERBEN








 Hidden GemsMi., 11. Nov. 10:00 Uhr
 The Thursday DropDo., 12. Nov. 18:00 Uhr
 The Friday Final CutFr., 13. Nov. 10:00 Uhr
Preise ändern sich sofort. Jede Sprache ist unsere eigene Übersetzung, nicht Google.
Ein Projekt aus unserer Live-Show HOBBYMAKER TV - Sendung vom 9. November 2026 · 09.11.2026
Create an elegant birthday card using an embossing folder with the letterpress technique, combining debossed and embossed effects. Layer this with a die-cut 'Happy Birthday' sentiment in coordinating colours and add embellishments for a professional, multi-dimensional card. The finished design features sophisticated layering and texture for a truly special greeting.
Ink both sides of your embossing folder with a water-based ink pad in your chosen colour. Allow to dry, then select which side you prefer for your design.
Place your white cardstock into the inked embossing folder and run it through your die-cutting machine using plates A, C, and C.
Open the embossing folder to reveal the embossed candle design on your cardstock. Carefully remove the embossed piece from the folder.
Die-cut the 'Happy Birthday' sentiment from charcoal cardstock using your die-cutting machine. Keep both the cut-out letters and the negative space pieces for your card design.
Die-cut the same 'Happy Birthday' design from bright pink cardstock to use for paper-piecing the letters.
Using a glue pen, carefully adhere the pink 'Happy Birthday' die-cut pieces onto the acetate backing. Allow the glue to dry completely before proceeding.
Mount the embossed white cardstock onto your charcoal card base, ensuring you leave an even black frame around all edges. Press down firmly to secure the panel in place.
Attach the layered 'Happy Birthday' sentiment to the centre of the card front using foam pads for dimension.
Add small embellishments such as party hats and embossed candles around the design using foam pads to create dimension and height on your card.
Add a ribbon bow to the front of the card for a finishing touch. Position it on the winter scene design and secure in place. Your letterpress embossed birthday card is now complete.
Teile dein Projekt mit der Stamps By Me Community - und behalte diese Anleitung für das nächste Mal.
 Circular Wreath Card with Stamped Leaves and Berries3 Schritte
 Nesting Balloon Die-Cut Birthday Card3 Schritte
 Festive Wreath Card with Poinsettia Dies and Layered Florals5 Schritte
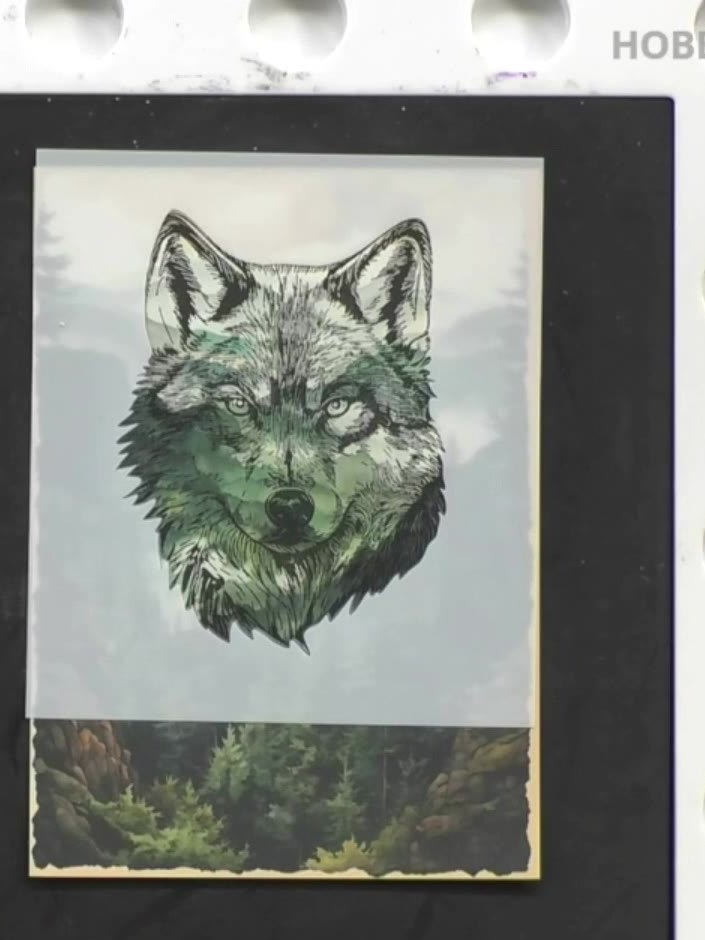 Woodland Wildlife Stencil and Stamped Scene Card8 Schritte
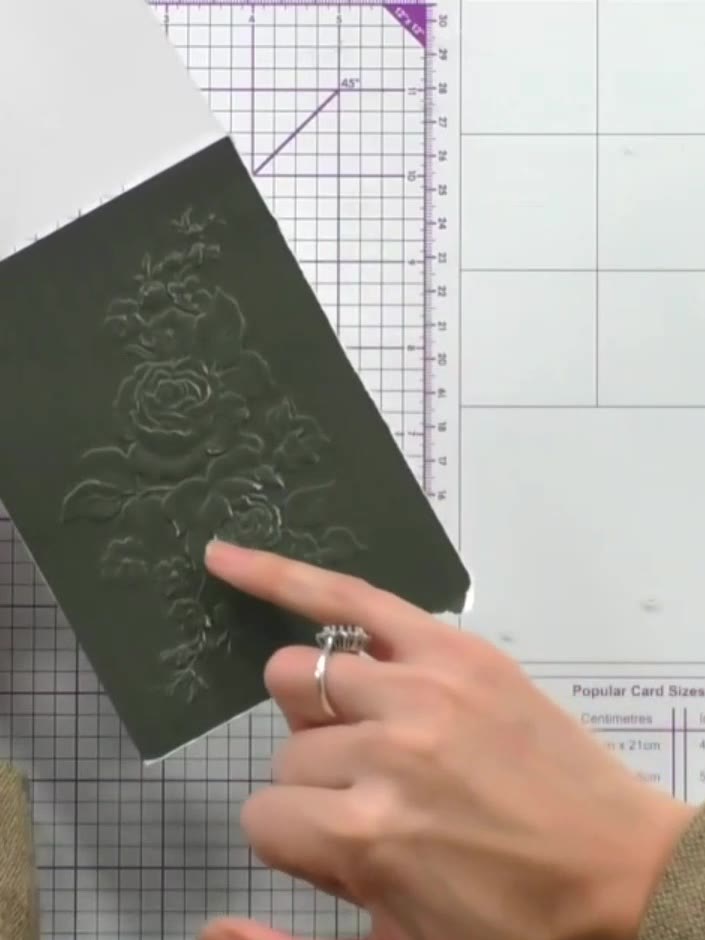 Embossed Heritage Paper Card with White Ink Highlight6 Schritte
Direkt aus der Show aufgeschrieben. Alle Anleitungen aus unseren Shows · kostenlose Anleitungen · live auf My Telly ansehen · die bisherige Ansicht