Schenke deinen Freundinnen und Freunden 10 £ Rabatt auf ihre erste Bestellung!
Freunde WERBEN








 Hidden GemsMi., 11. Nov. 10:00 Uhr
 The Thursday DropDo., 12. Nov. 18:00 Uhr
 The Friday Final CutFr., 13. Nov. 10:00 Uhr
Preise ändern sich sofort. Jede Sprache ist unsere eigene Übersetzung, nicht Google.
Ein Projekt aus unserer Live-Show HOBBYMAKER TV - Sendung vom 9. November 2026 · 09.11.2026 · ab 35:30 ansehen
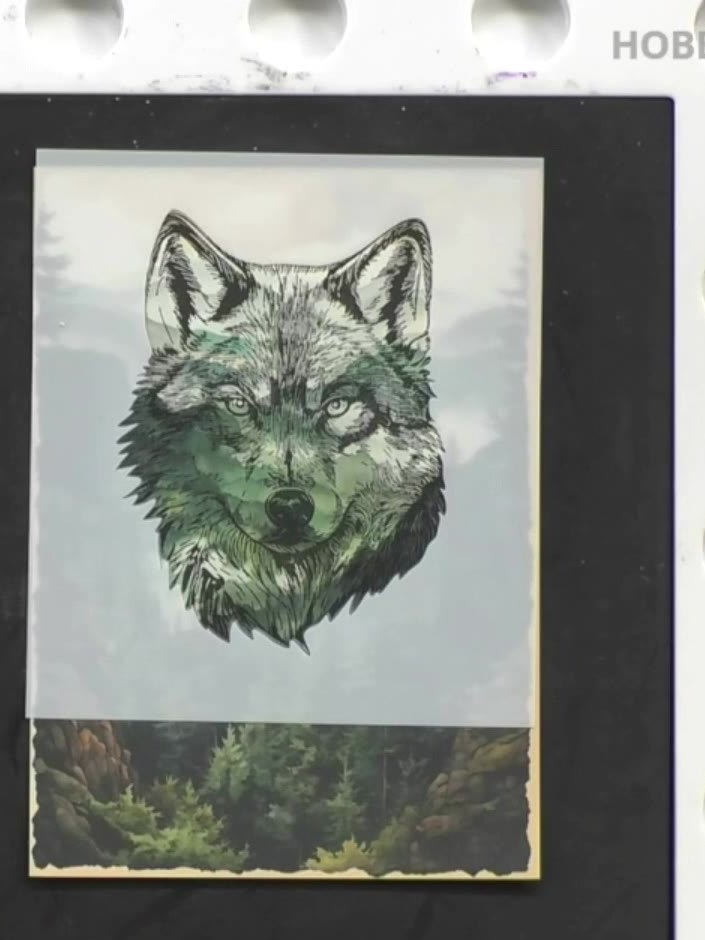
Create a stunning woodland wildlife card featuring a majestic wolf against a forest backdrop. This project uses stencilling and stamping techniques to build a layered scene with an ombré sky in soft peachy tones, deep green pine trees, and a detailed wolf focal point. The finished card combines ink blending, embossing, and dimensional stamping for a dramatic nature-inspired design.
DIESE ANLEITUNG HERUNTERLADEN (PDF)
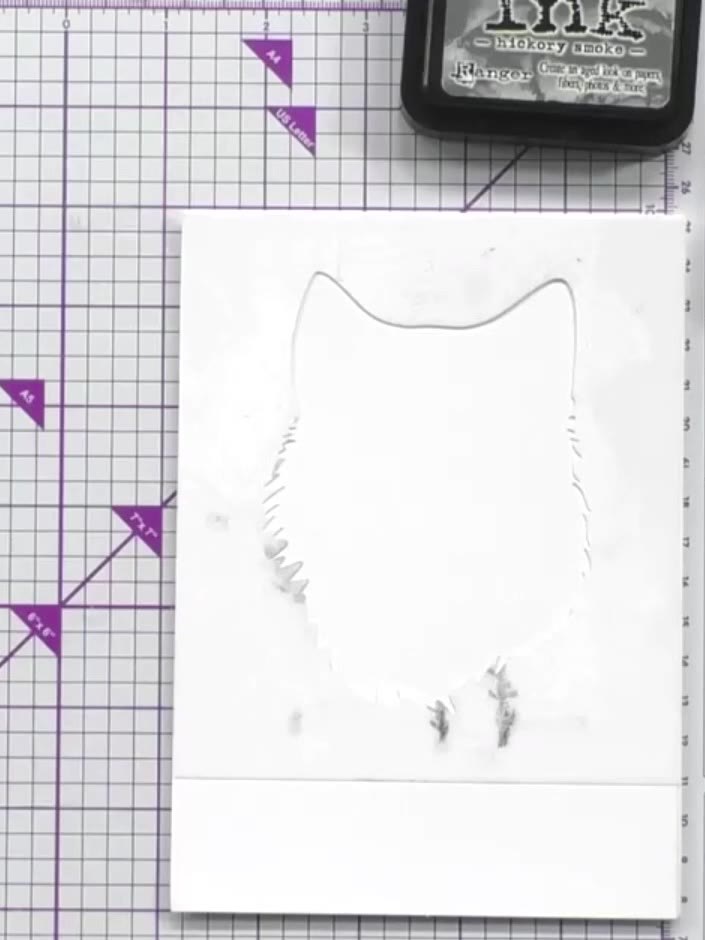
Place the outer stencil mask over your white cardstock. Using a blending brush, apply Distress Ink to the bottom portion of the card, working the colour through the stencil opening.
▶ diesen Schritt ansehen (36:00)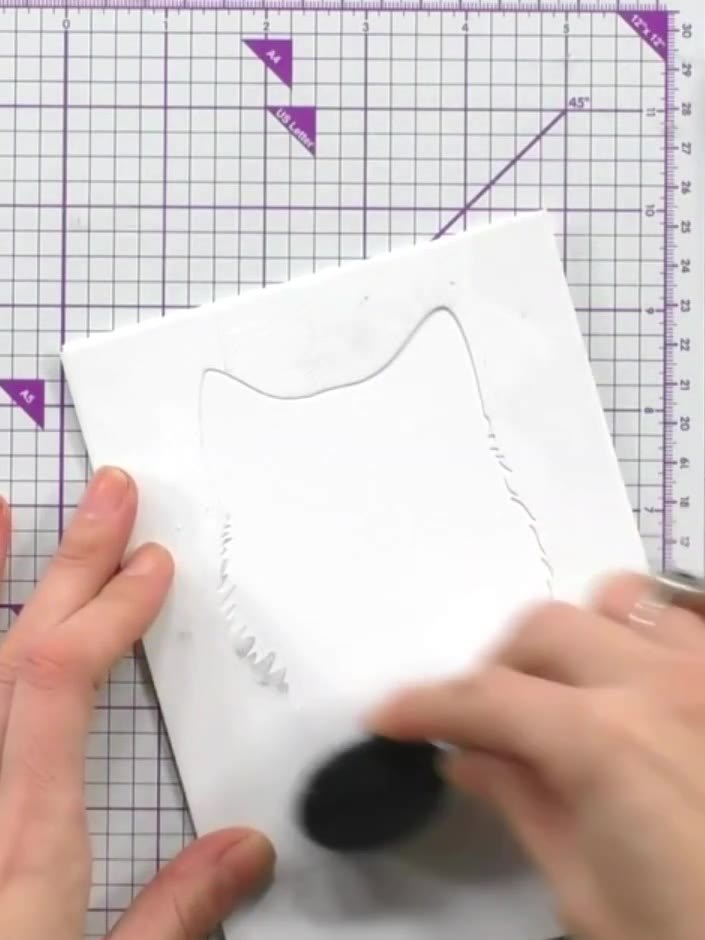
Blend Distress Ink in a second colour over the first ink, working upwards from the bottom of the card to create an ombré or gradient effect.
▶ diesen Schritt ansehen (36:45)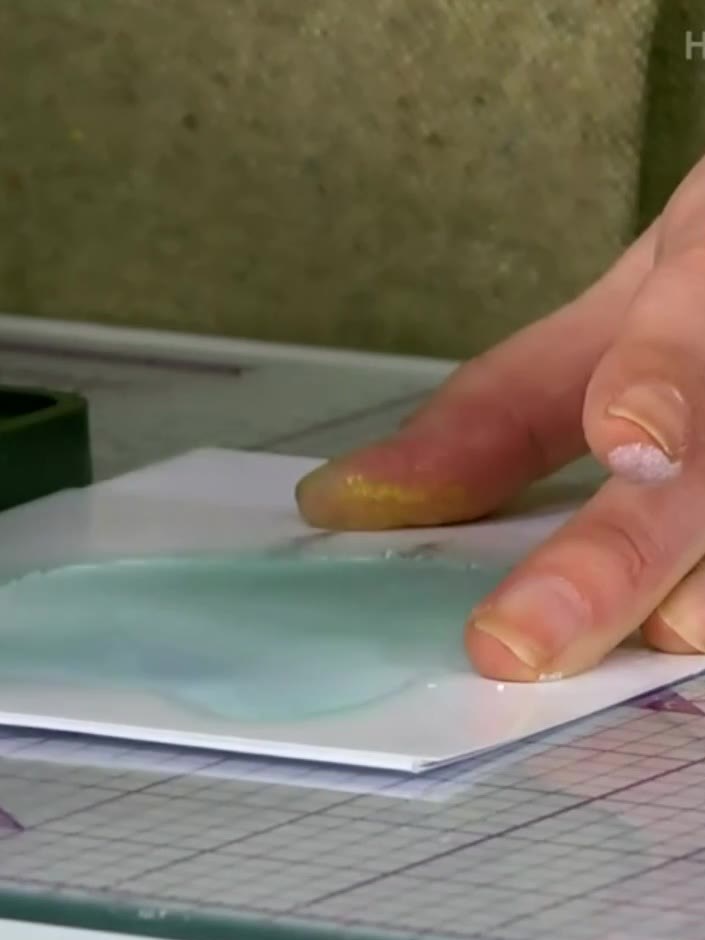
Carefully lift and remove the stencil from the card to reveal the mint green owl shape underneath.
▶ diesen Schritt ansehen (37:30)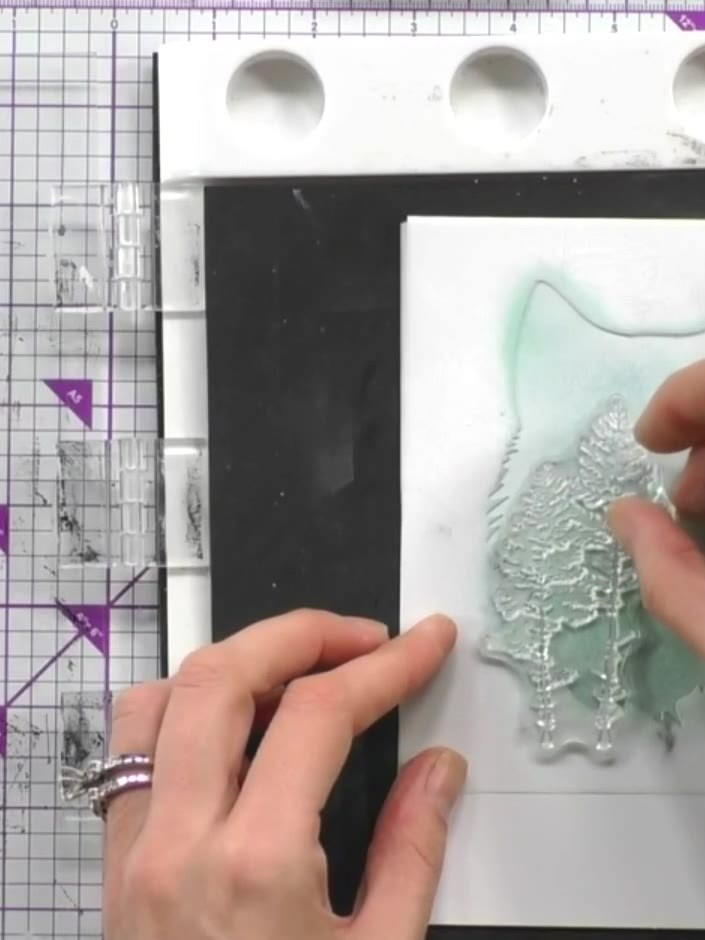
Ink up the tree stamp using black or dark ink. Stamp multiple trees within the stencilled outline, varying their placement and size to create a woodland scene.
▶ diesen Schritt ansehen (38:00)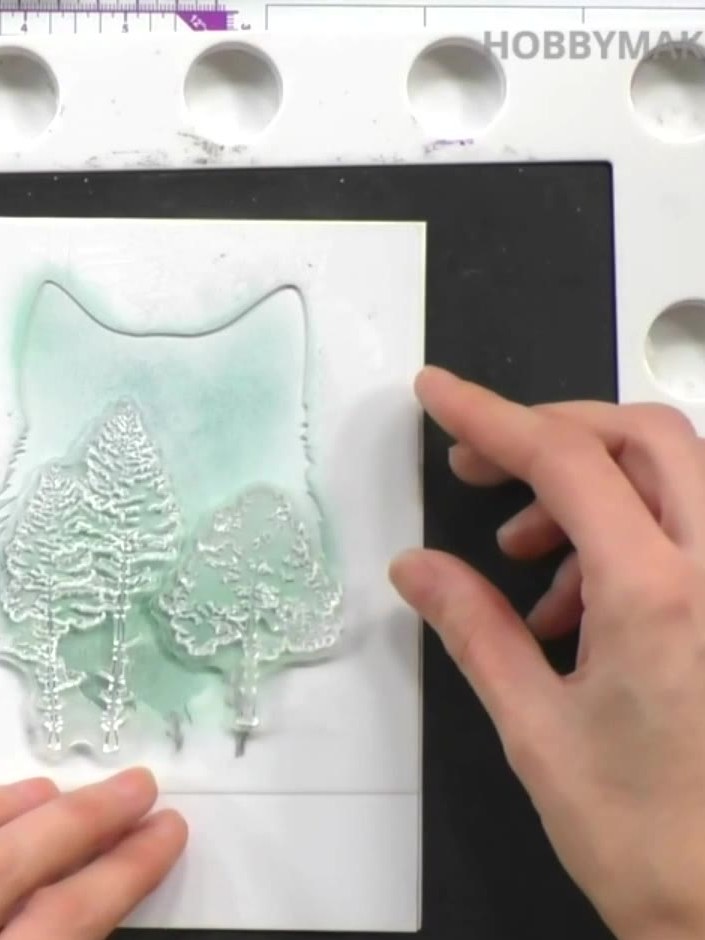
Stamp the tree images onto the turquoise gel press background using white embossing ink, pressing firmly to ensure good coverage. Position the trees in the foreground area of your scene.
▶ diesen Schritt ansehen (38:45)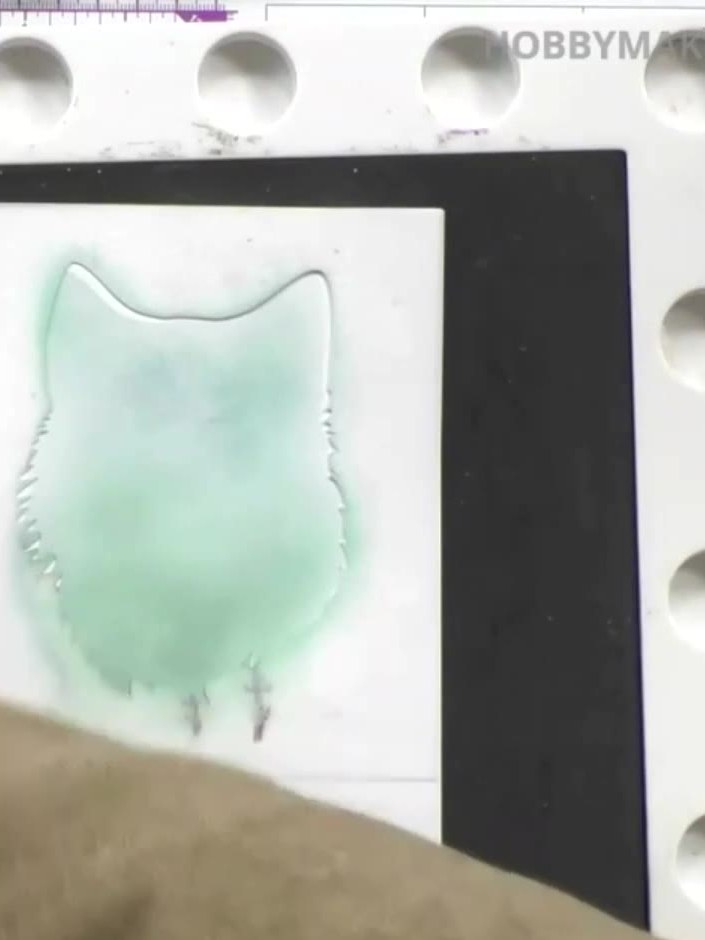
Stamp the owl image again onto the same area to deepen the mint green colour and ensure all the embossed details are clearly visible.
▶ diesen Schritt ansehen (39:30)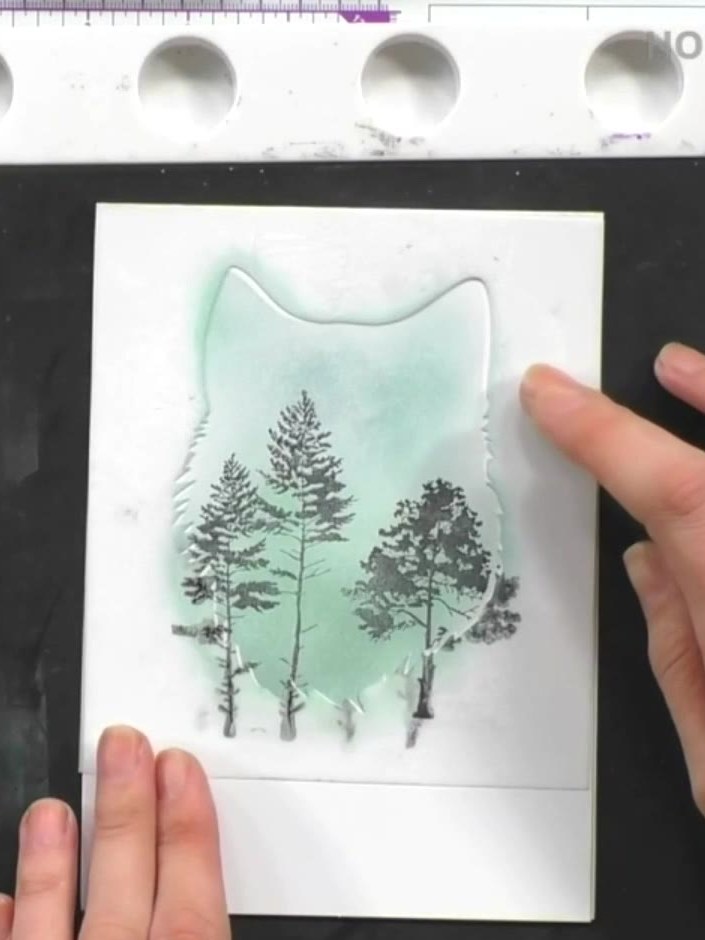
Add highlights or details to your stamped scene using a white gel pen. Work around the edges and focal points to create dimension and interest on your finished card.
▶ diesen Schritt ansehen (40:15)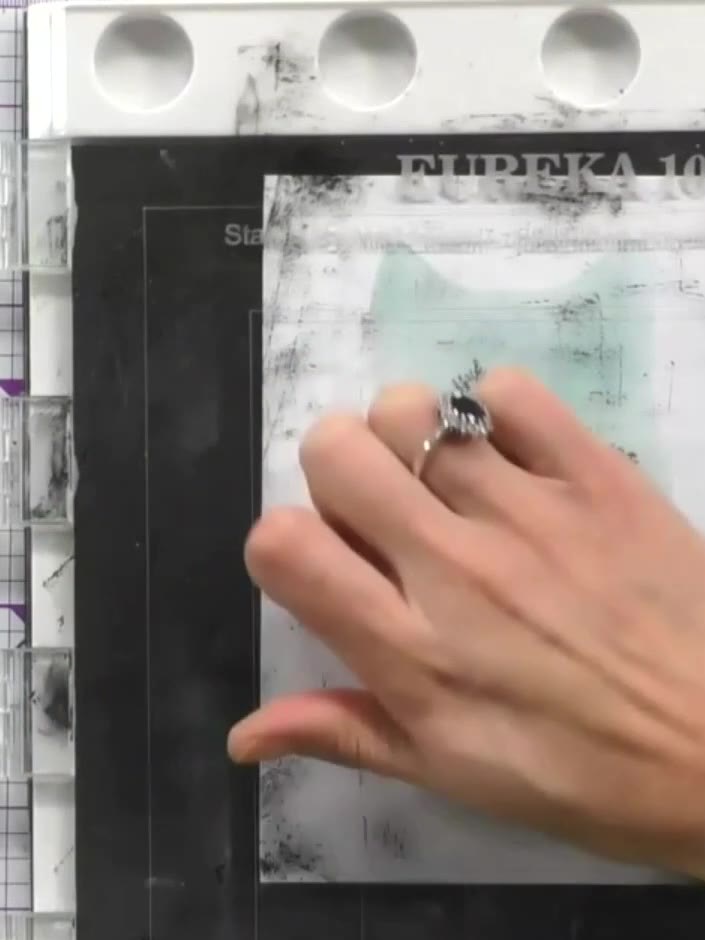
Mount your finished stamped and stencilled scene onto your card base. Alternatively, add a sentiment inside to complete your woodland wildlife card.
▶ diesen Schritt ansehen (41:00)Direkt aus der Show aufgeschrieben. Alle Anleitungen aus unseren Shows ansehen · kostenlose Anleitungen · live auf My Telly ansehen