Schenke deinen Freundinnen und Freunden 10 £ Rabatt auf ihre erste Bestellung!
Freunde WERBEN








 Community ShowcaseMo., 9. Nov. 10:00 Uhr
 Hobbymaker TVMo., 9. Nov. 14:00 Uhr
 Deal HuntersDi., 10. Nov. 14:00 Uhr
Preise ändern sich sofort. Jede Sprache ist unsere eigene Übersetzung, nicht Google.
Ein Projekt aus unserer Live-Show NOCHMAL ANSEHEN: Stencil Heaven mit CARLEY und TONI – Entdecke diese fantastischen Designs von Stamps By Me · 18.06.2021
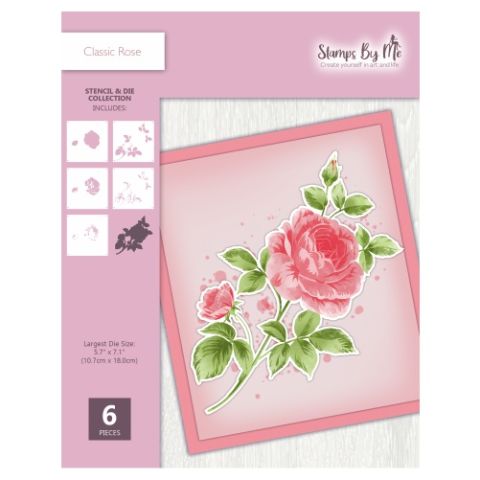
A luxury card featuring a die-cut classic rose as the focal point, mounted on mirror card with an iridescent glitter paste textured background. The encapsulated glitter adds shimmer without mess.
Take a piece of cardstock and apply gold glitter paste using a spatula, dragging it across the page to create texture.
Add white glitter paste in a swiping motion to create additional texture and iridescent effect.
Allow the glitter paste to dry completely (it dries quickly despite being thick).
Mount the textured piece onto mirror card to add extra shine and luxury.
Attach your previously completed die-cut rose design to the centre of the textured background.
Add a sentiment or decorative tile to complete the card design.
Teile dein Projekt mit der Stamps By Me Community - und behalte diese Anleitung für das nächste Mal.
Direkt aus der Show aufgeschrieben. Alle Anleitungen aus unseren Shows · kostenlose Anleitungen · live auf My Telly ansehen · die bisherige Ansicht