Give your friends $10 off their first order!
Refer a FRIEND


WHAT YOU WILL NEED:
White card blank 6 x 8"
Black/white cardstock
Imala Ditsy Florals A5 Stamp
Imala Bicycle Bloom A5 stamp
SBM Hybrid Ink Pad: Midnight
SBM Dye Ink Pad: Limeade, Ocean, Magenta
Blending brush
WOW embossing ink pad
WOW heat tool
WOW white embossing powder
Anti-static bag
Circle Die 3 1/4"
Sequins
Pick up gem and pokey tool
Eureka 101 Watercolour Tablet
SBM A3 Magnetic glass mat
Paper Trimmer
Glue
Die Cutting machine
[click image to enlarge] 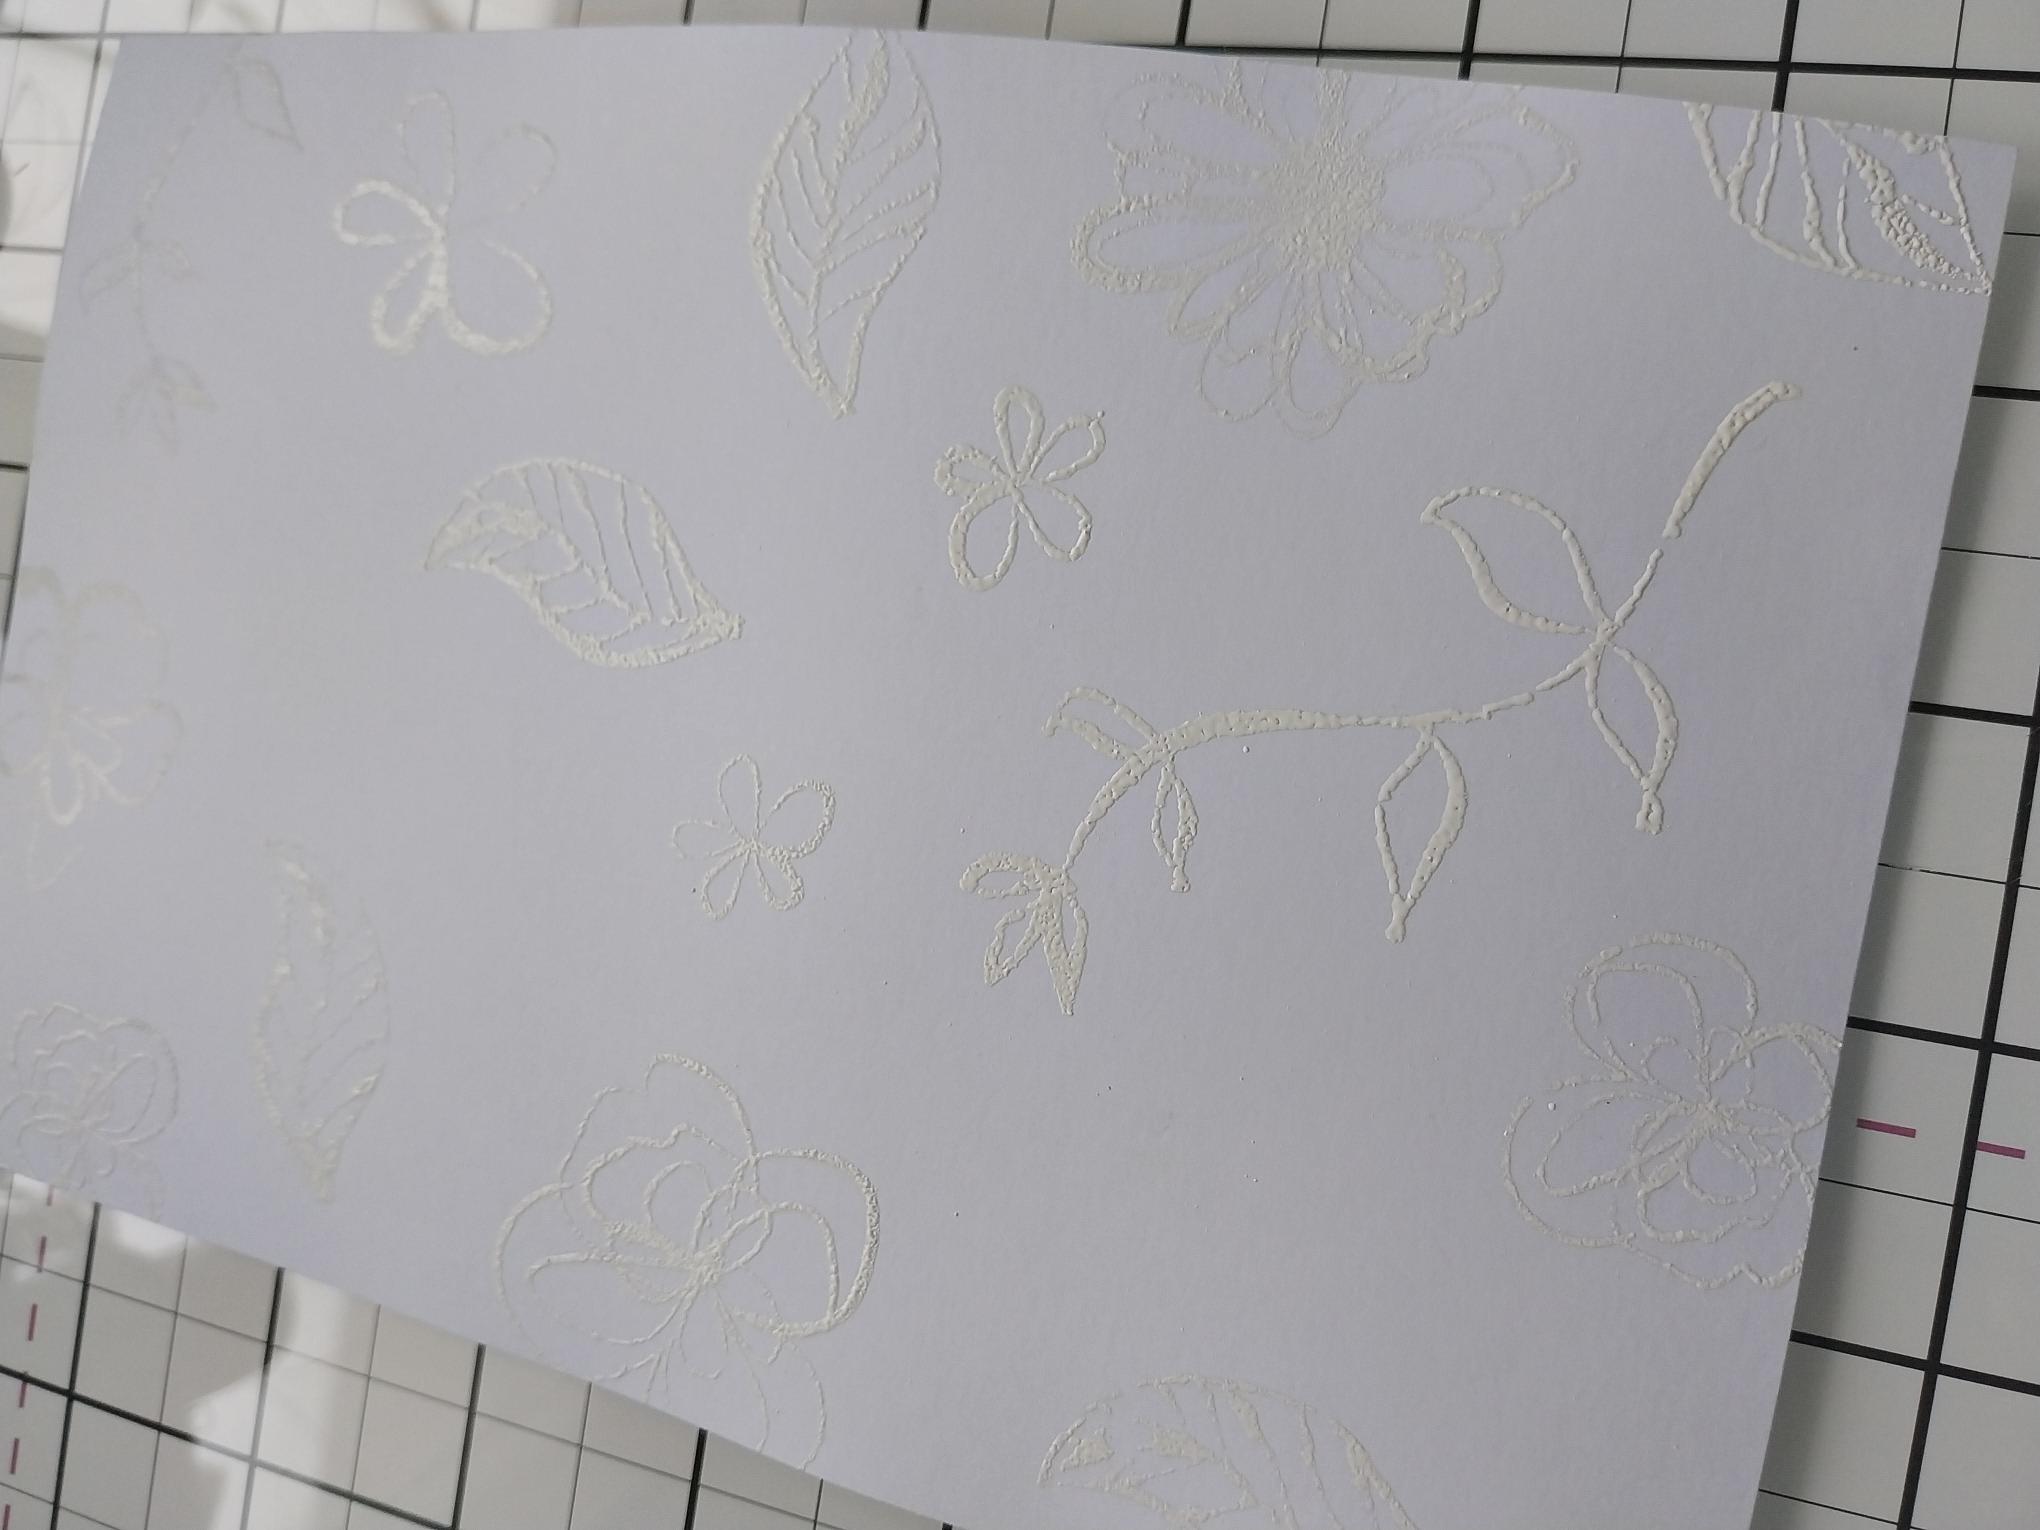
|
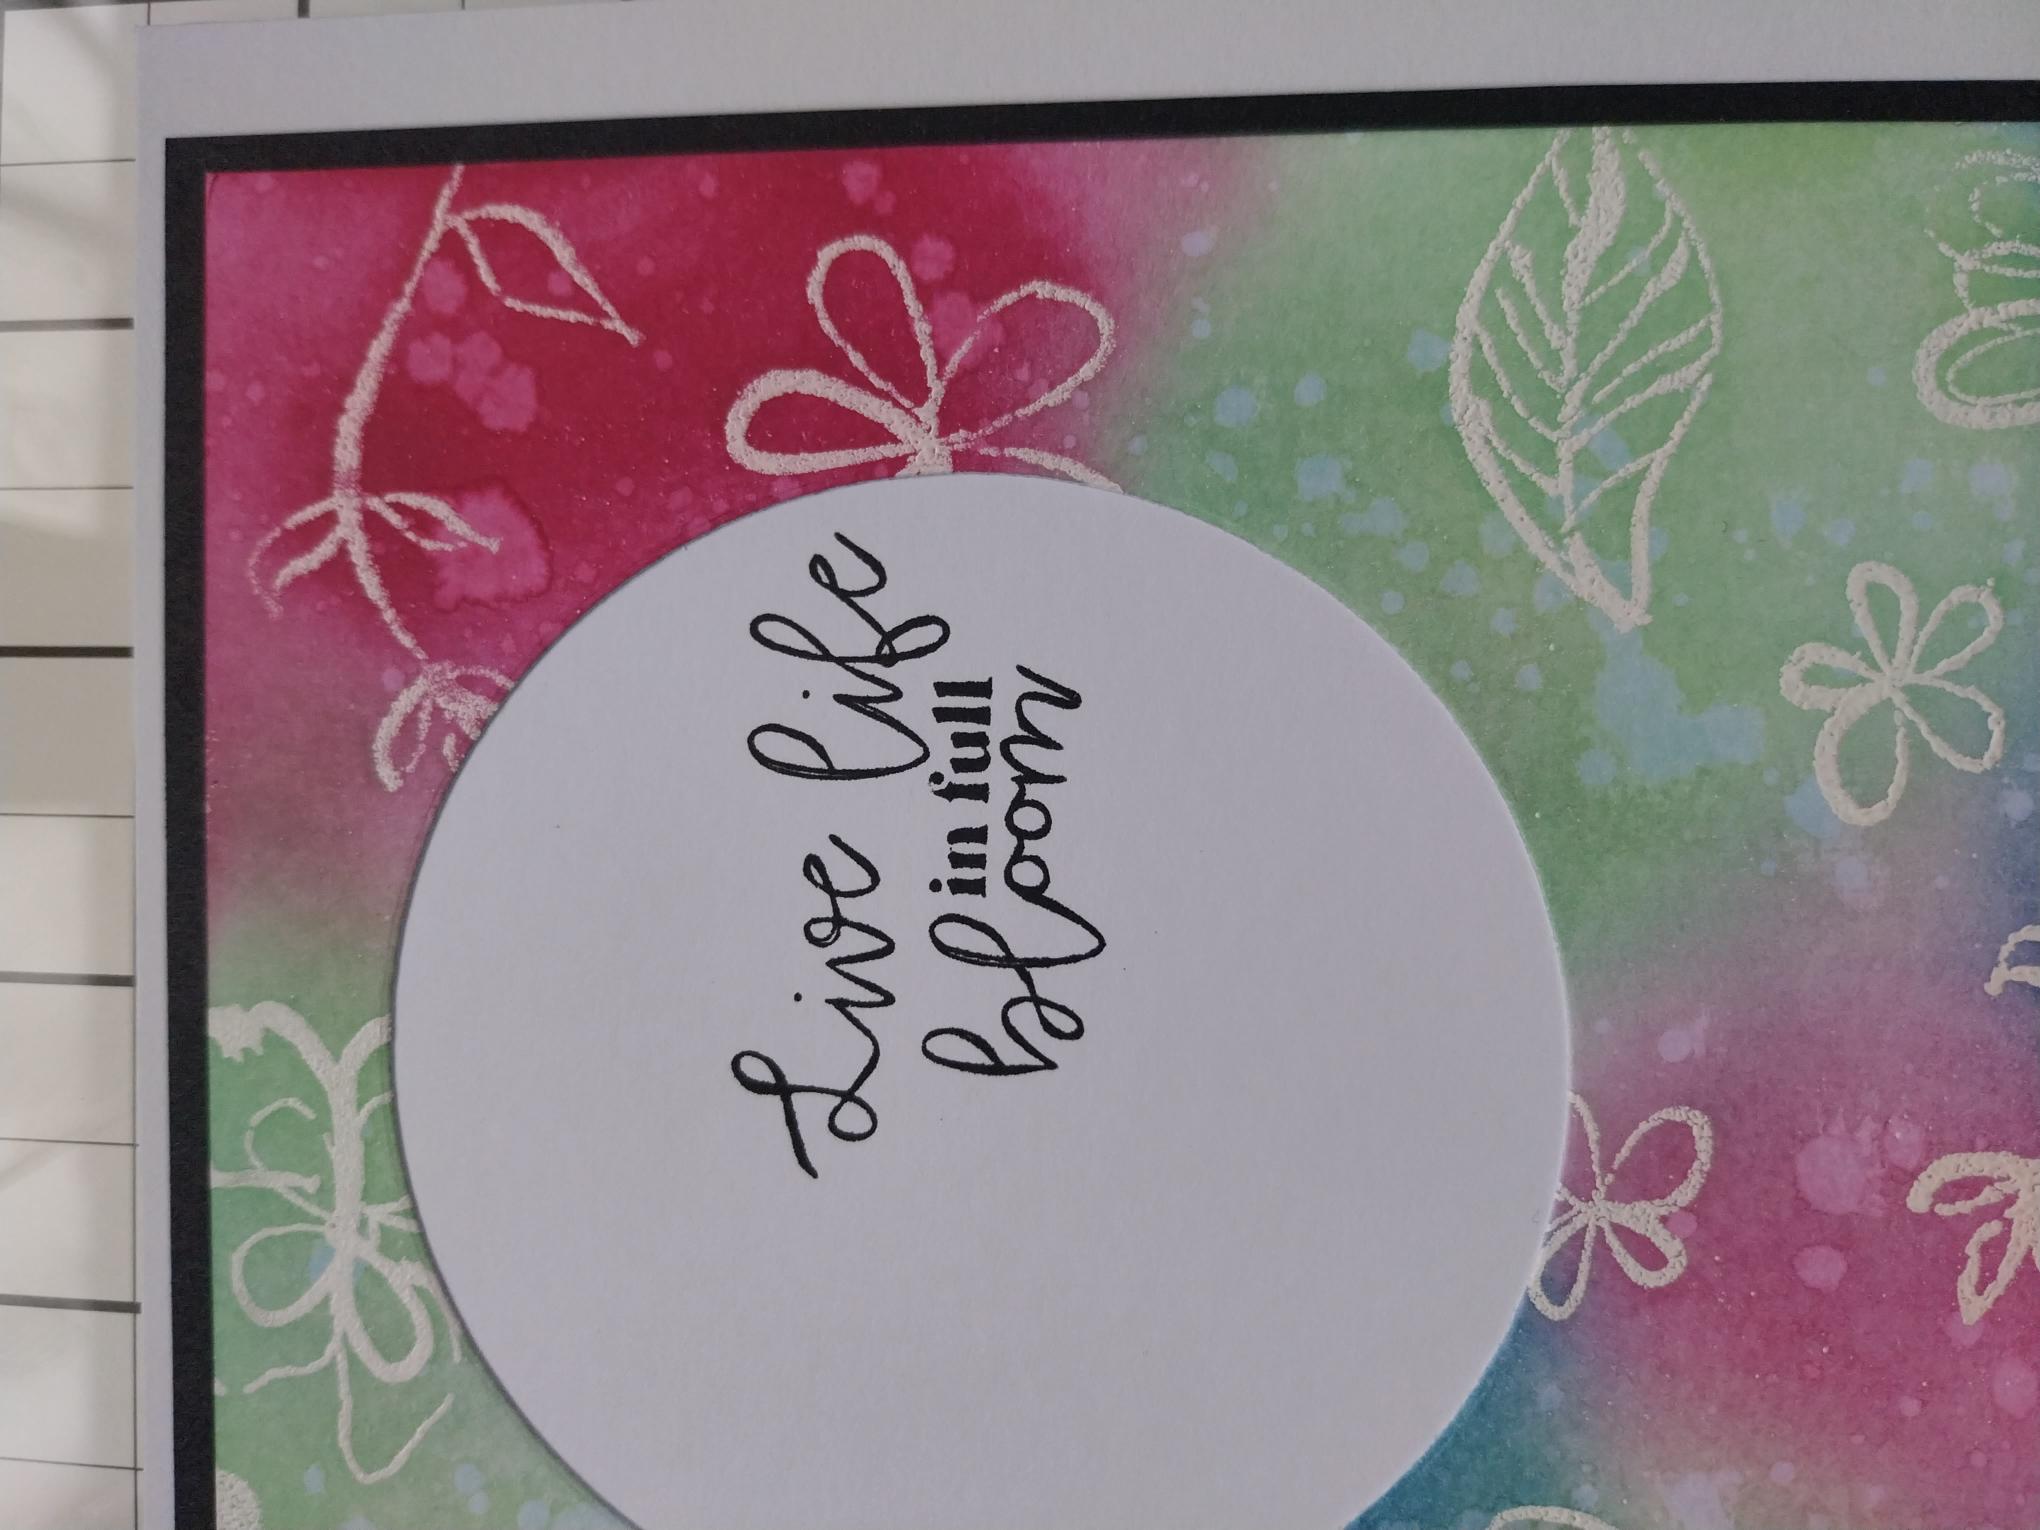
Wipe over a piece of card, measuring 5 x 7 1/2", with your anti-static bag. Stamp the floral and foliage elements, from Imala Ditsy Florals, multiple times on to the card, with the WOW sticky embossing ink. Ensure some of the images are stamped off the edges. Sprinkle the white embossing powder over the stamped images, decanting any excess powder back in the pot. Get your heat tool hot then heat set the powder, moving your heat tool as soon as the powder starts to turn. |

|
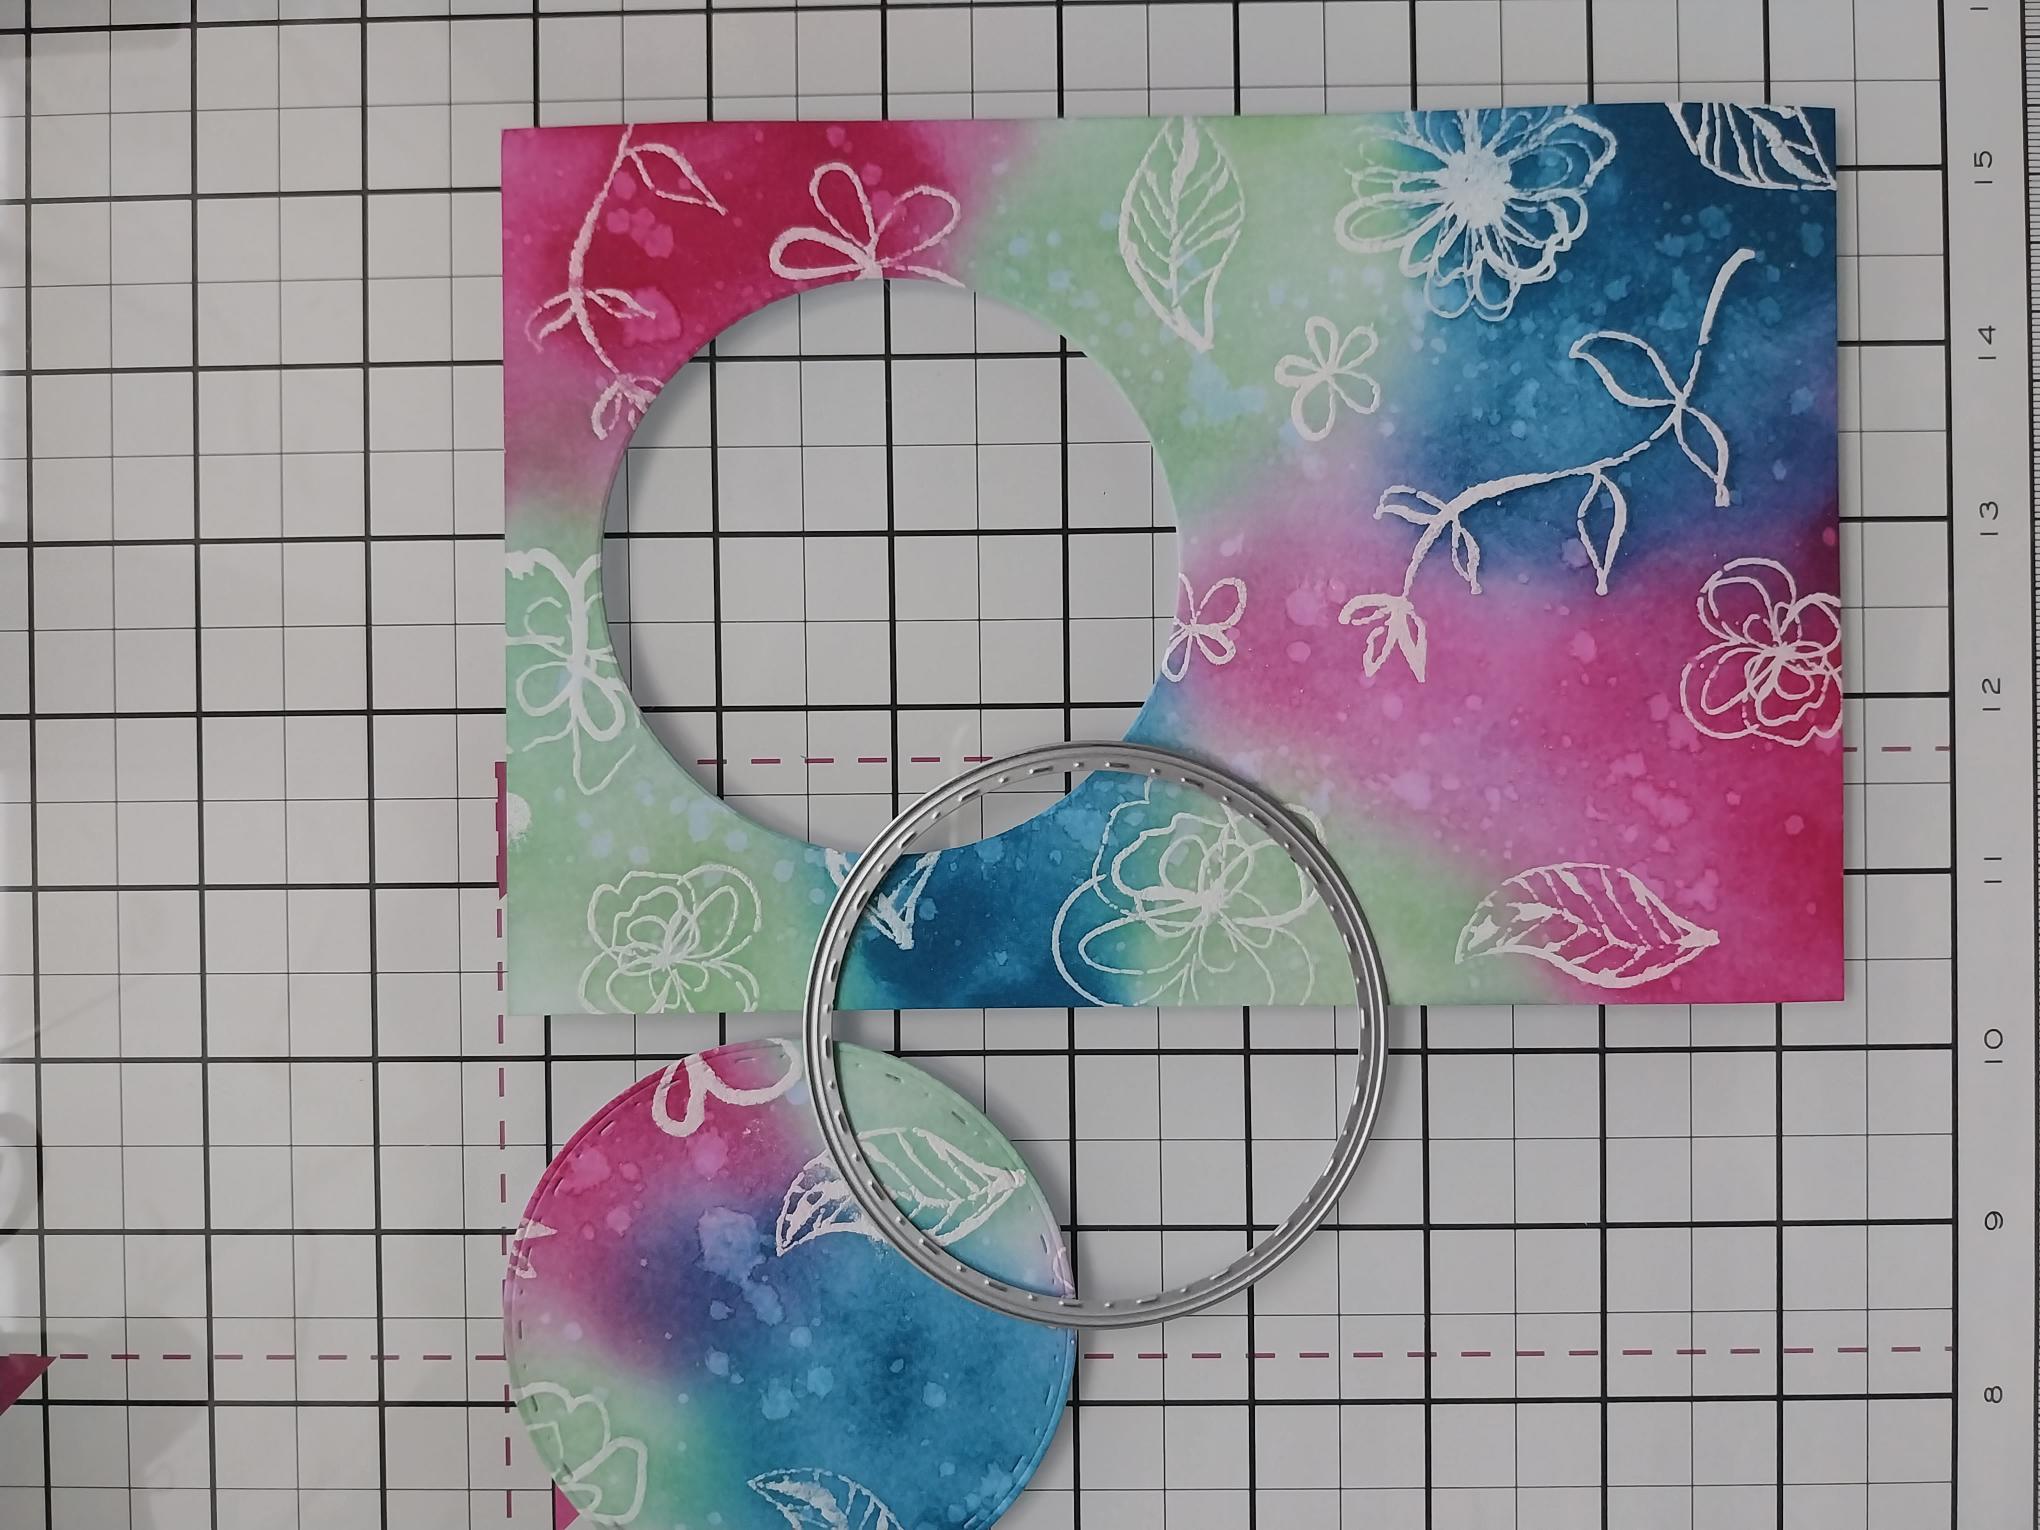
Blend your inks to create a vibrant effect. The embossed images will "resist" the ink, hence known as the "resist technique". You can buff over the images to remove any ink still remaining. Splatter water on to your artwork, wait a few seconds then "lift" the ink with a paper towel. |
|
Die cut a circle aperture centre top, of your artwork. Save the inked die cut circle for another project! |

|
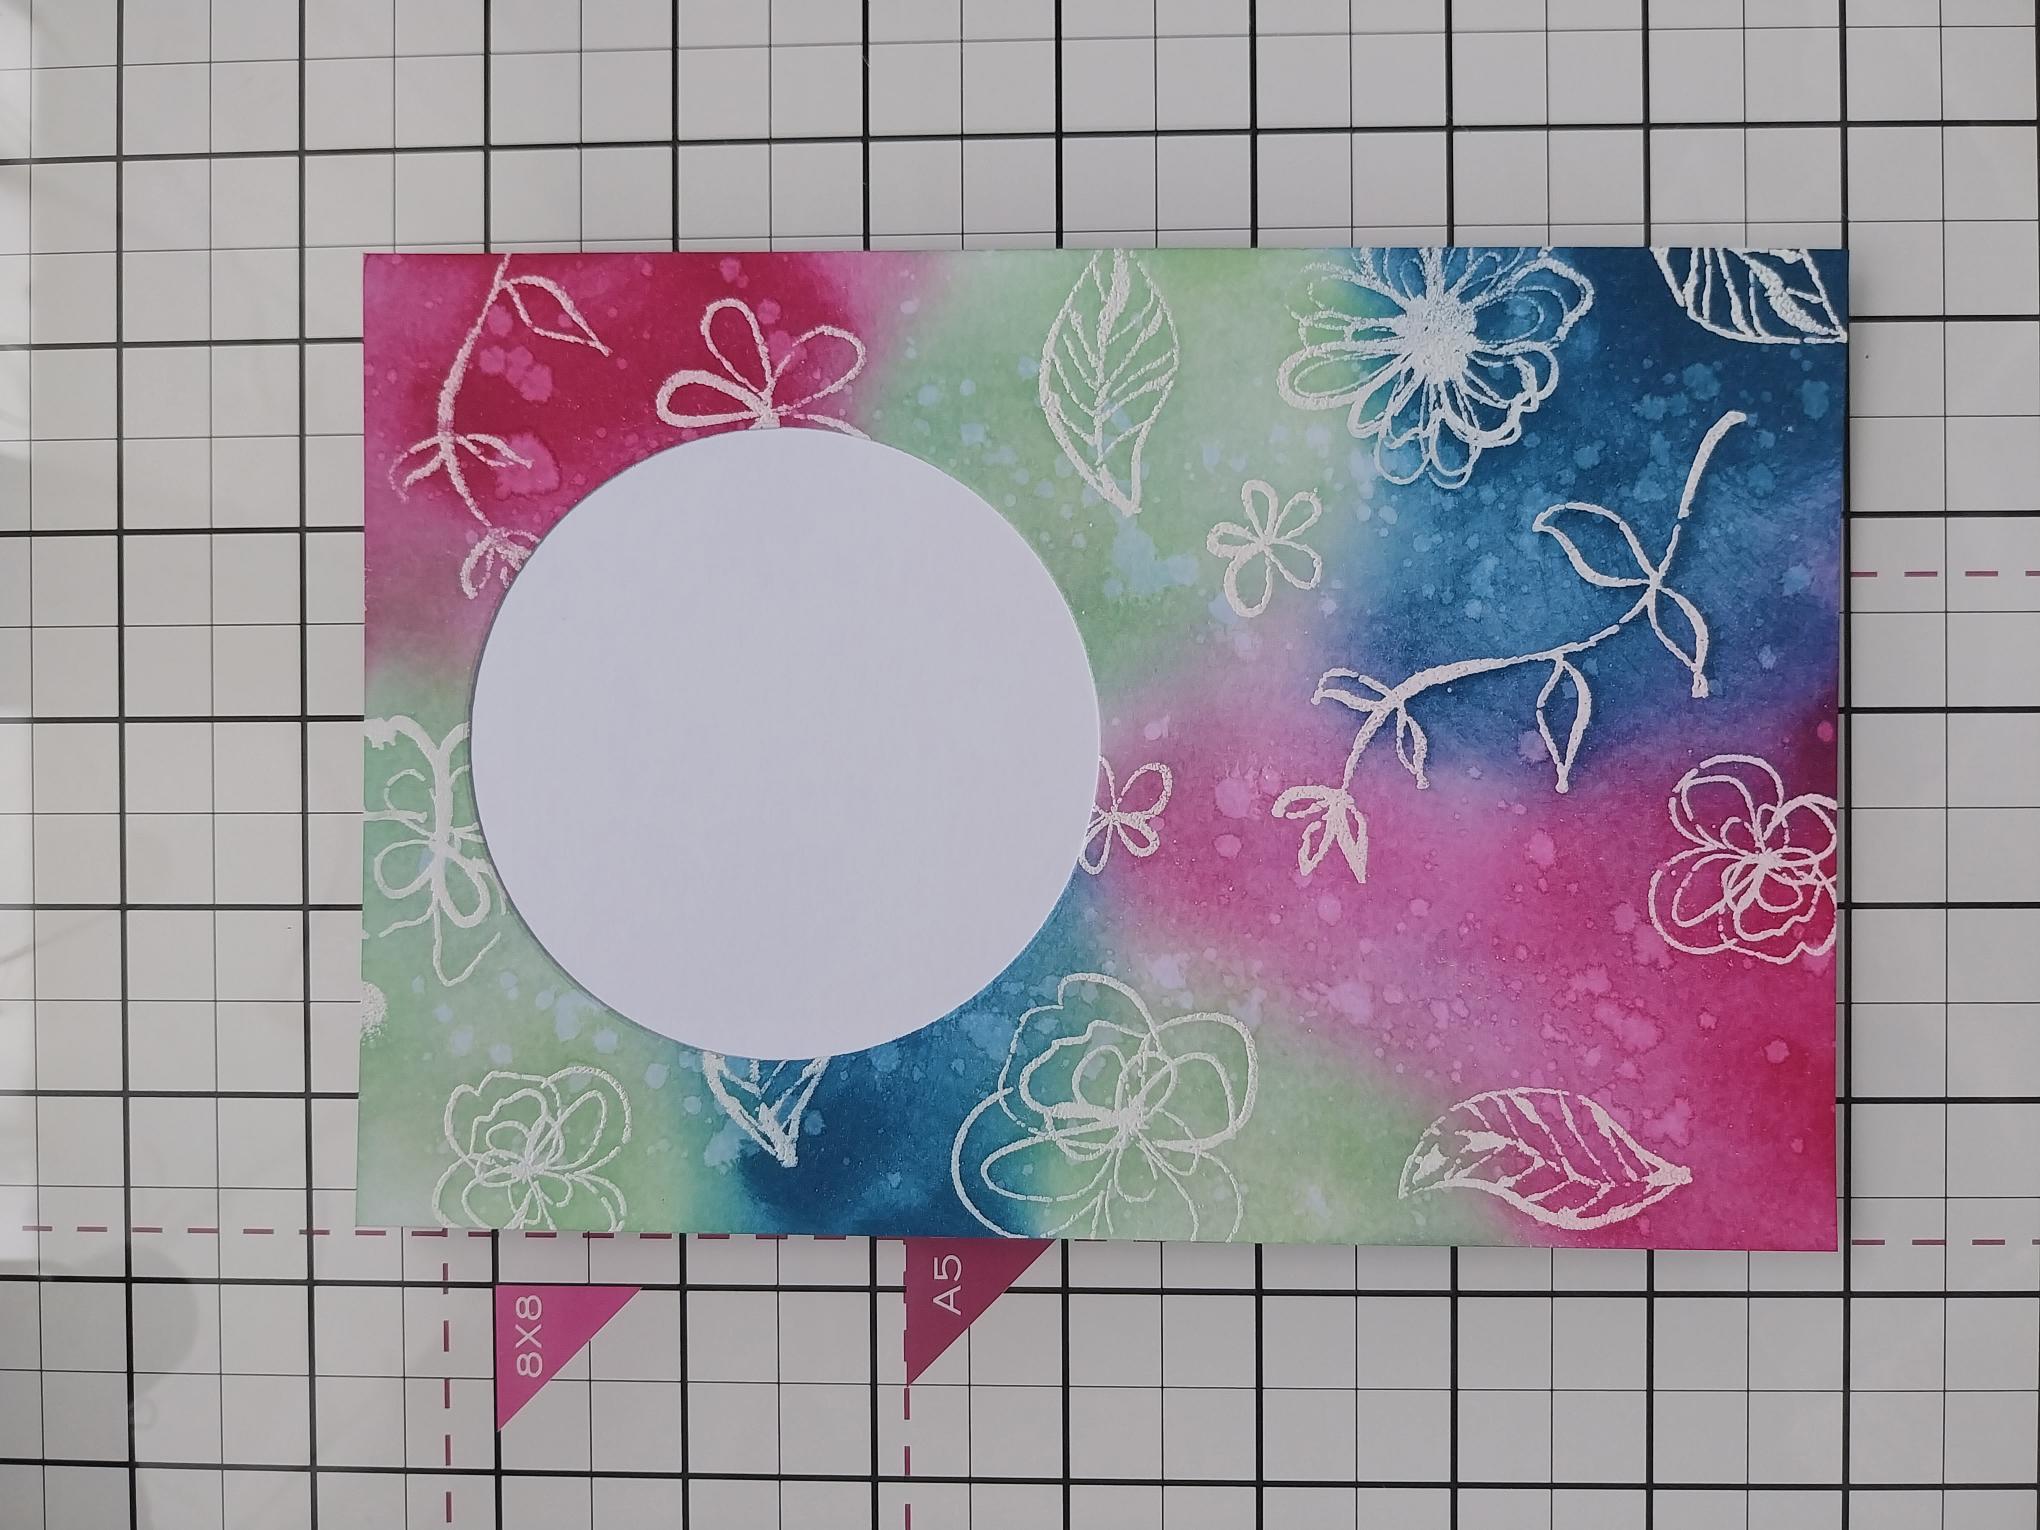
Trim a piece of white card to 7 1/4 x 4 3/4". |
|
Adhere behind your inked background. |
|
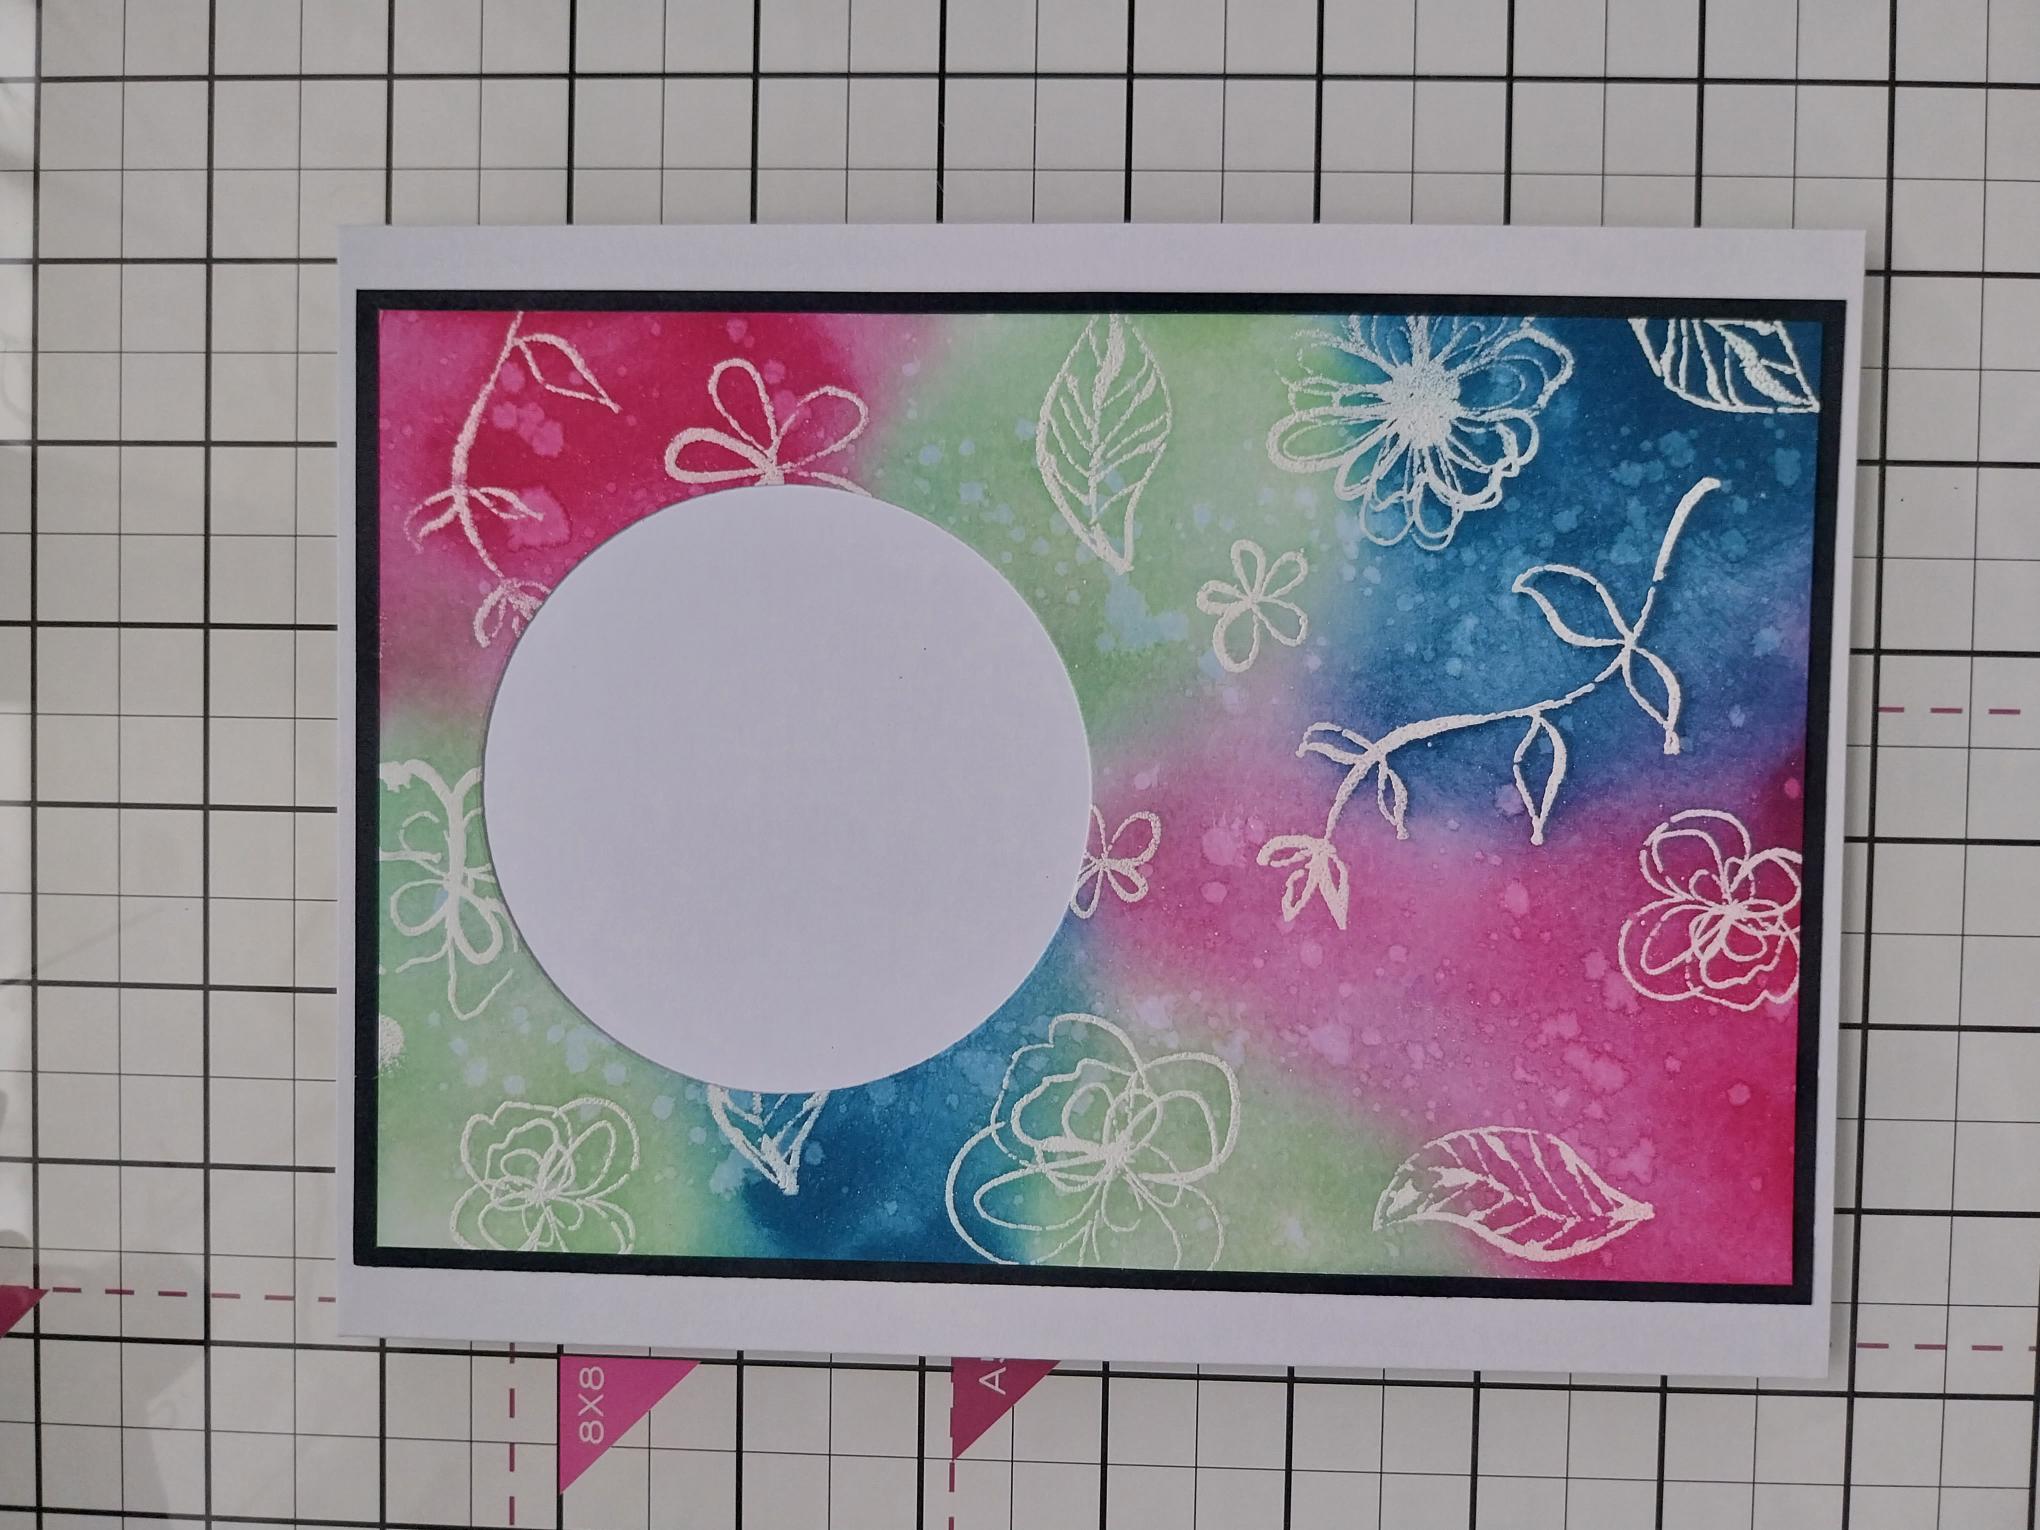
Mat on to black card cut to 7 3/4 x 5 1/4" and then on to your white card blank. |
|
Stamp the sentiment from Bicycle Bloom, centre right of the white aperture. |
|
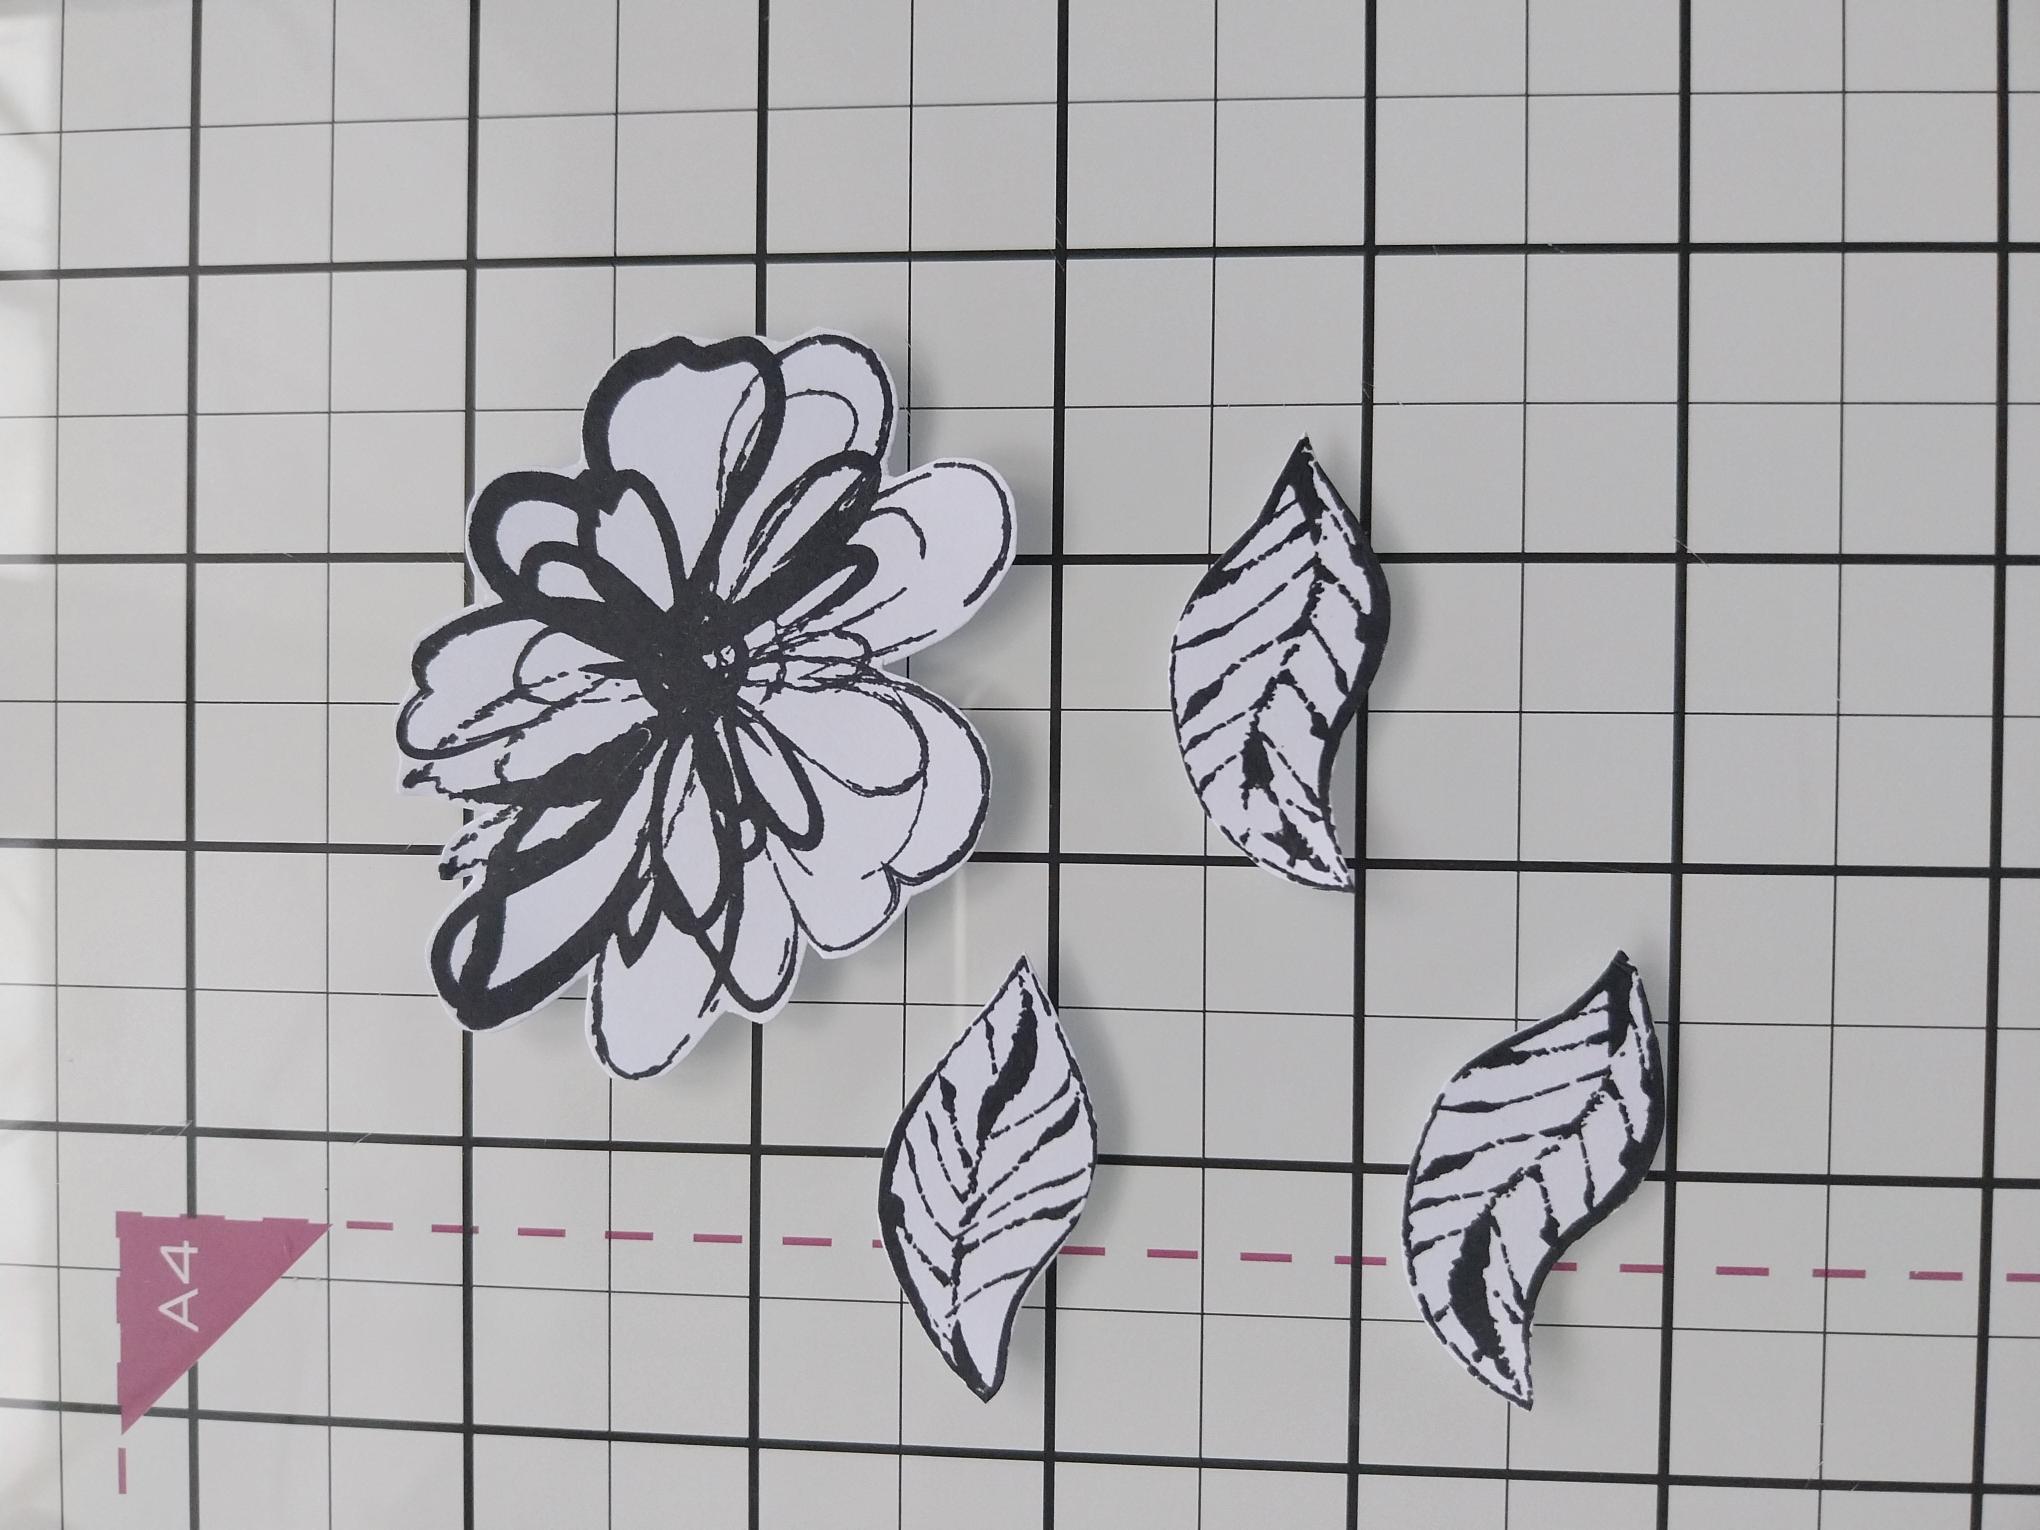
Stamp an assortment of florals and leaves, from Ditsy Florals, on to white card and fussy cut. |
|
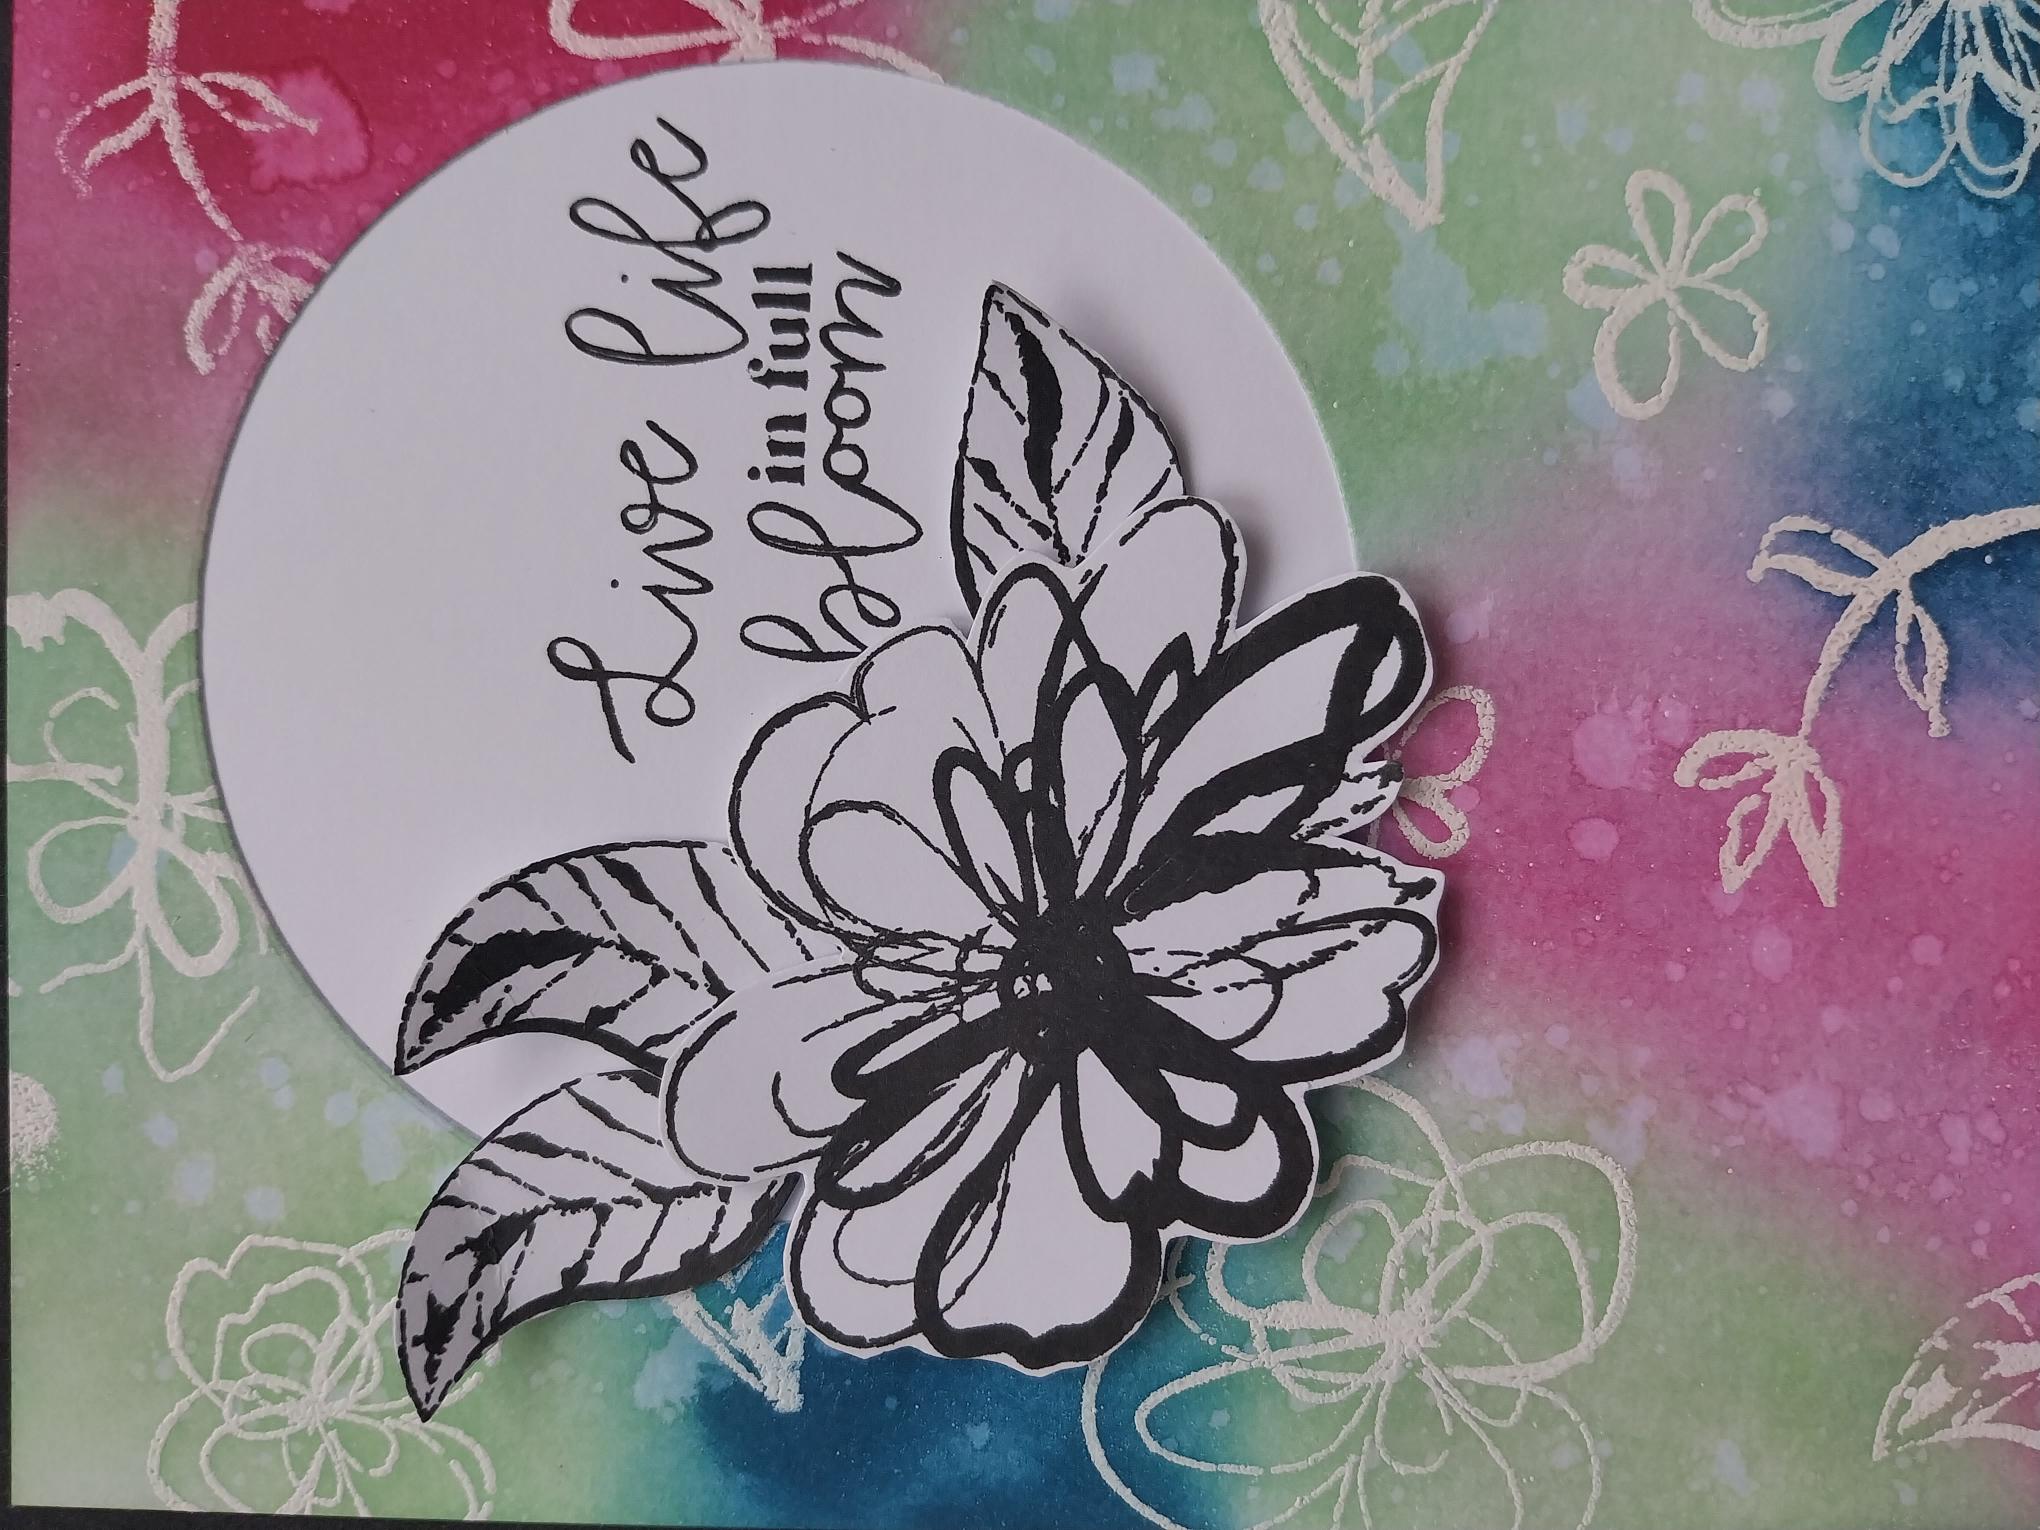
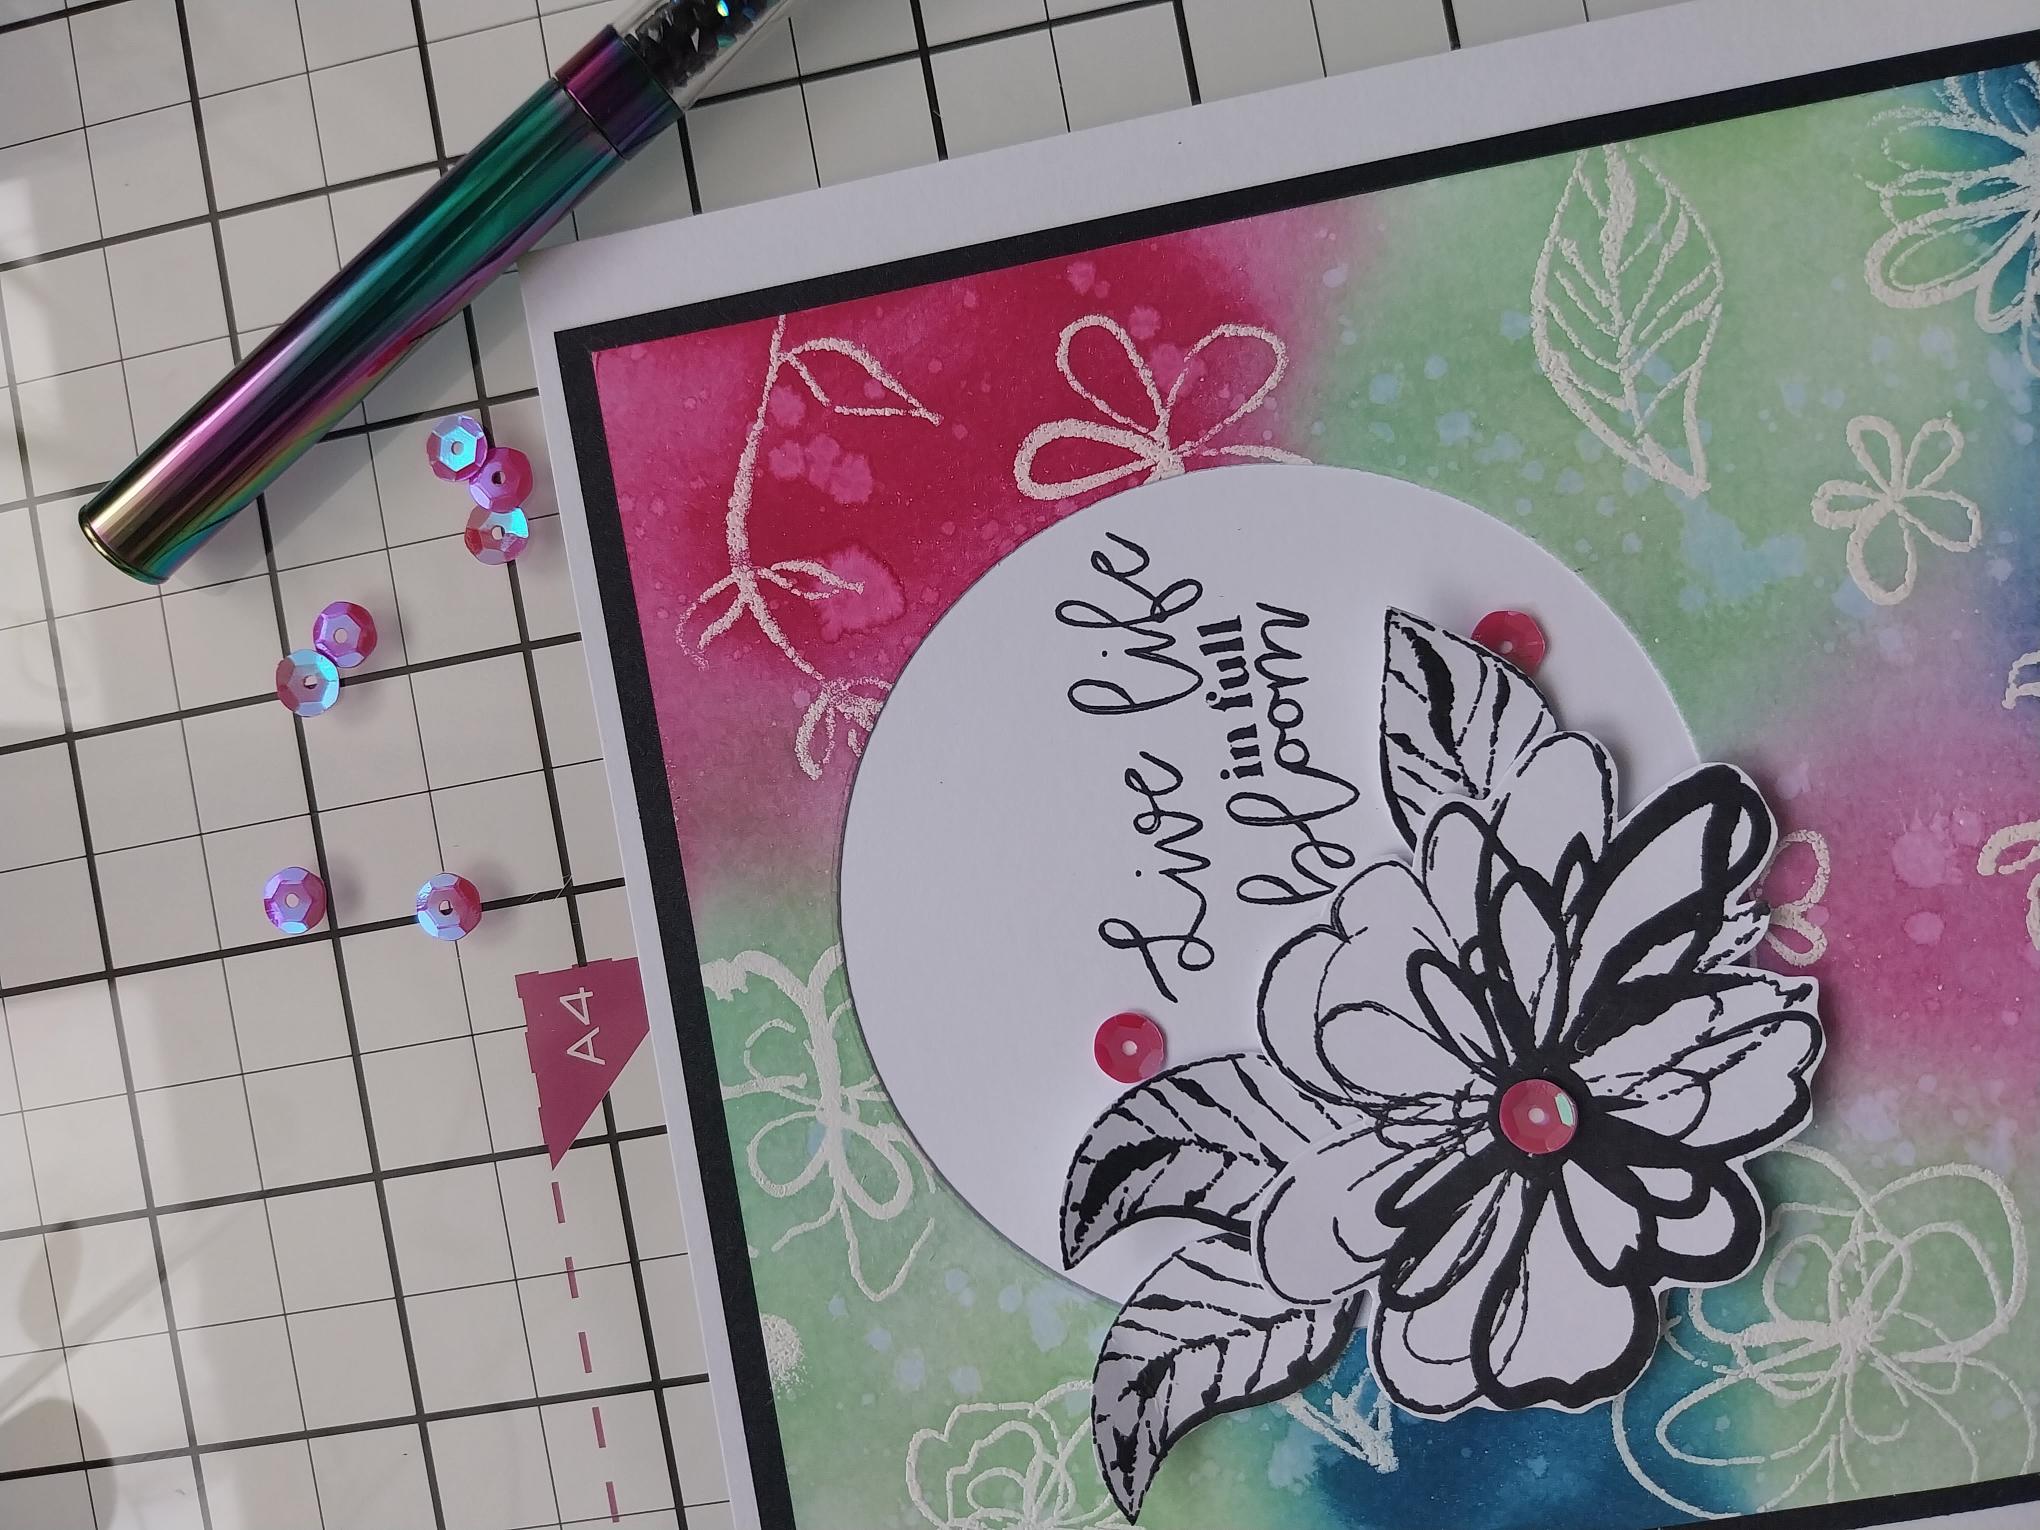
Arrange and adhere your 3D elements around the left side of the circle aperture. |
|
To complete your card, add a few sequins on, around and under your 3D floral display. |