Give your friends $10 off their first order!
Refer a FRIEND


WHAT YOU WILL NEED:
White card blank 6" square
Black card 5 3/4" square
White card
Funky Fossil Patina 8 x 8" paper pad
Vellum
Imala 3D Renaissance Wallpaper Embossing Folder
Imala One More Chapter Stamp Collection
SBM Hybrid Ink Pad: Midnight
SBM Pigment Ink Pad: Cotton
SBM Premium Dye Ink Pad: Heather, Redwood, Tiffany, Ocean
Paint brush
Water spray bottle
WOW heat tool
Gilding wax: Gold
Eureka 101 Watercolour Tablet
SBM Magnetic glass mat
Paper Trimmer
Perfect Together Glue
Foam pads
Double sided adhesive tape or tape runner
Die Cutting machine
[click image to enlarge] 
|
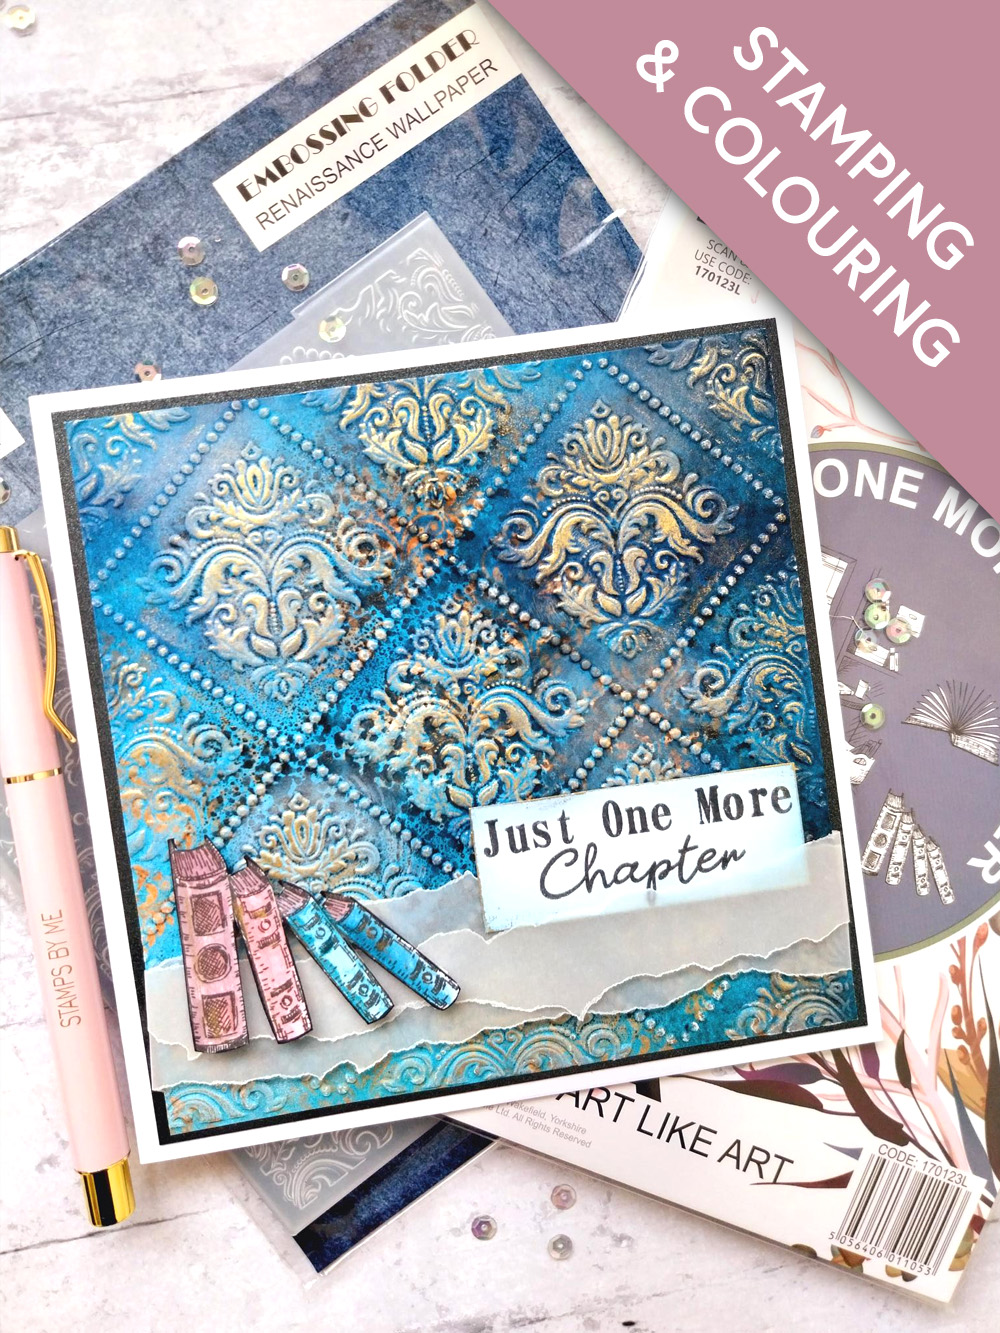
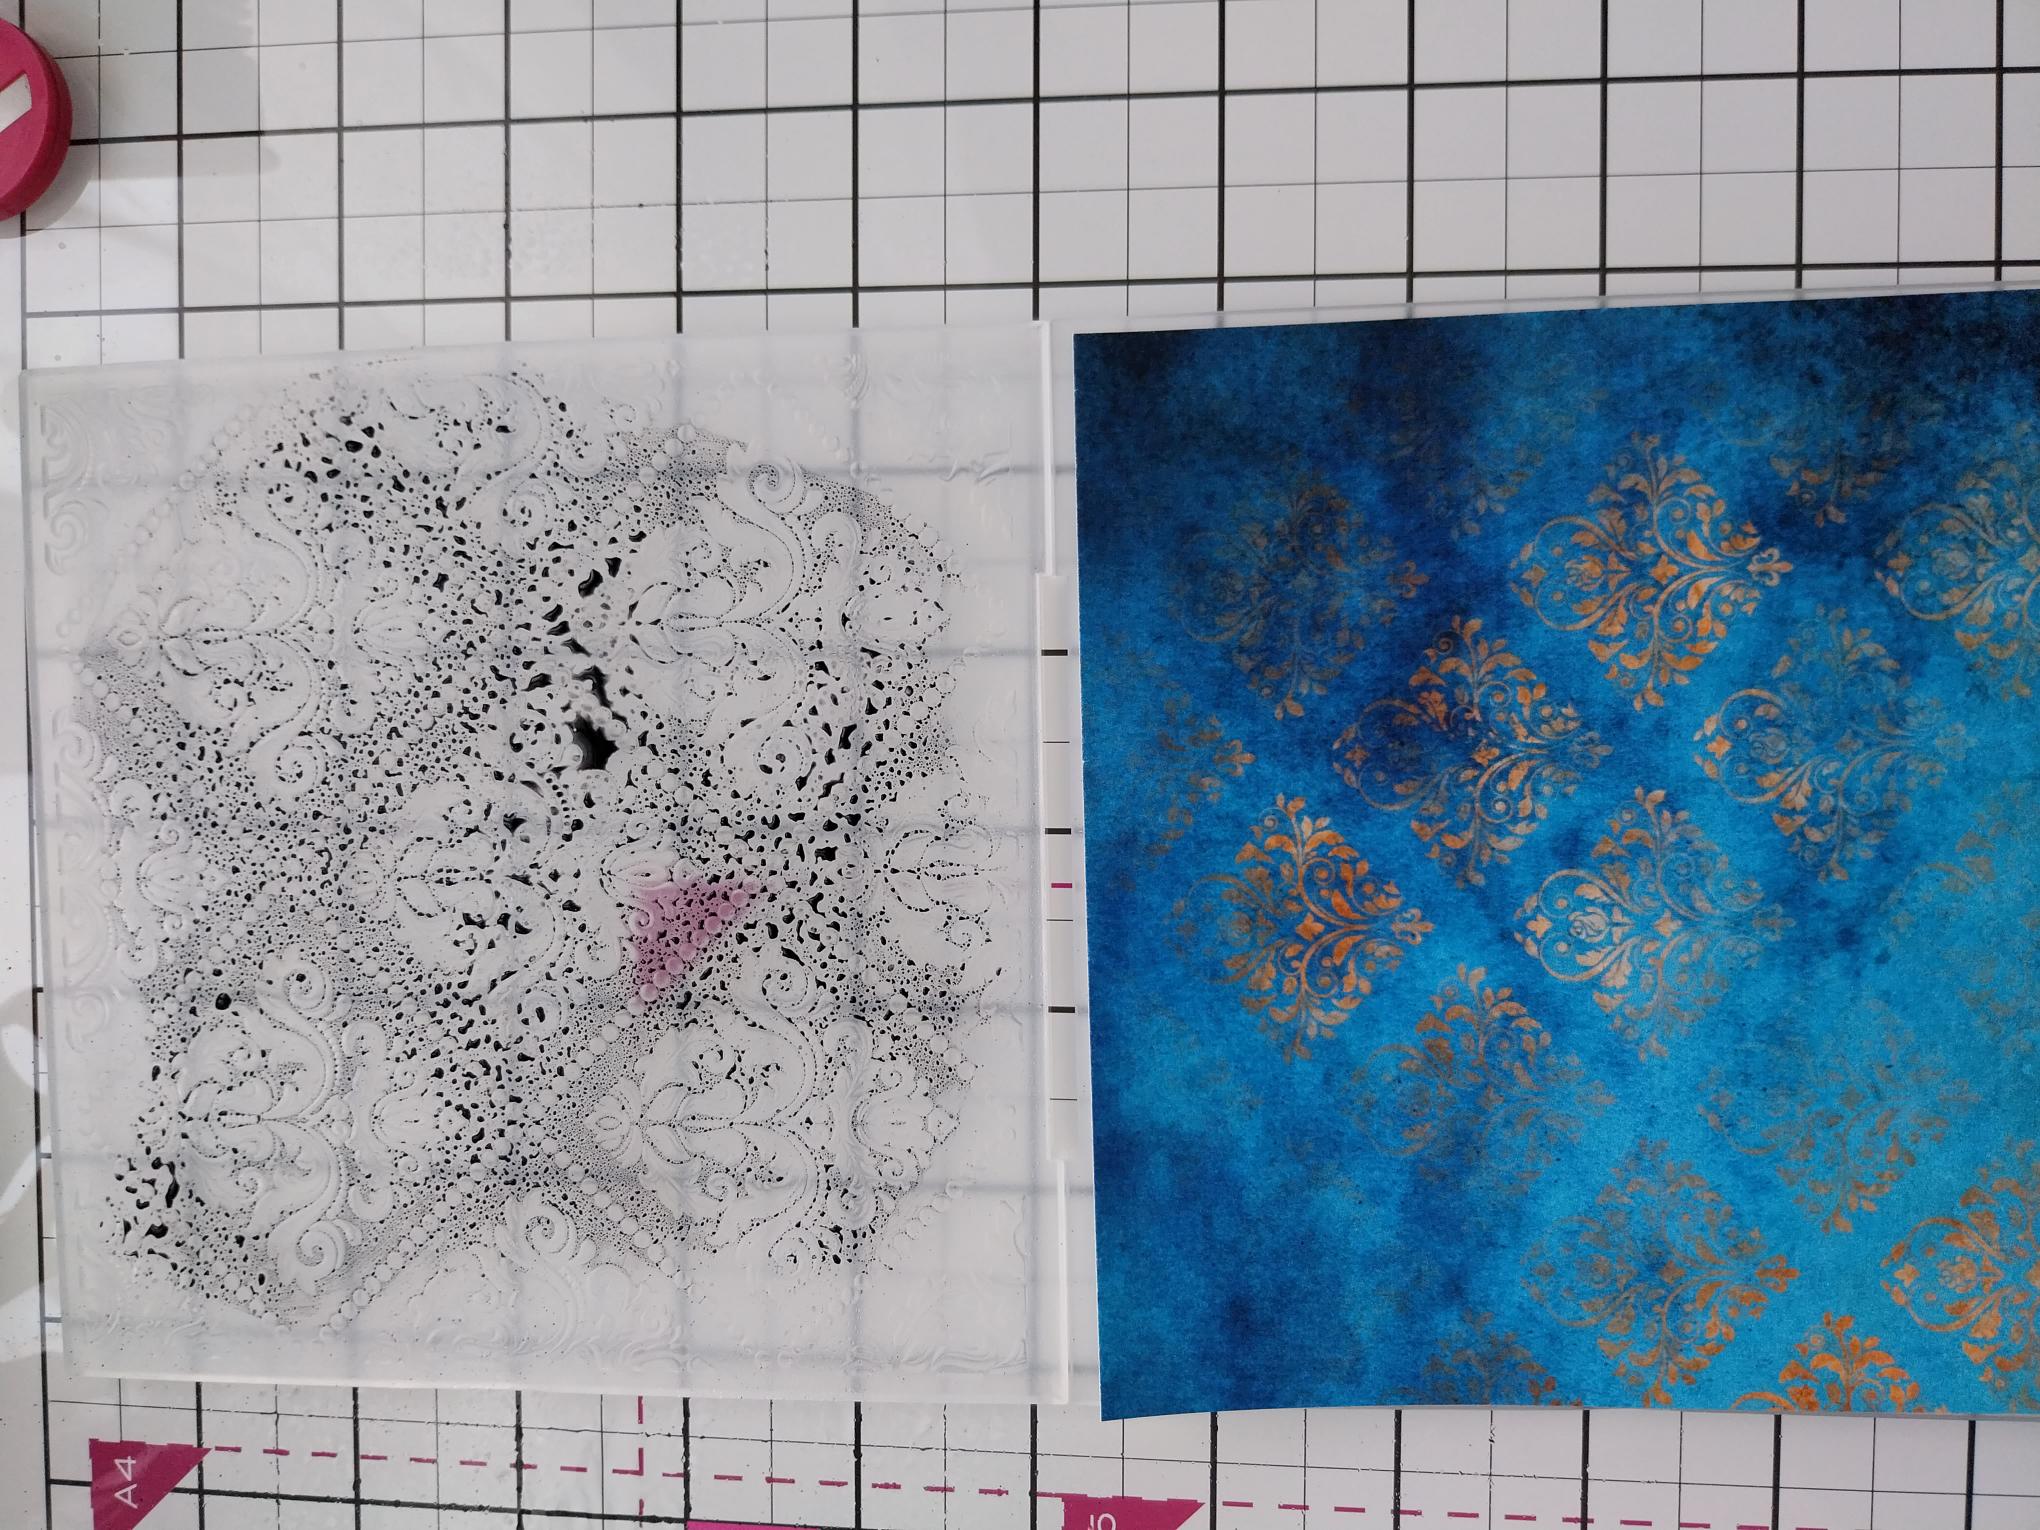
Remove this sheet from the Funky Fossil Patina paper pad and trim to 5 1/2" square. |
|
Ink the debossed side with the Midnight ink and lightly spritz with water. Place the decorative paper inside the folder, with the embossed side on the bottom, then run it through your machine. |
|
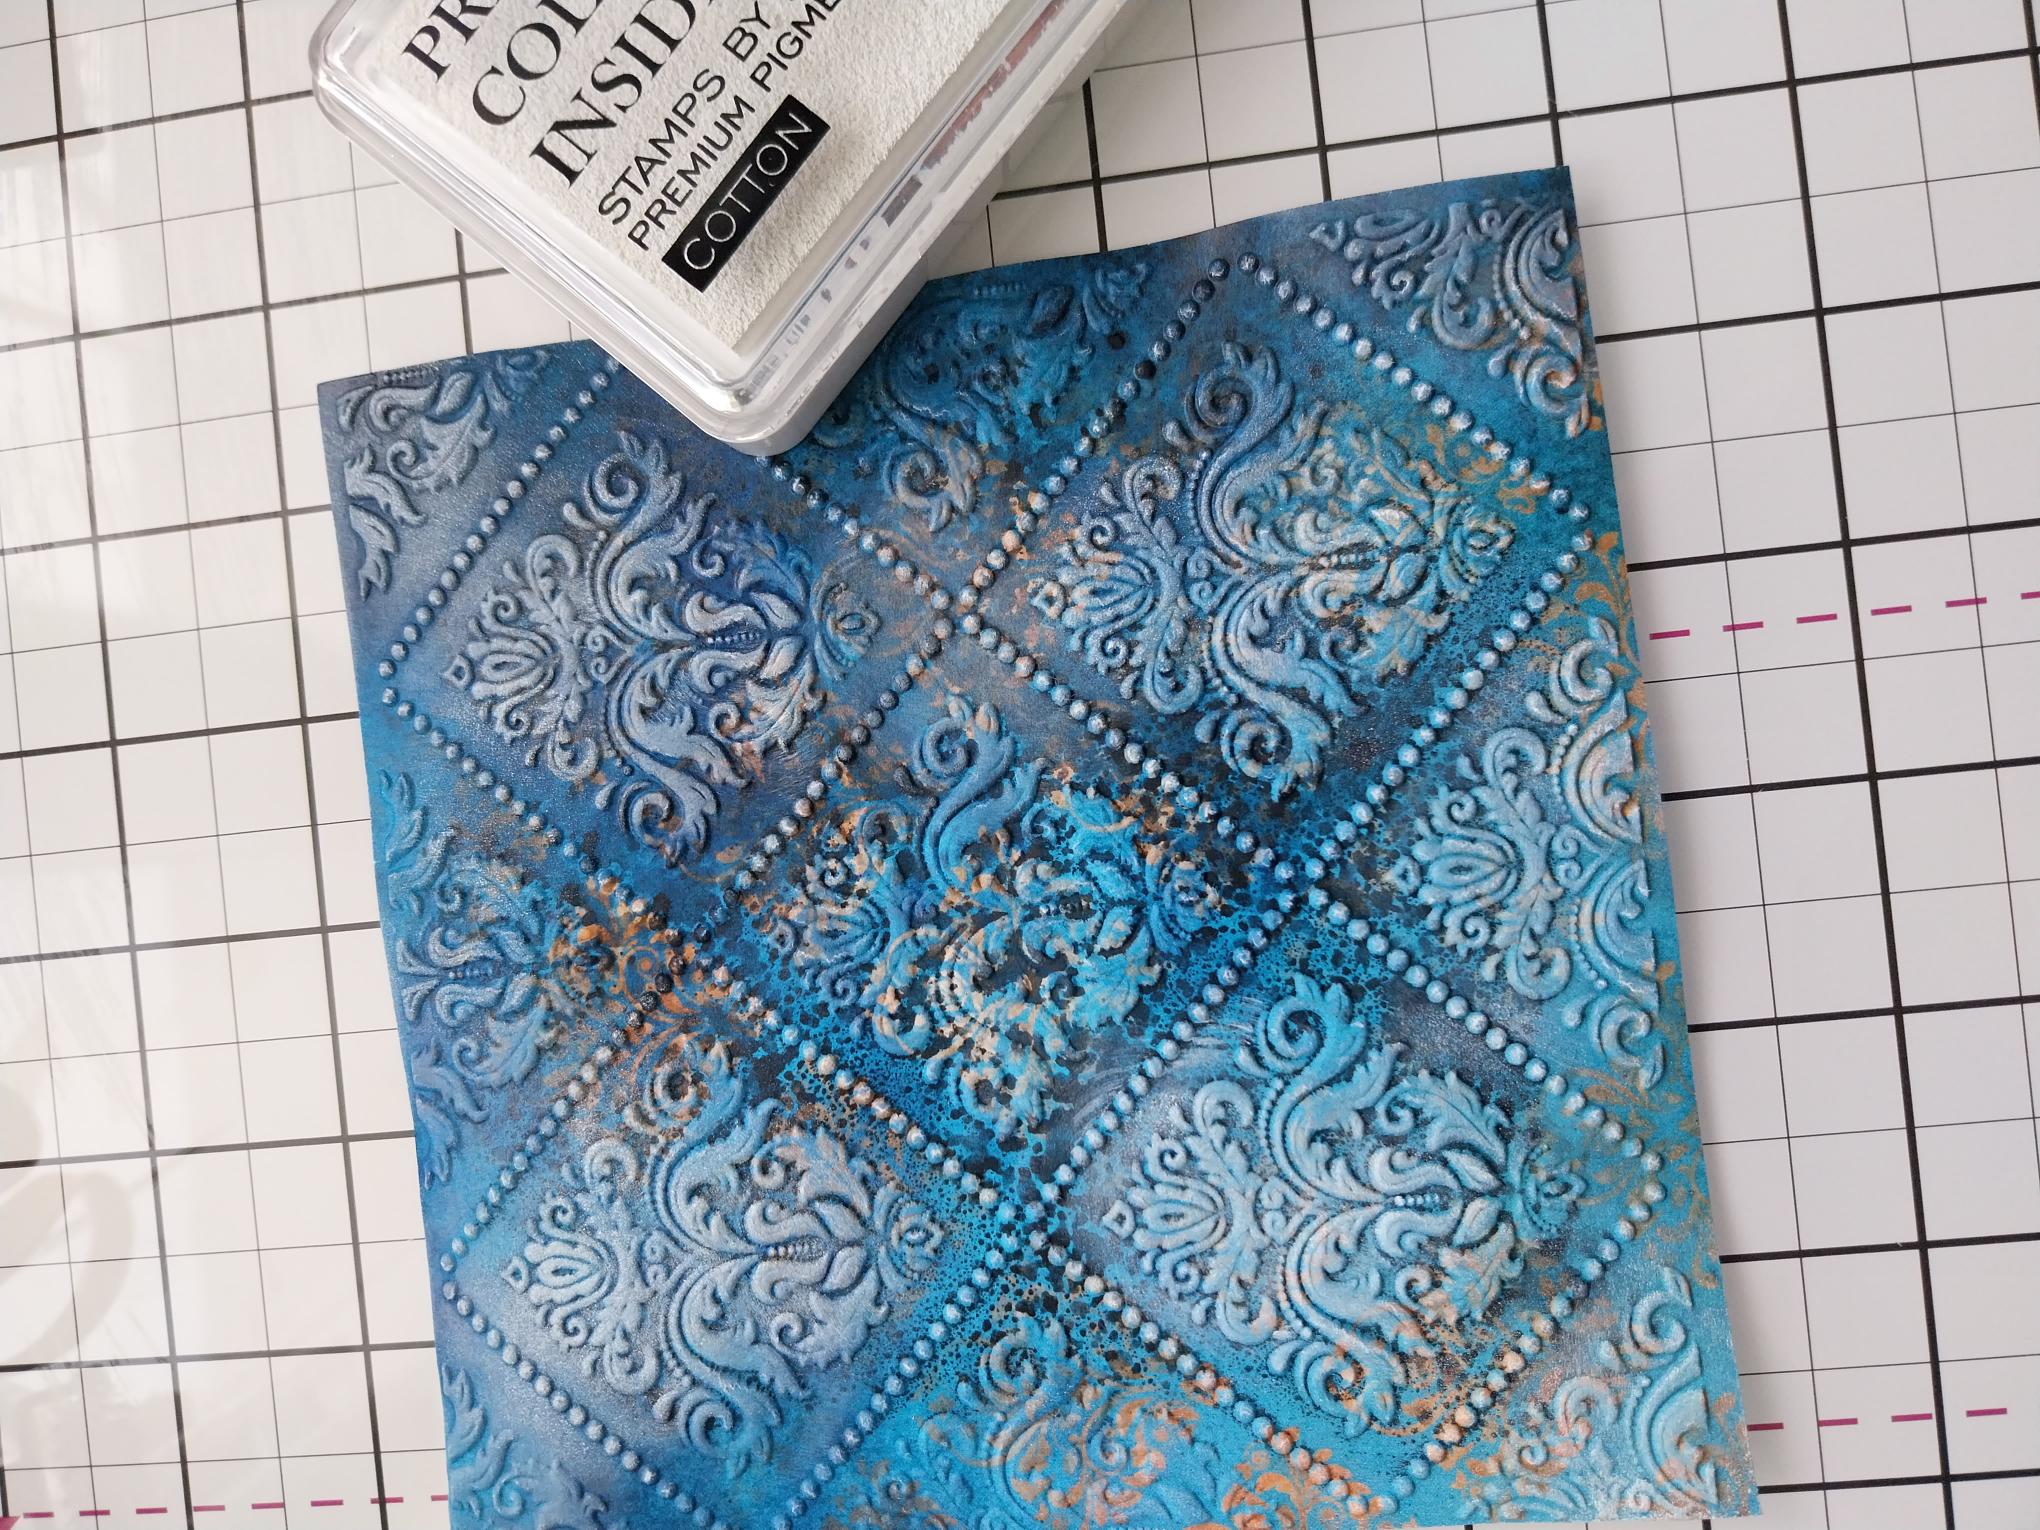
Lightly rub the Cotton ink pad over the embossed paper, catching the raised areas with the ink. You can add as little or as much ink, as you like. Dry the ink thoroughly with a heat tool, as pigment ink is slow drying and will smudge. |
|
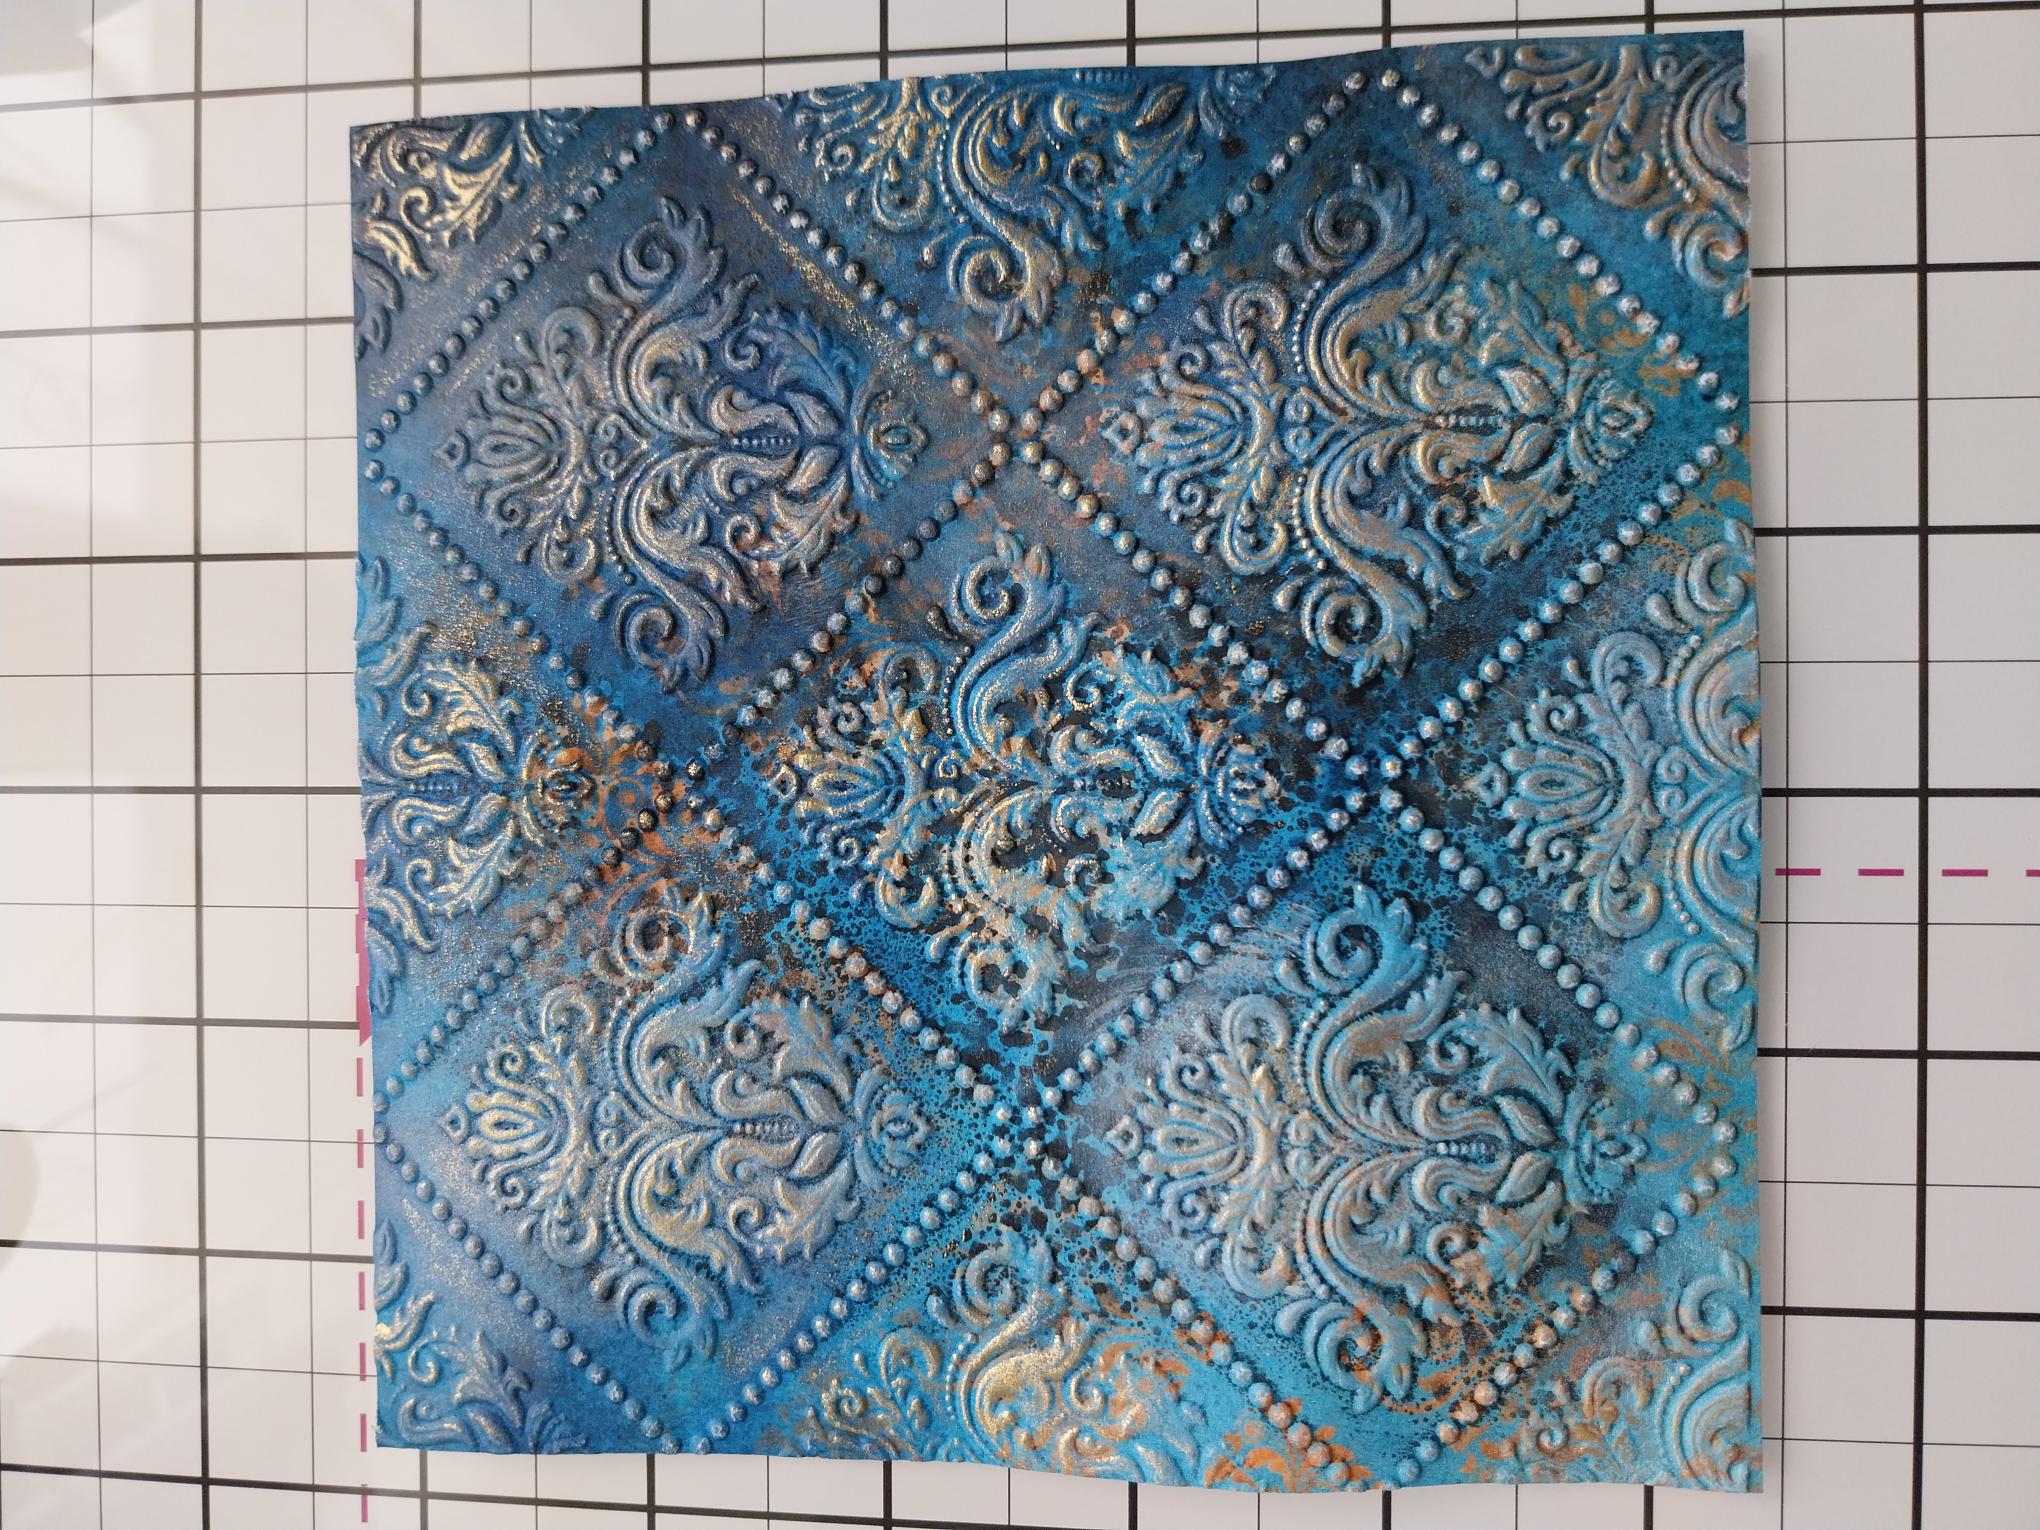
Lightly apply gold gilding wax to the raised areas of your embossed design. Start off lightly, as you can always add more gilding wax but you cannot remove it!! Buff the gilding wax with a dry cloth, to bring out the shine. |

|
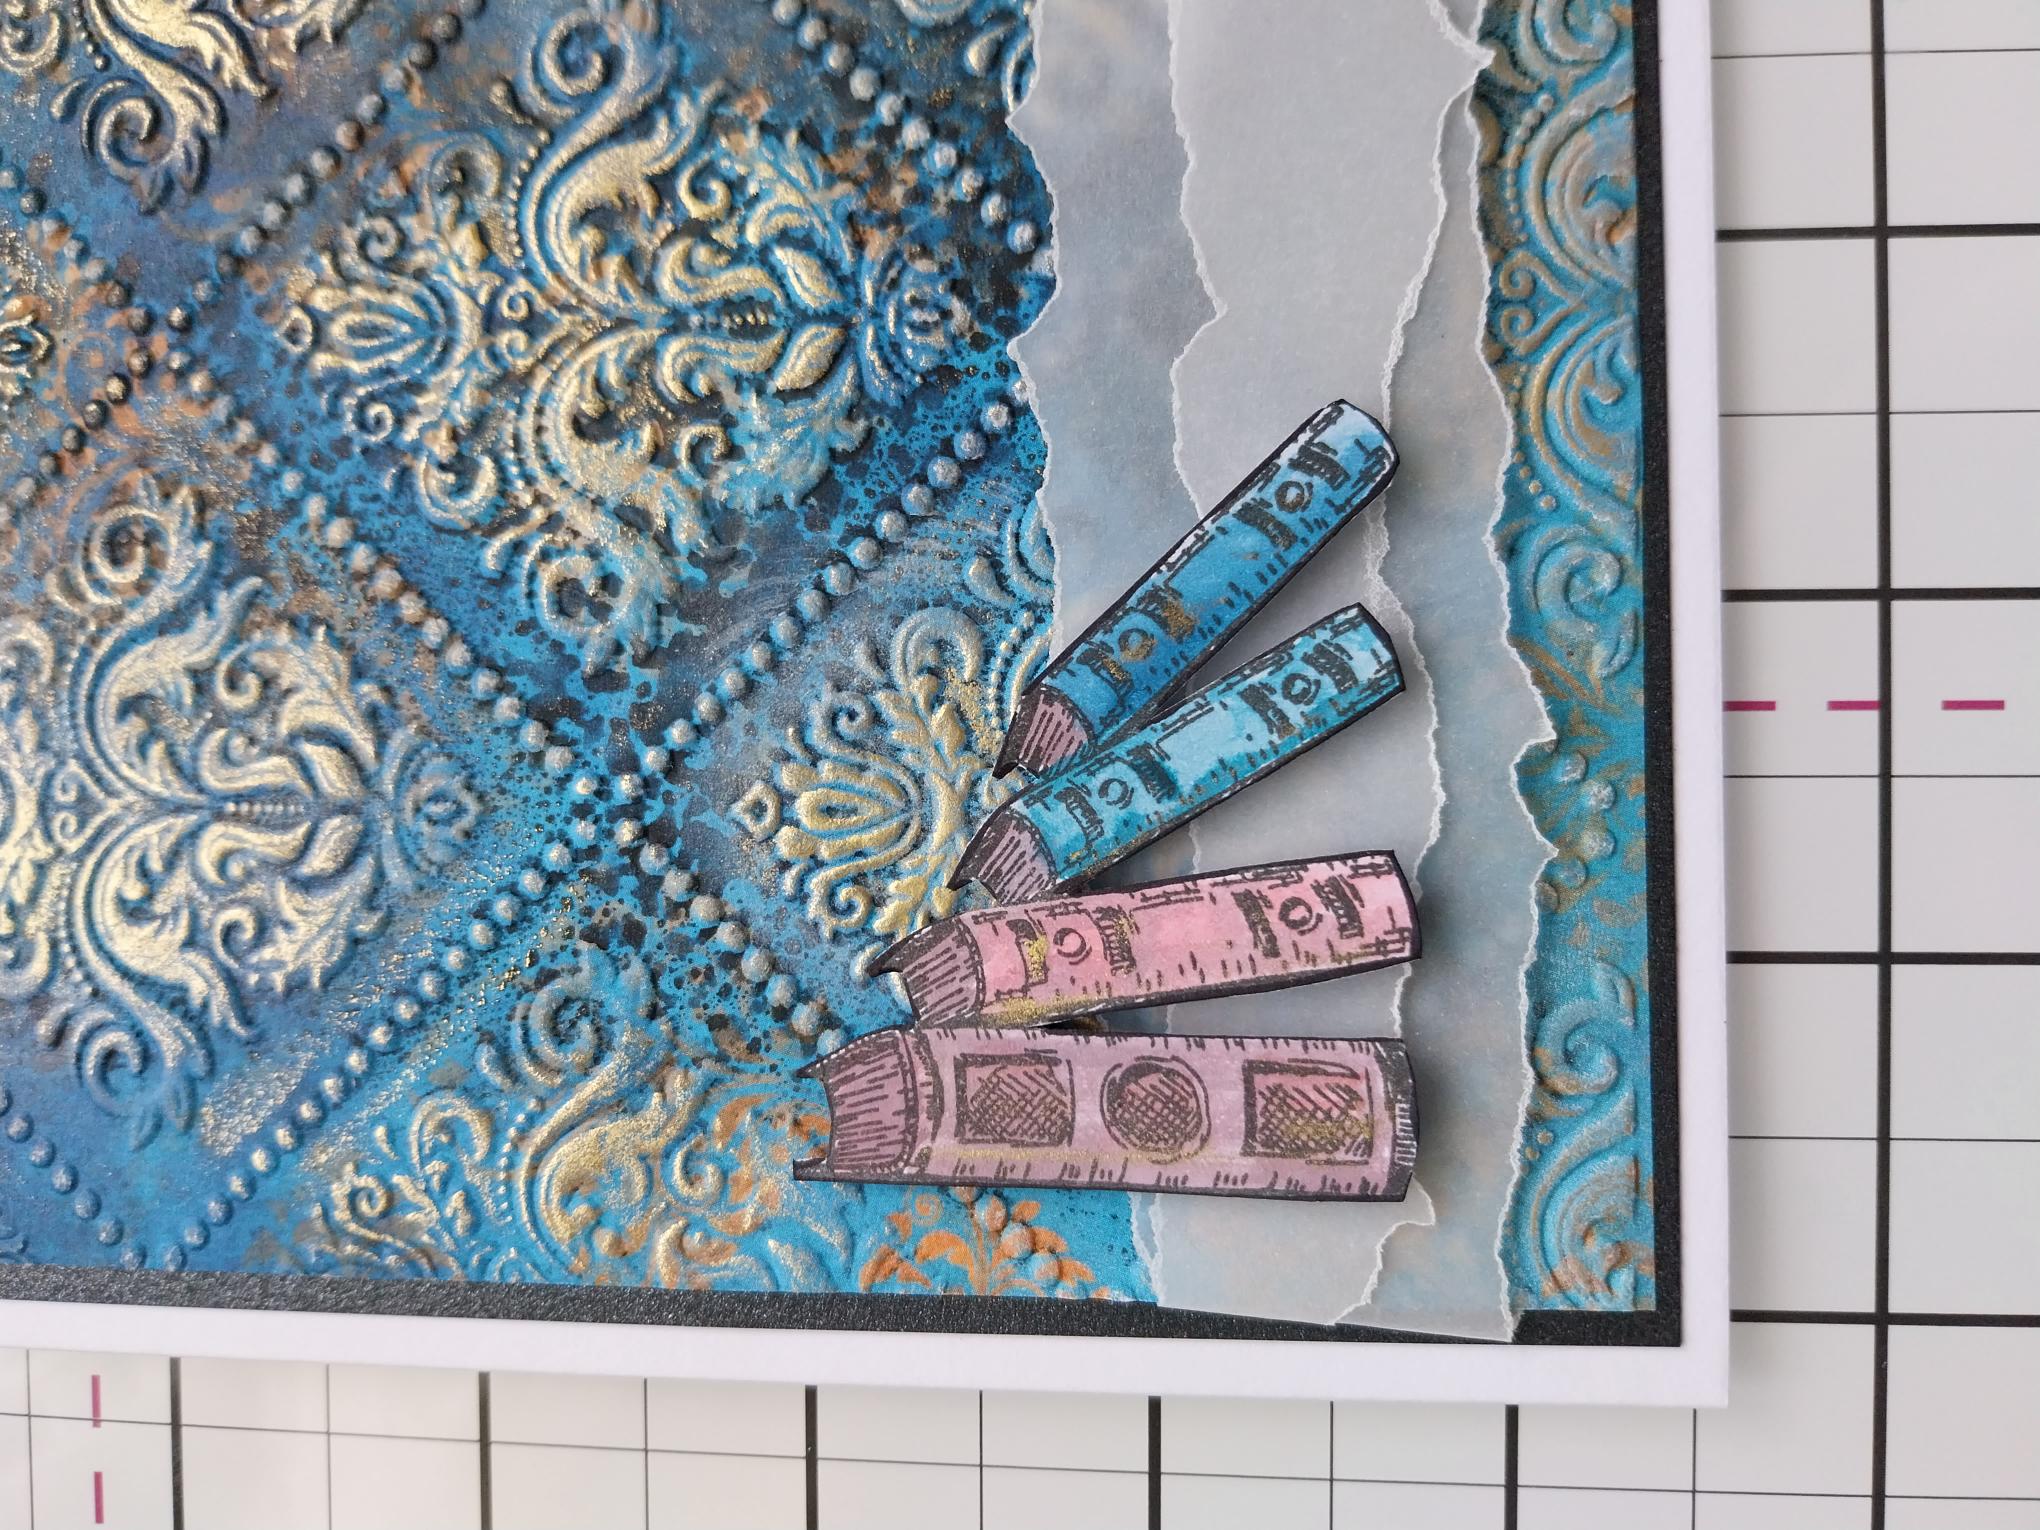
Tear two panels of vellum, one wider than the other and both approx 6" in length. Place the widest across the bottom of the embossed background, tucking the ends over the edges of the card and securing on the reverse with double sided adhesive tape. Place the narrower vellum panel on top of the first and secure on the reverse as before. Set to one side.
|
|
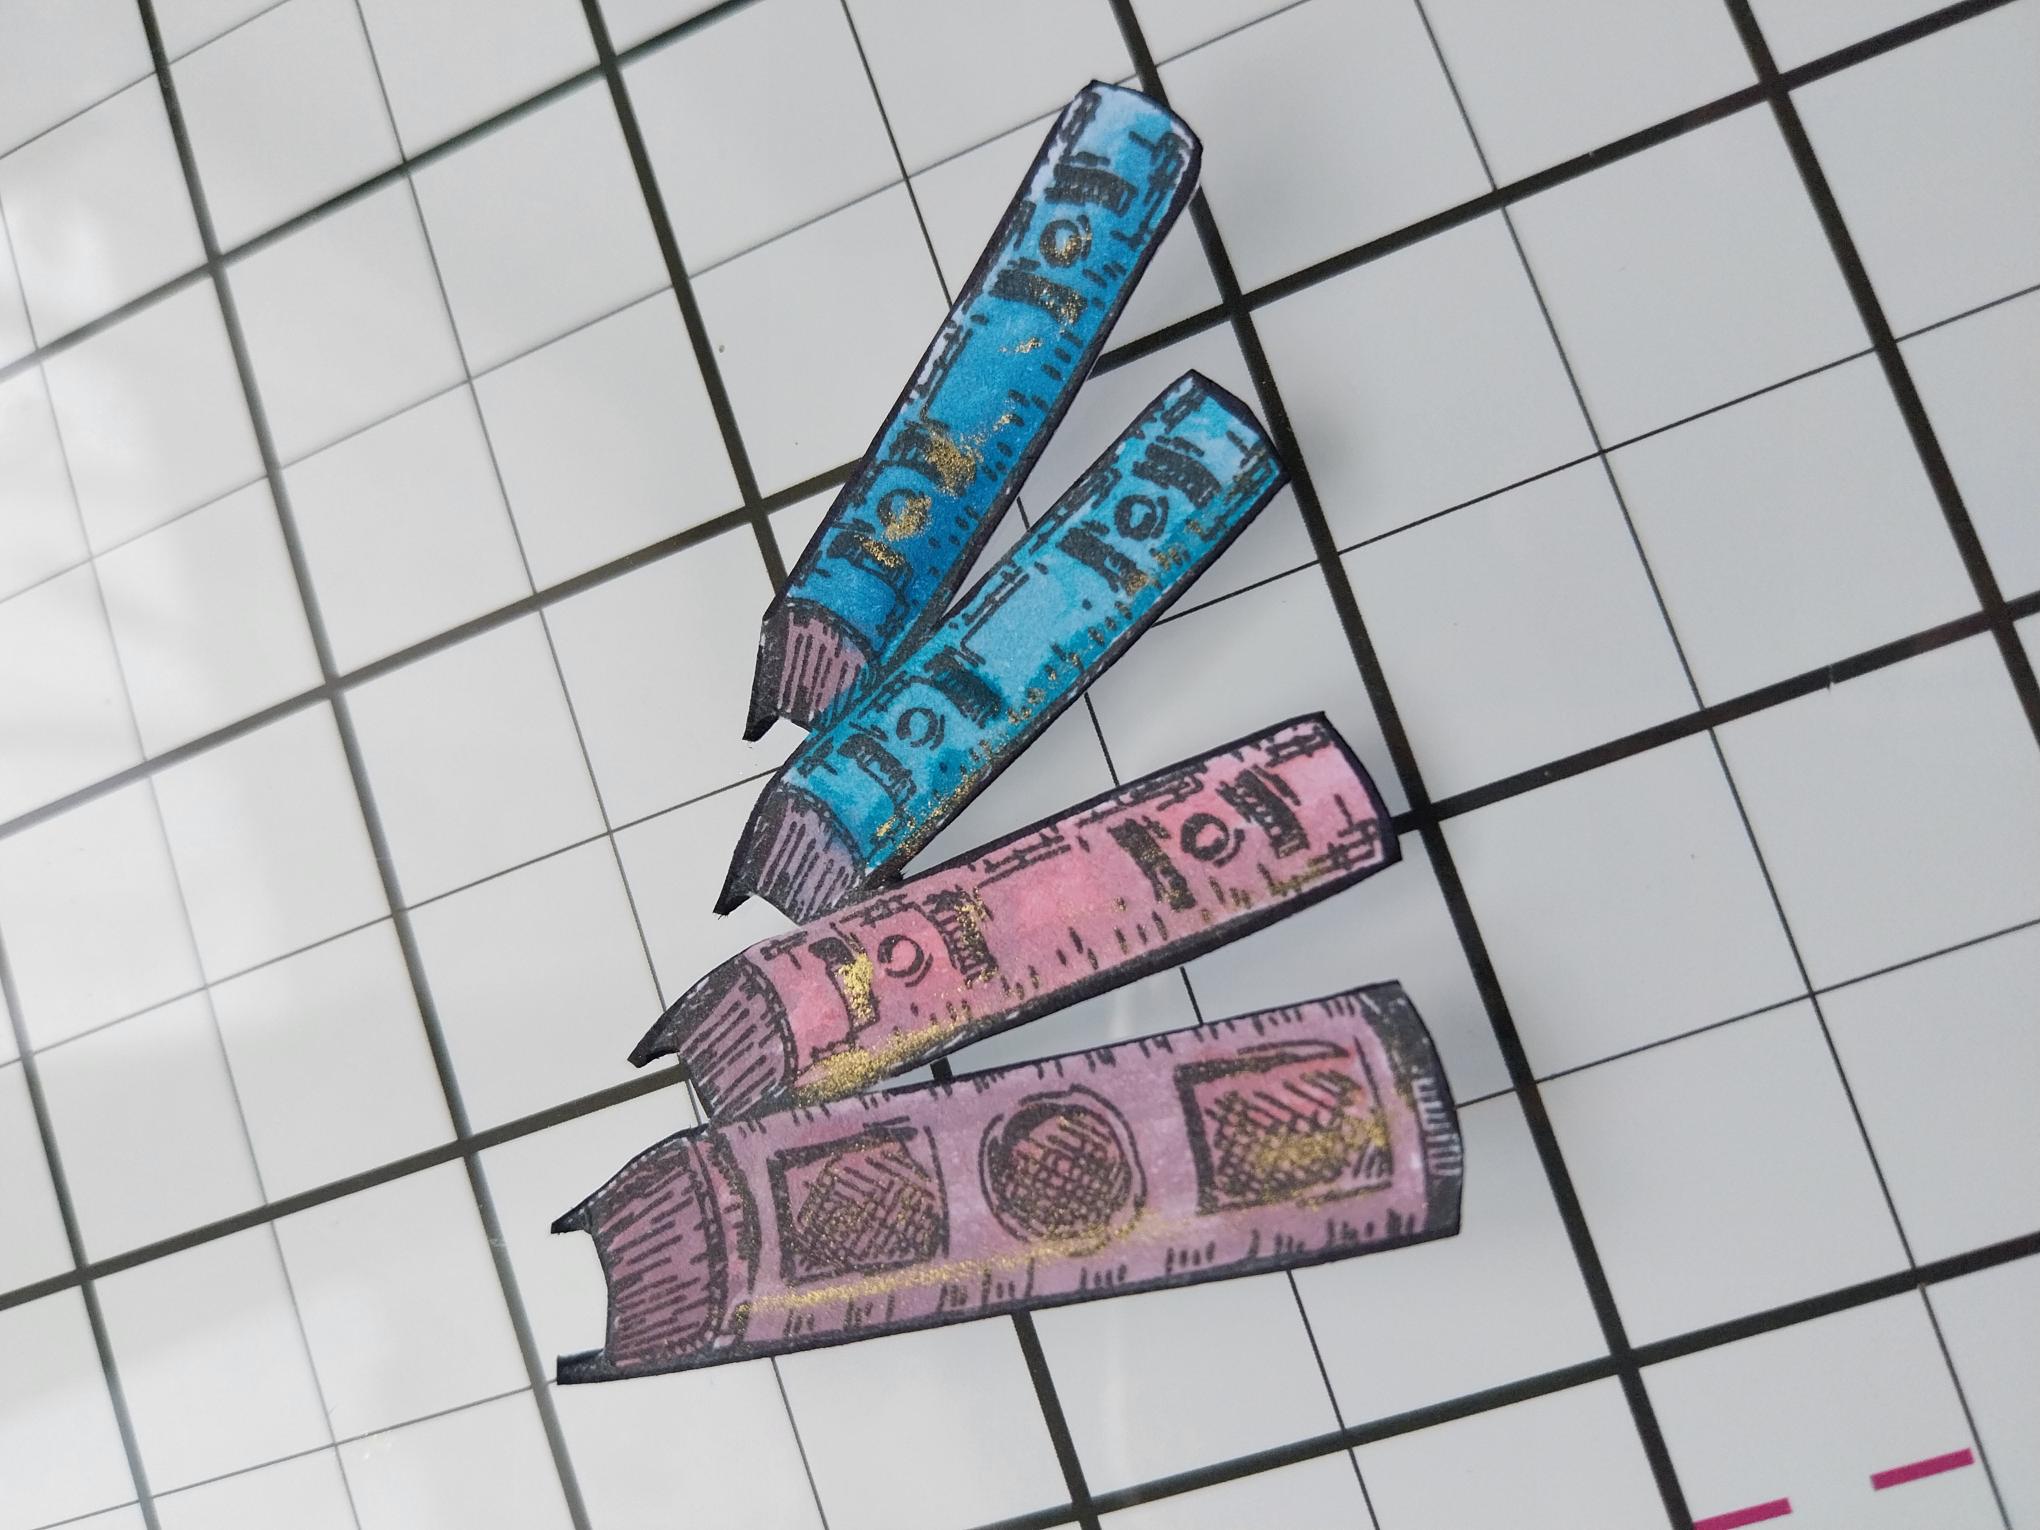
Ink up this stamp, from Imala One More Chapter, with the Midnight ink. Stamp on to white card, then fussy cut. Use your Premium Dye inks, mixed with a little water and a paint brush, to colour in the books. Blast the paint dry with your heat tool, before lightly adding a touch of gilding wax to the book spines, where required. Remember to buff the wax with a soft, dry cloth to bring up the shine. |
|
Use foam pads to adhere the books to the left of your background, so they appear to be sitting on a "vellum" shelf. Adhere your artwork on to black card, cut to 5 3/4" square and then on to the front of your white card blank. Set to one side. |
|
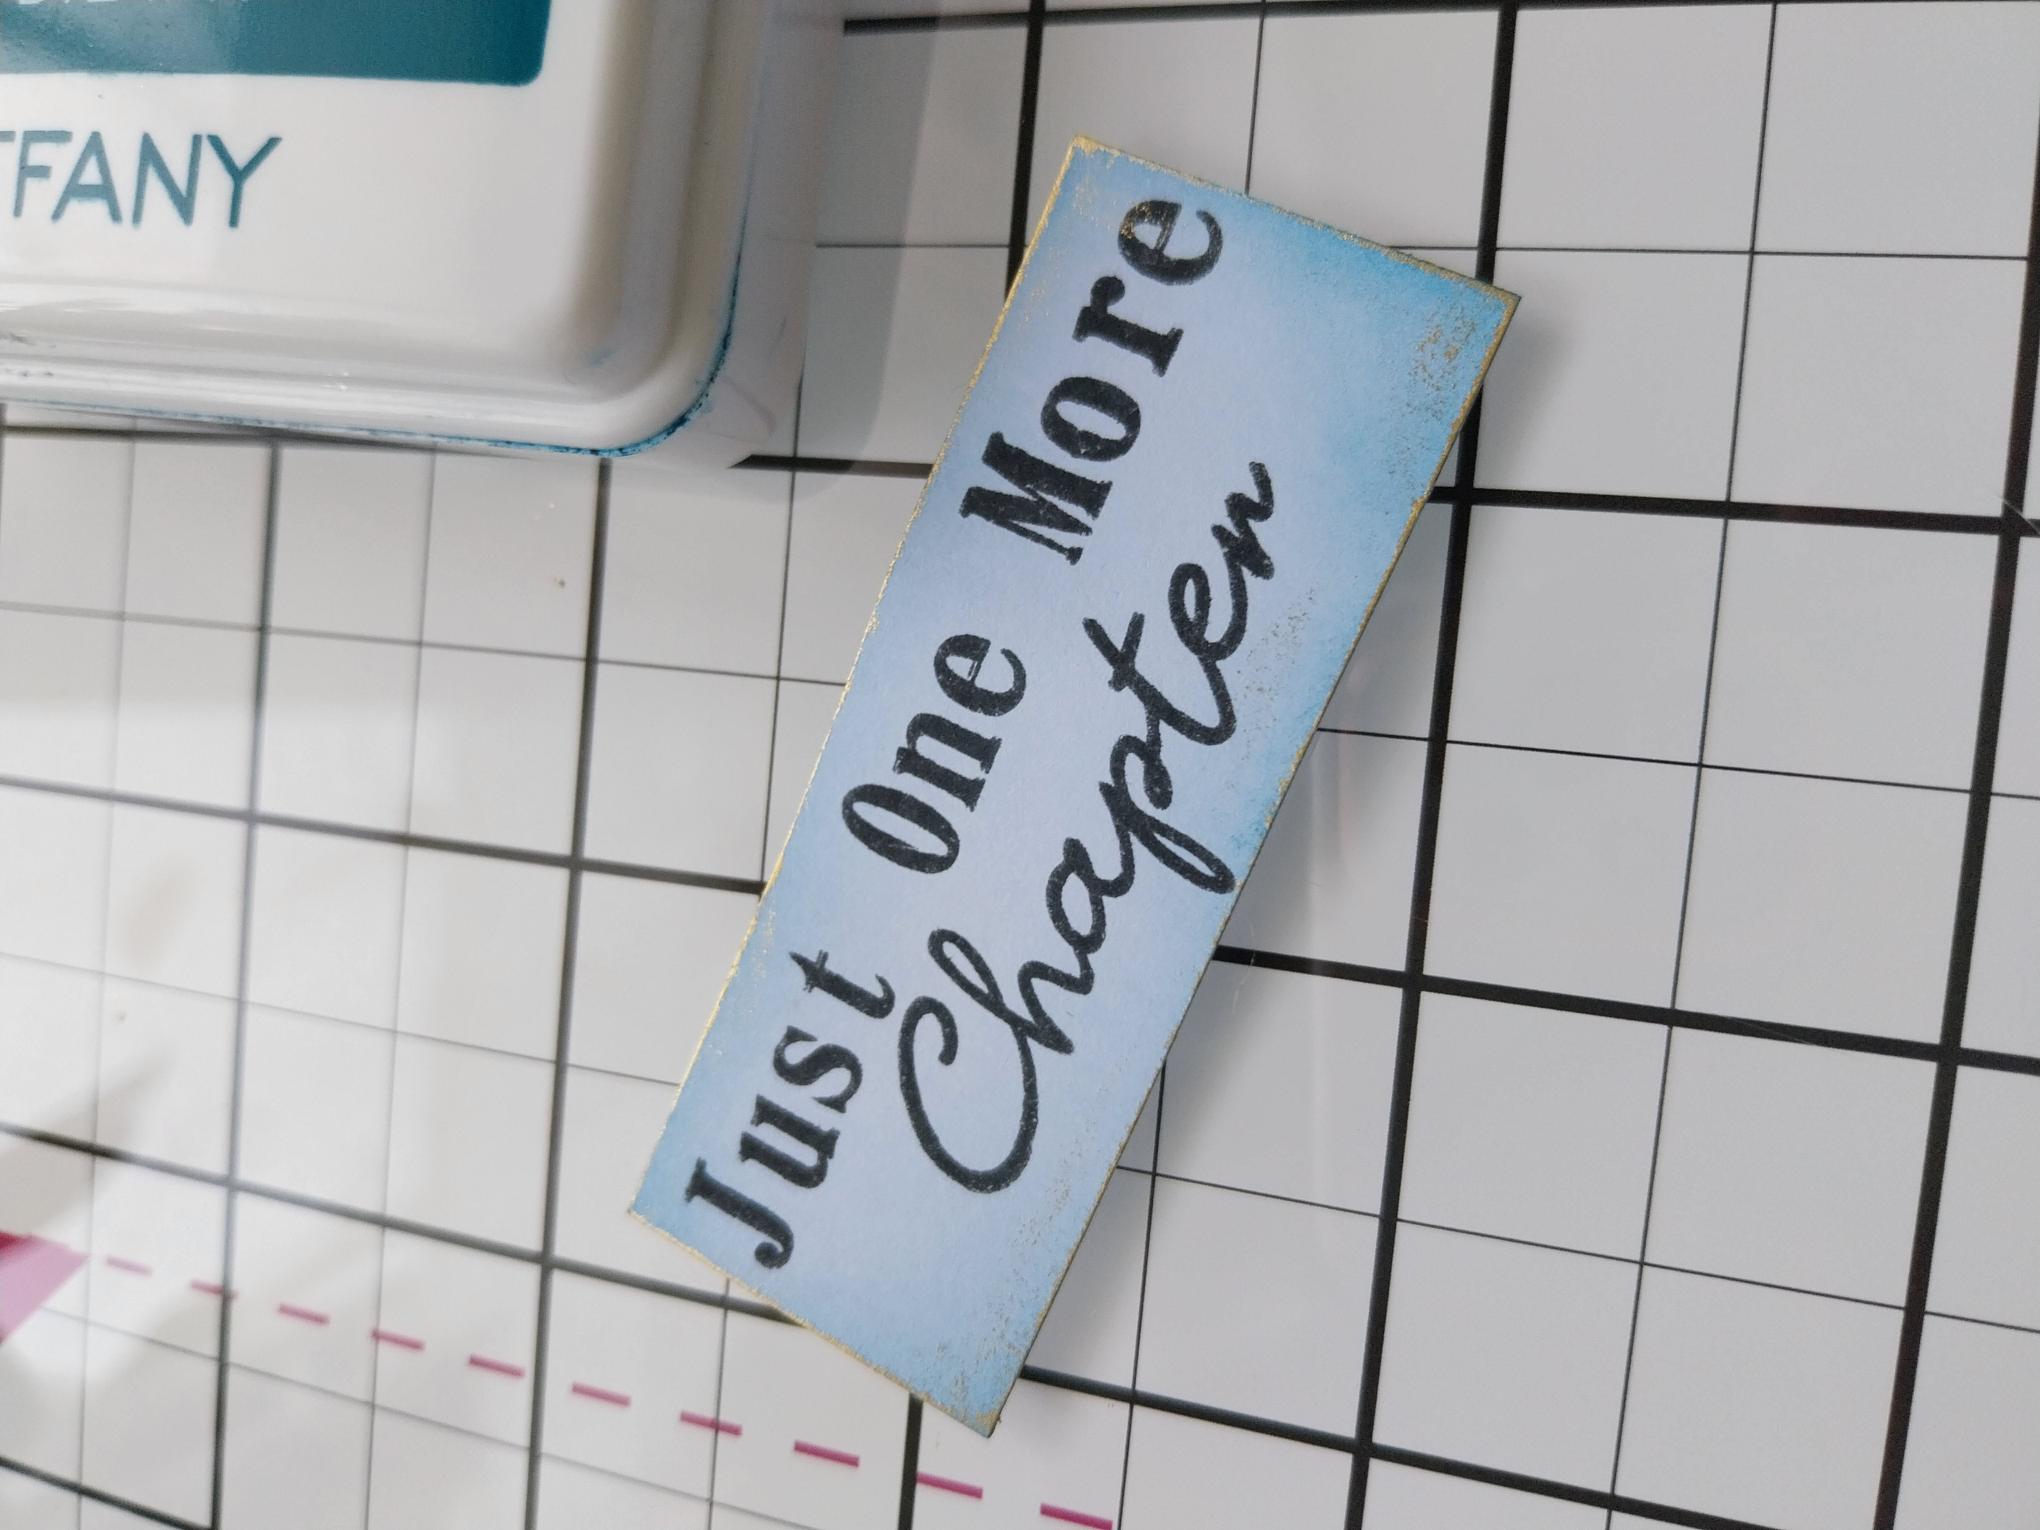
Ink the sentiment stamp with the Midnight and stamp on to white card, then trim to size. Use a blending tool to blend Ocean lightly around the edges, then blast dry with your heat tool. Lightly apply the gold gilding wax around the edges of the card, then buff with a soft cloth, as before. |
|
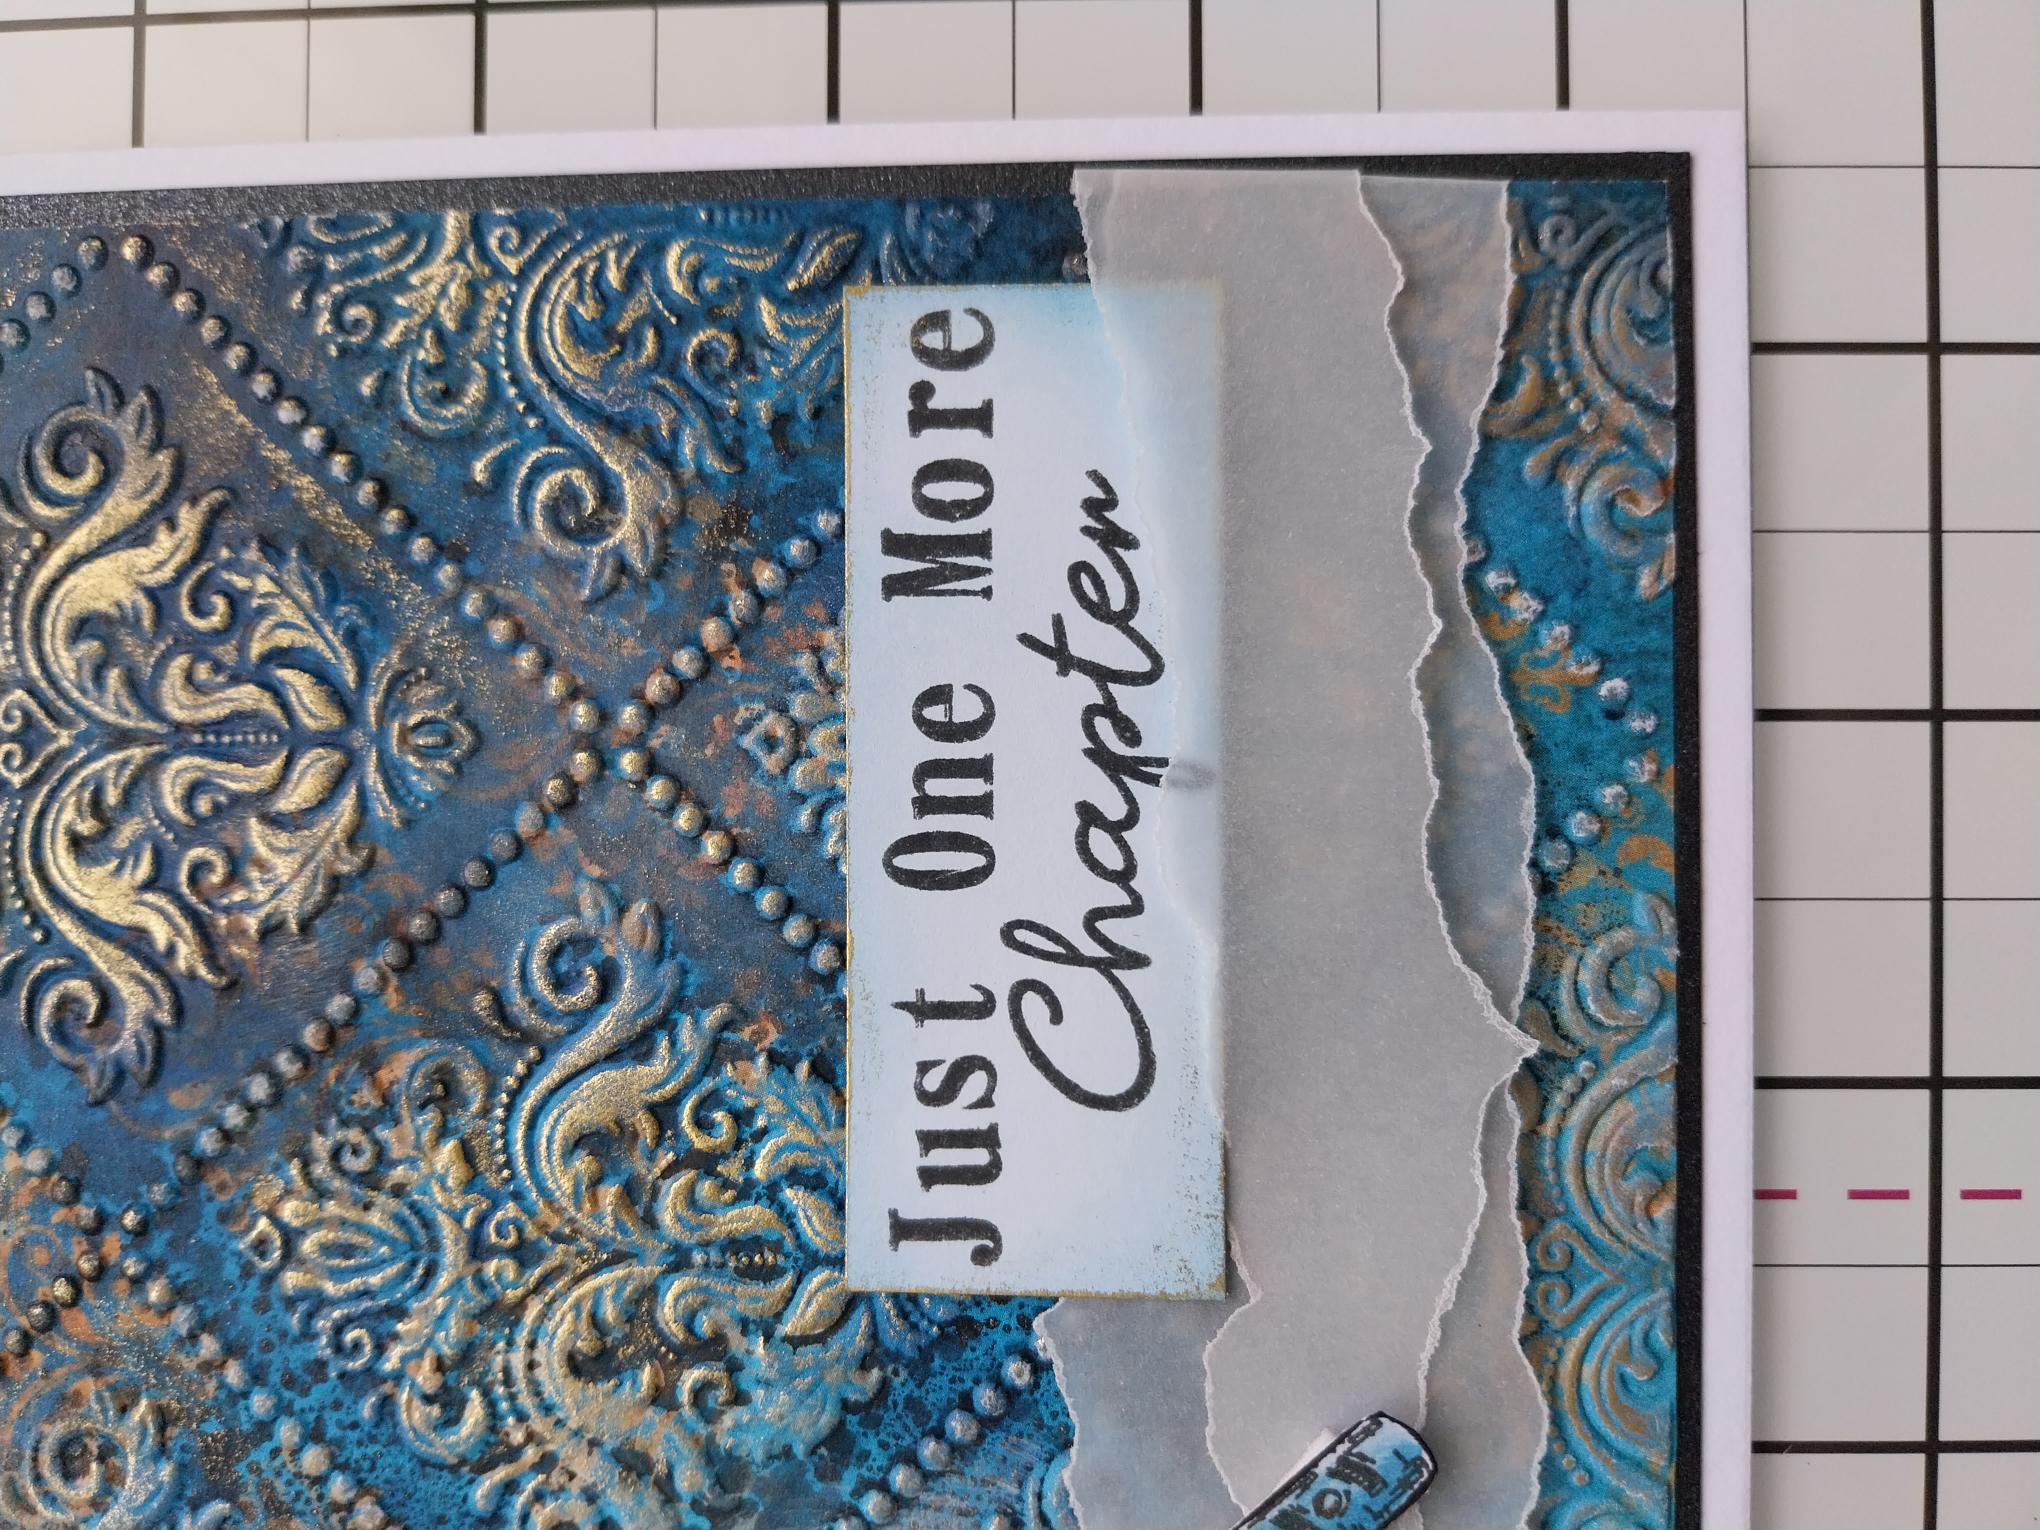
To finish, adhere your sentiment with foam pads, to the right of your artwork, tucking the bottom just under the narrow vellum panel. |