Give your friends $10 off their first order!
Refer a FRIEND


WHAT YOU WILL NEED:
Black landscape card blank 8 1/4 x 5 3/4"
White card 8 x 5 1/2"
Black card 7 1/2 x 5"
White card 7 1/4 x 4 3/4"
White card 7 x 4 1/2"
Vellum
Imala Midnight Detective Stamp Collection
Imala Life Is Better With Music Stamp Collection
SBM Hybrid Ink Pad: Midnight
SBM Premium Dye Ink Pad: Limeade, Ocean, Heather
Water spray bottle
WOW Embossing ink pad
WOW white embossing powder
WOW heat tool
Anti-static bag
Eureka 101 Watercolour Tablet
SBM Magnetic glass mat
Paper Trimmer
Perfect Together Glue
Double side adhesive tape/tape runner
[click image to enlarge] 
|
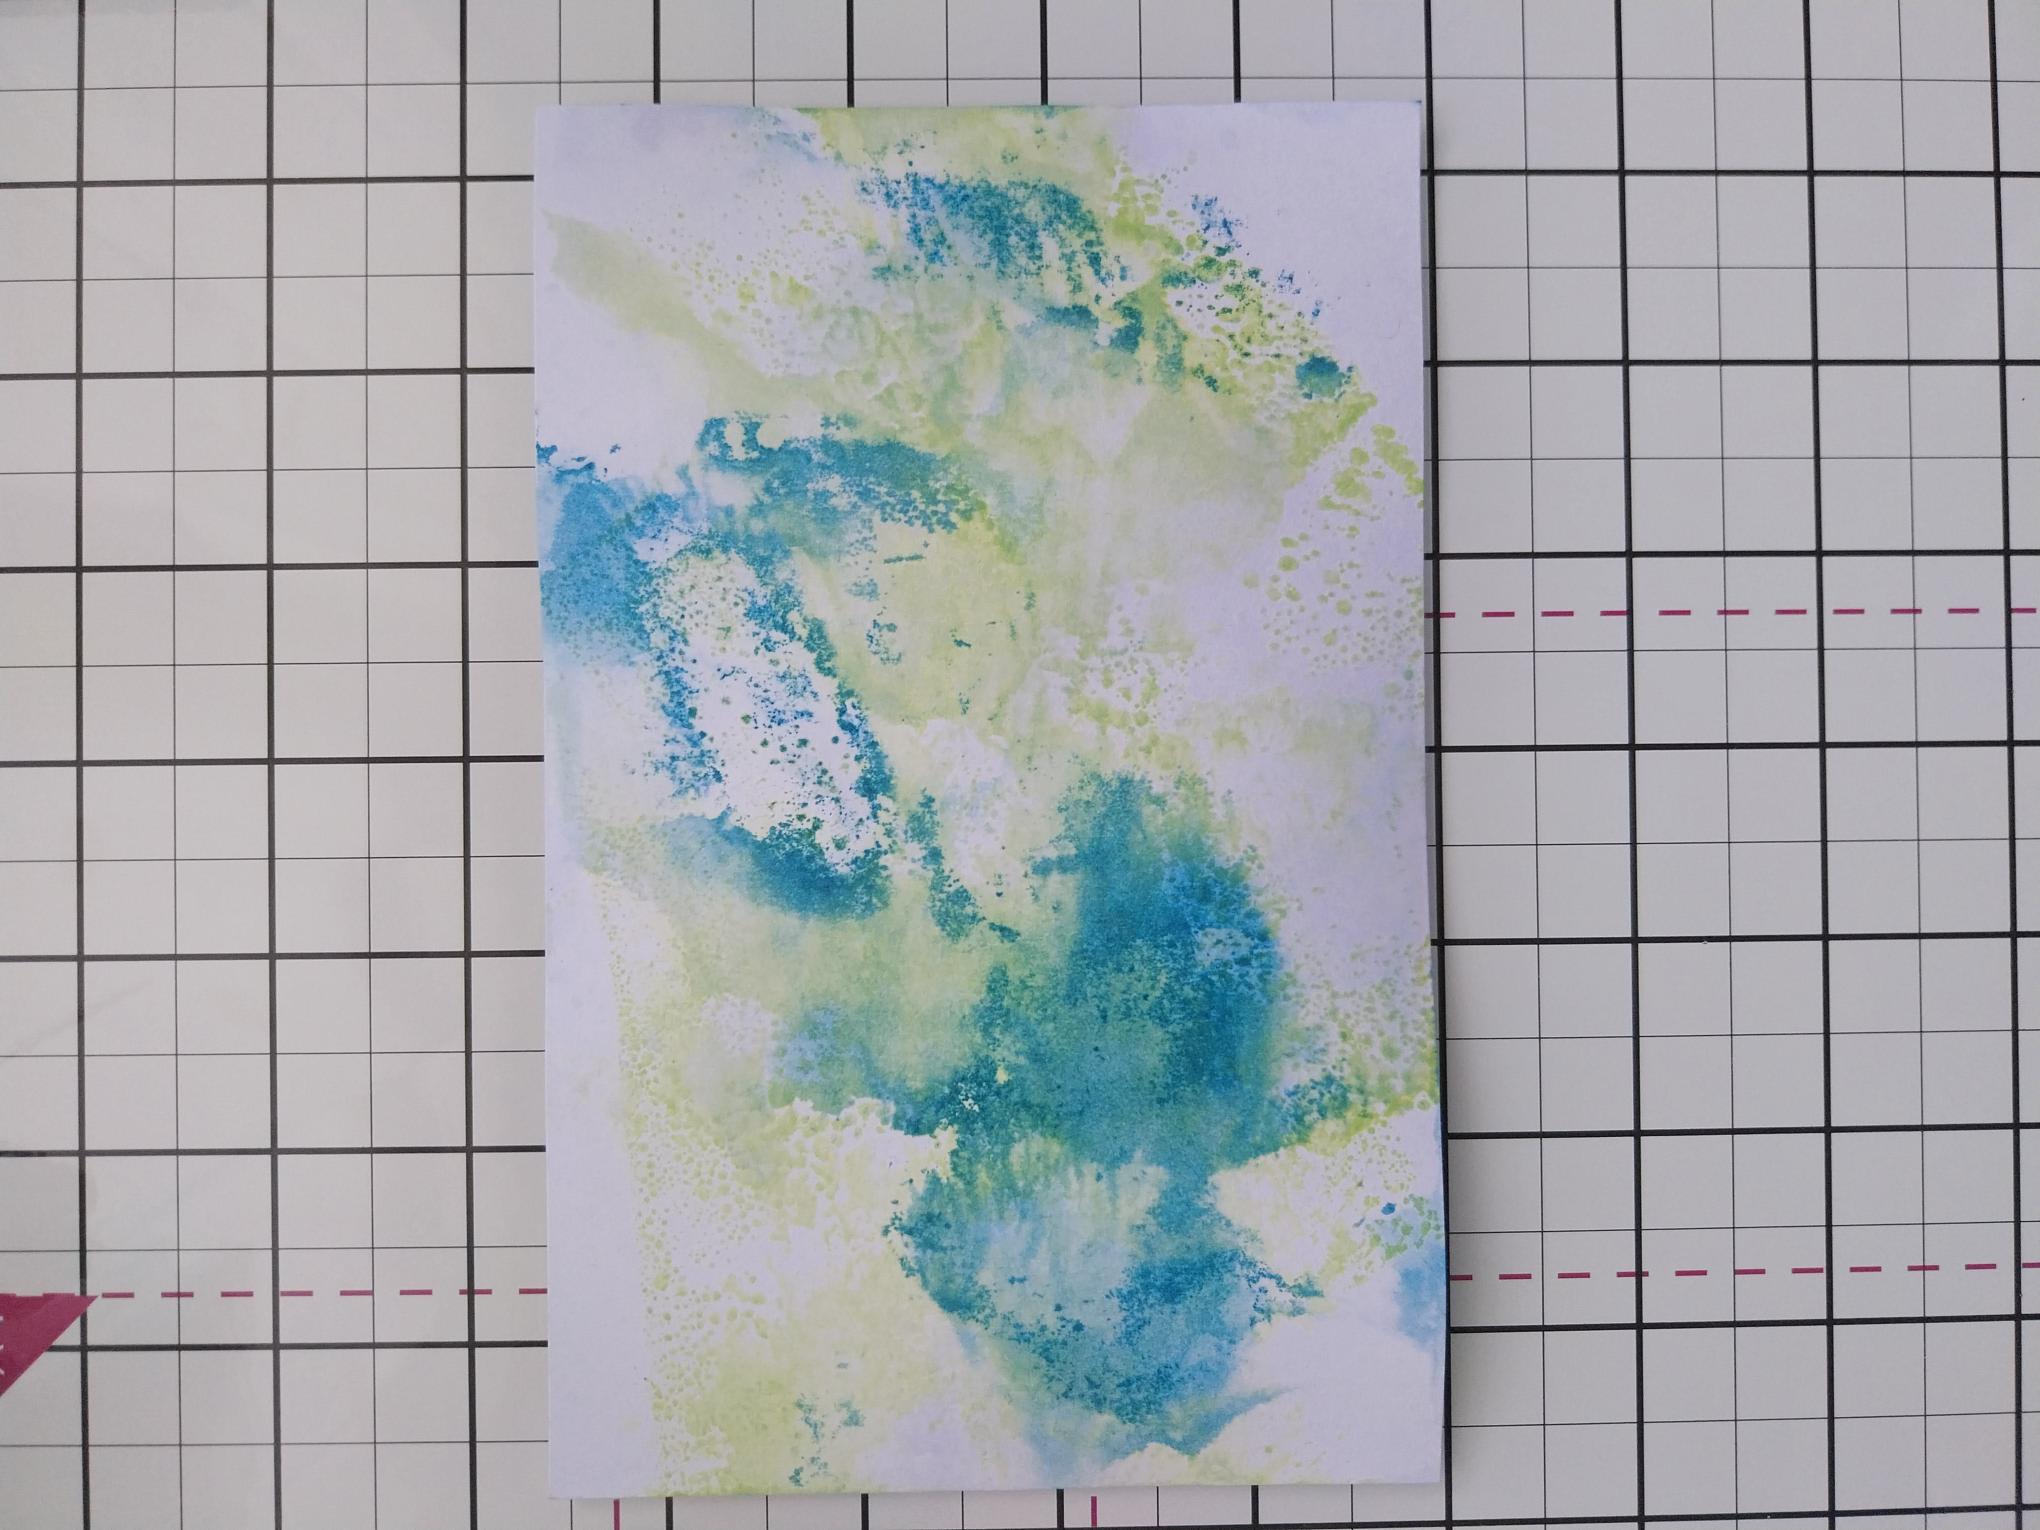
Pounce the Limeade Premium dye ink pad on your glass mat and spritz with water. Smoosh the white card, cut to 7 x 4 1/2", through the ink. Repeat until happy with the effect. |
|
Pounce the Ocean ink pad on to the glass mat, spritz with water and pick up the ink. Blast the ink with your heat tool to dry most of the moisture, from your inky background. |
|
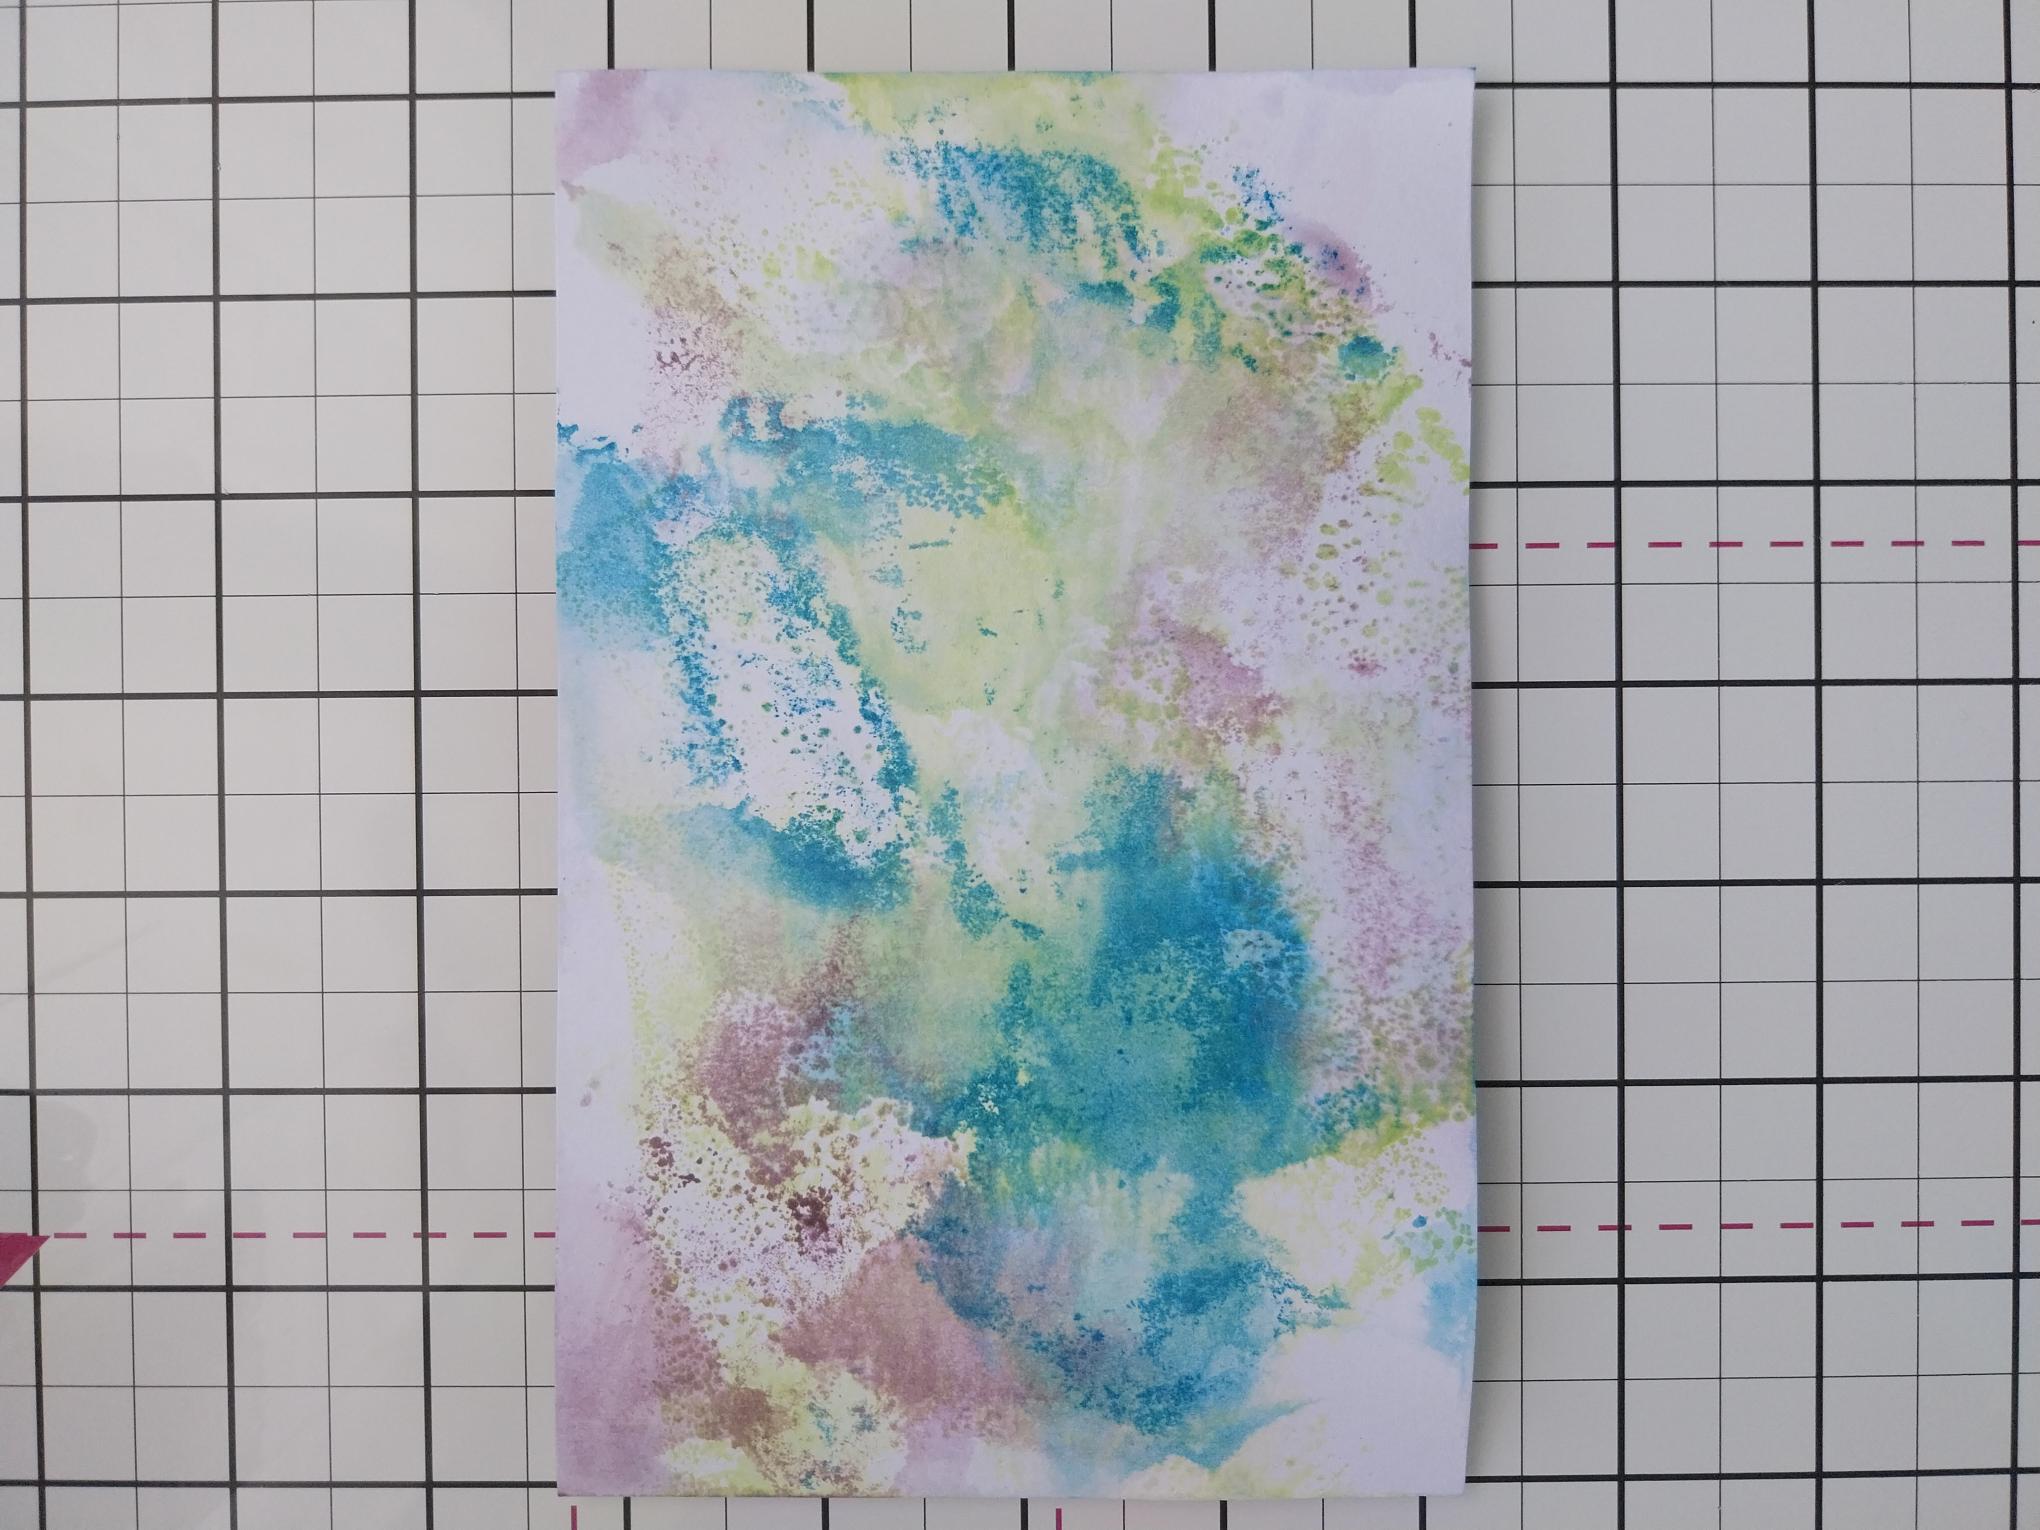
Pounce the Heather ink pad on to the glass mat, spritz with water and mop up the ink, to complete your background. Blast dry with your heat tool. |
|
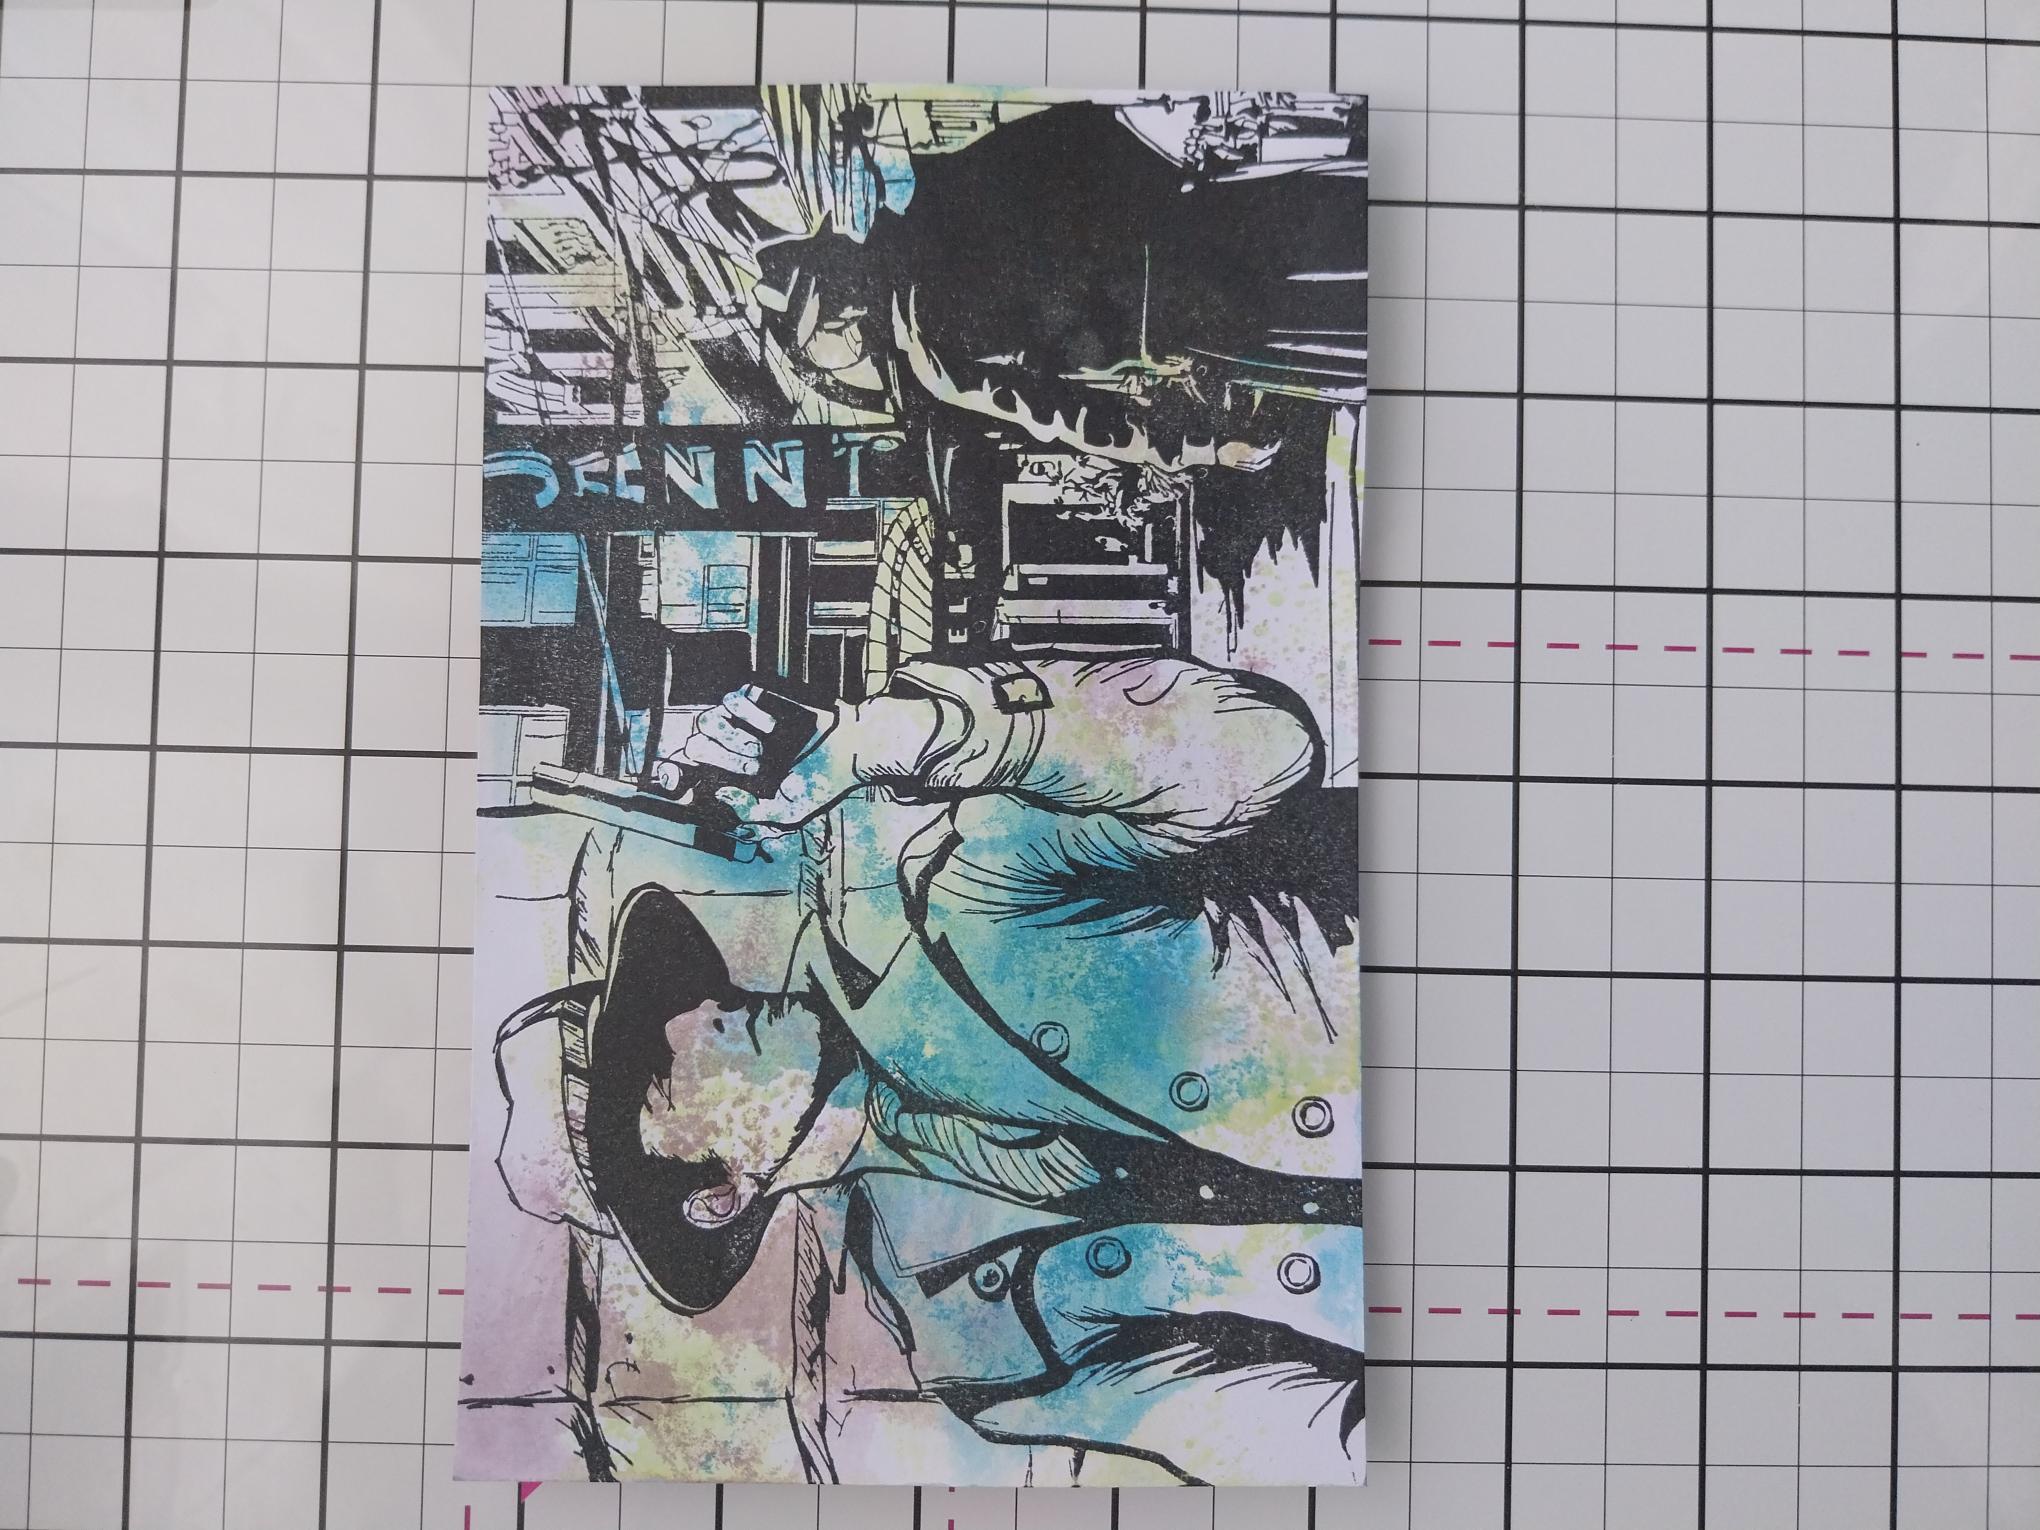
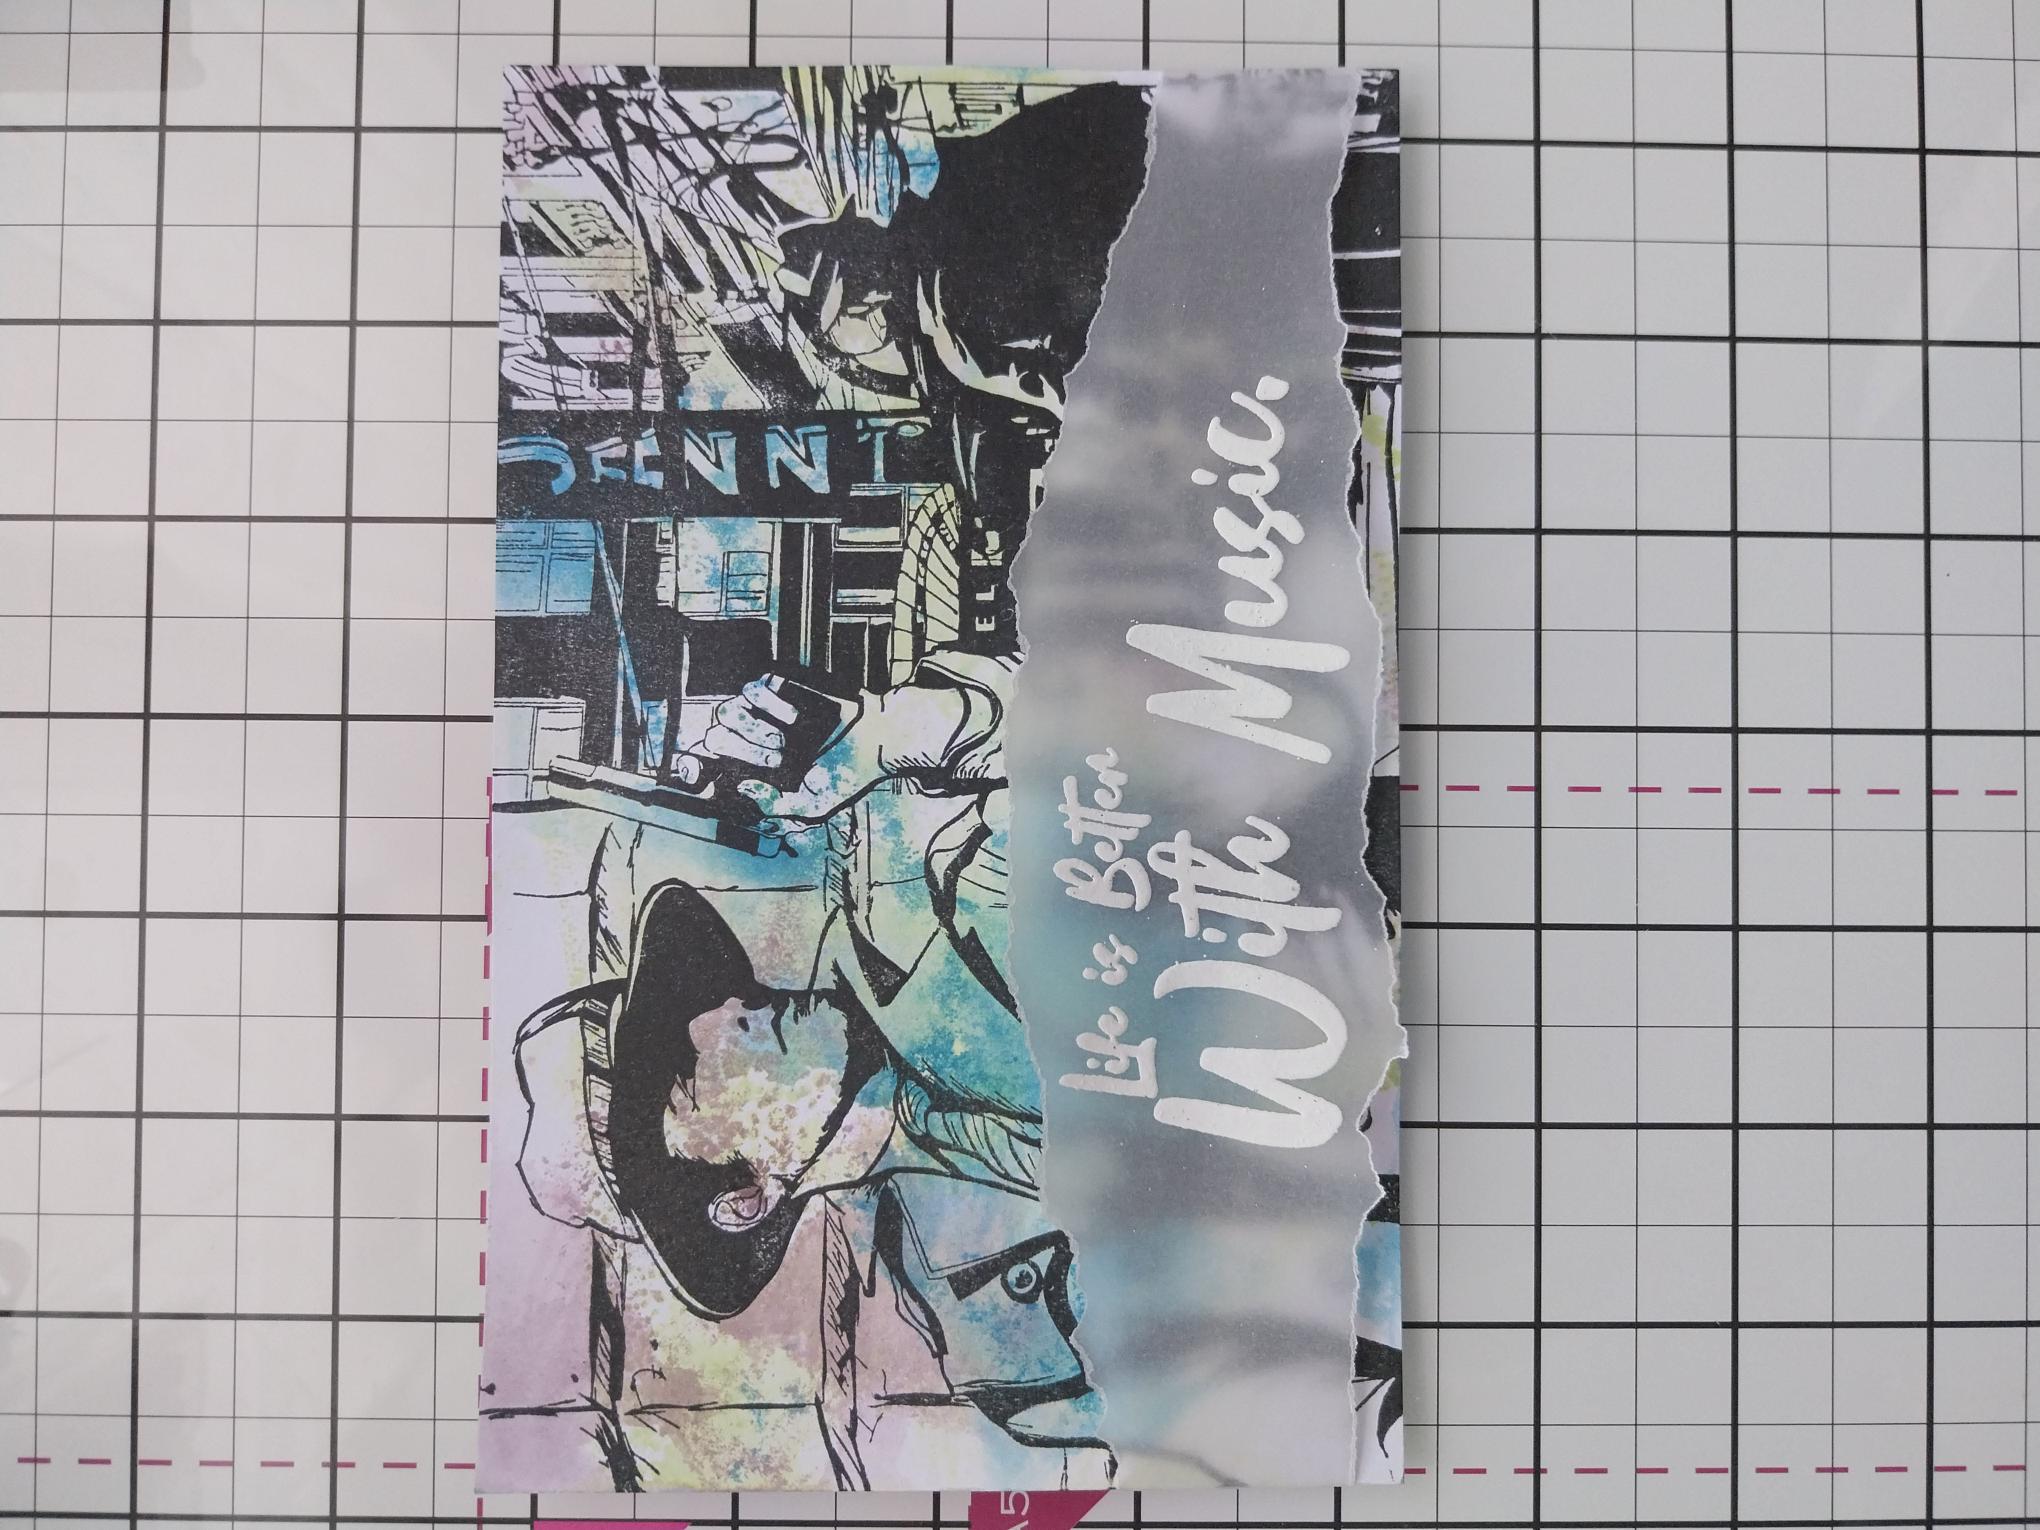
Ink up the fabulous Midnight Detective stamp with the Midnight hybrid ink and stamp on to your inky background. Set aside to dry. |
|
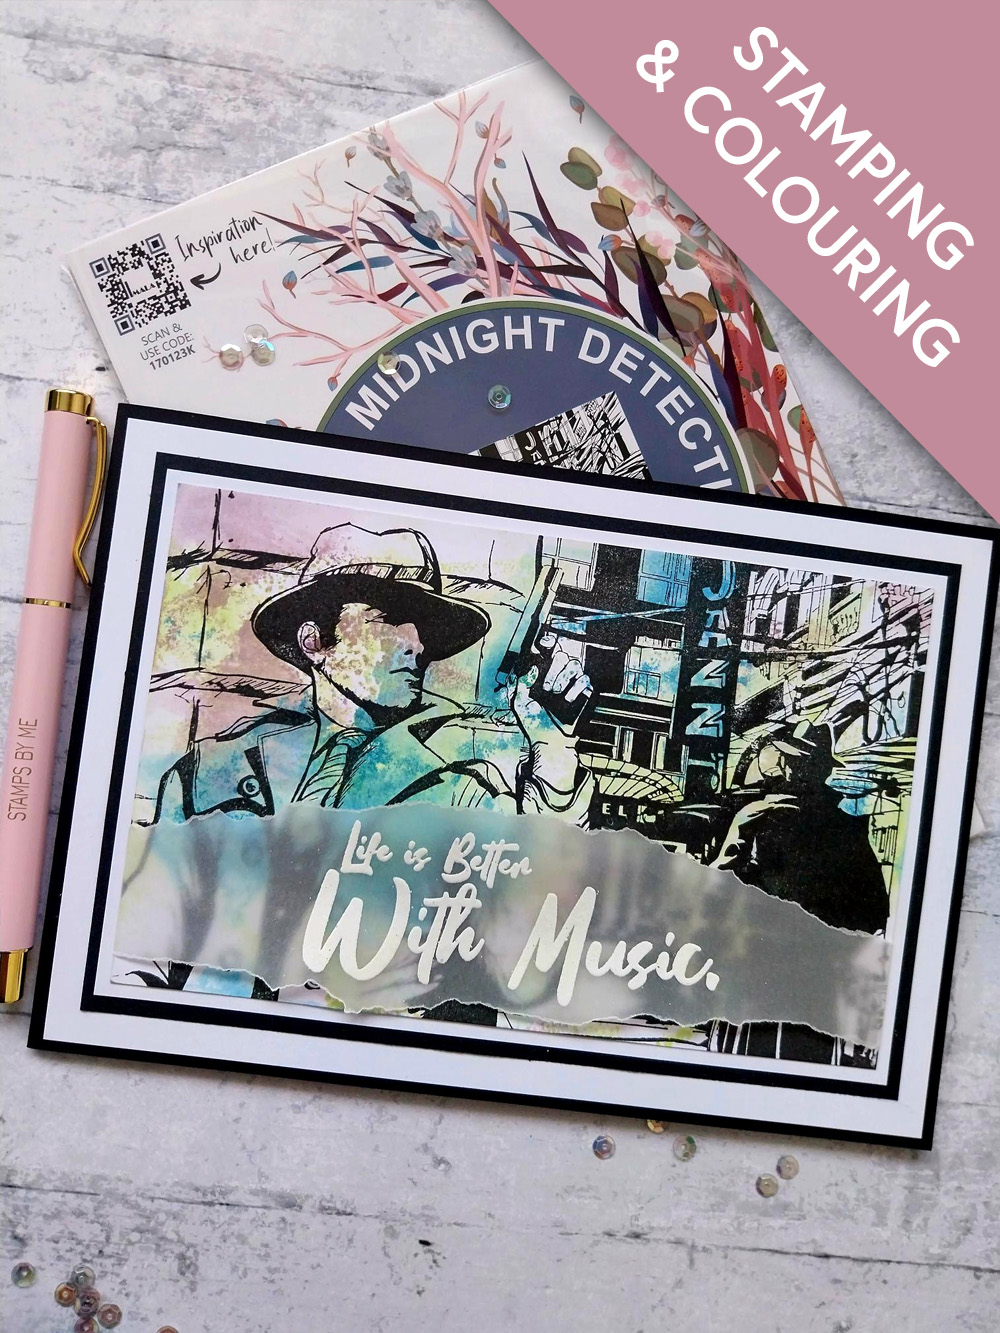
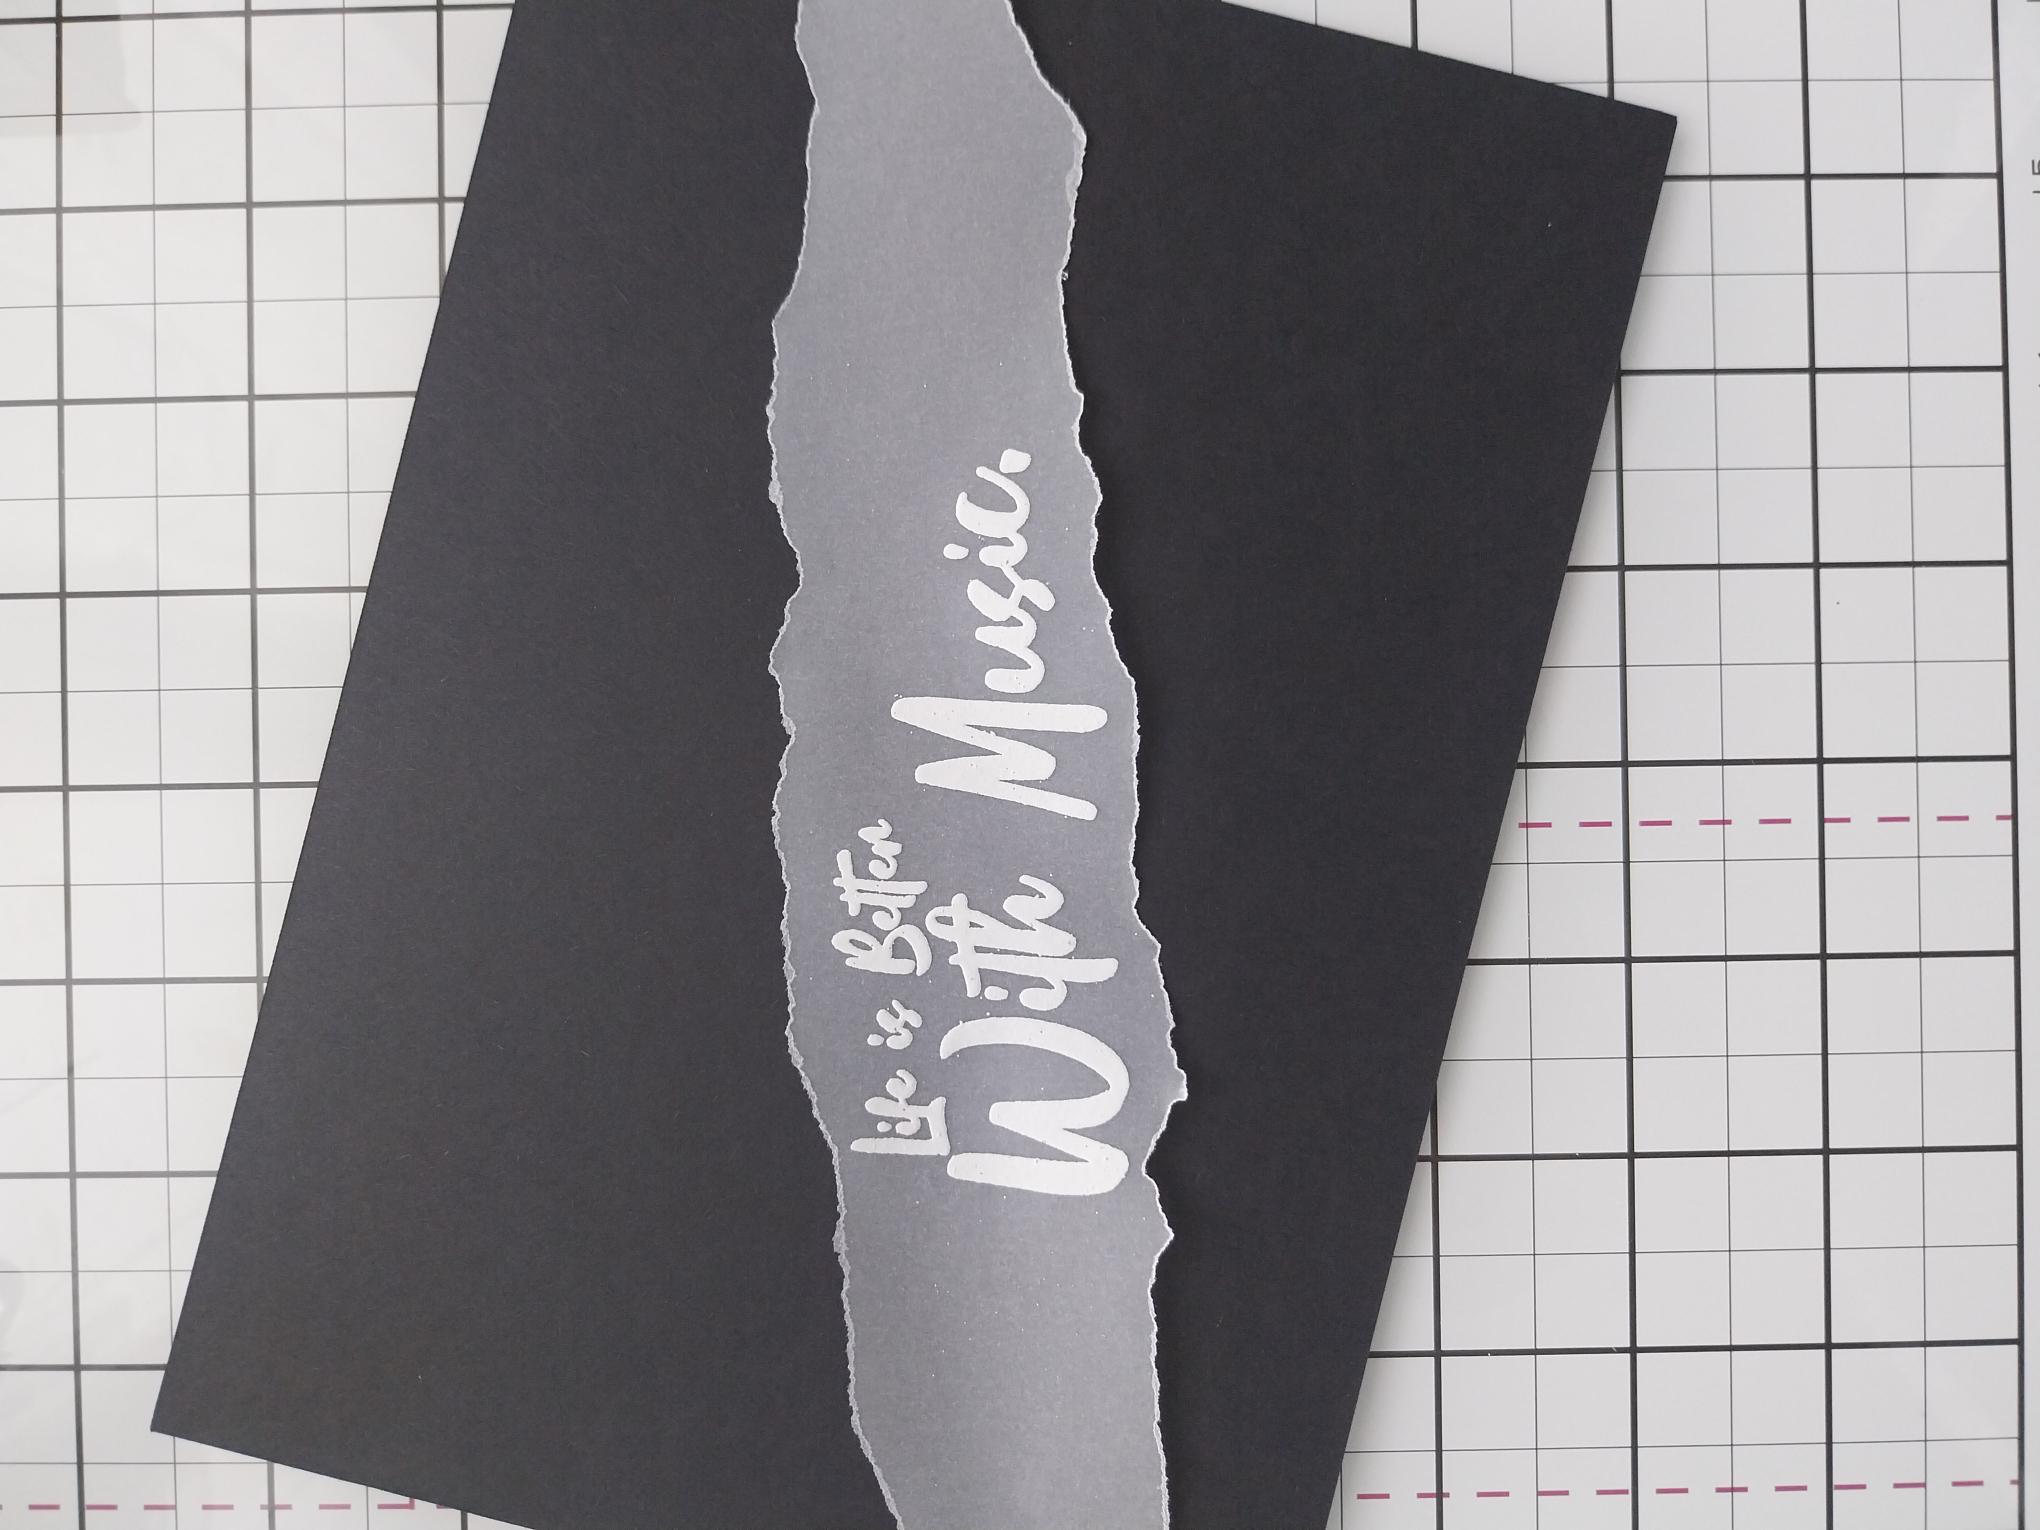
Tear a panel of vellum approx 7 1/2 " in length and wide enough for the sentiment to fit on. Wipe over the vellum with your anti-static bag, before inking up the sentiment stamp with the WOW sticky embossing ink. Stamp in the centre of the vellum panel. Cover the stamped, sticky sentiment, with the WOW white embossing powder, decanting any excess powder back in the tub. Get your heat tool hot before heat setting the powder, ensuring you move the heat tool as soon as the powder starts to turn. This will prevent burning the powder and warping the vellum. Embossing powder turns much quicker on vellum, so move fast.
|
|
Lay the embossed vellum across the bottom of your artwork. Tuck the ends of the vellum over the edges of the card, securing on the reverse with double sided adhesive tape or a tape runner. Set to one side. |
|
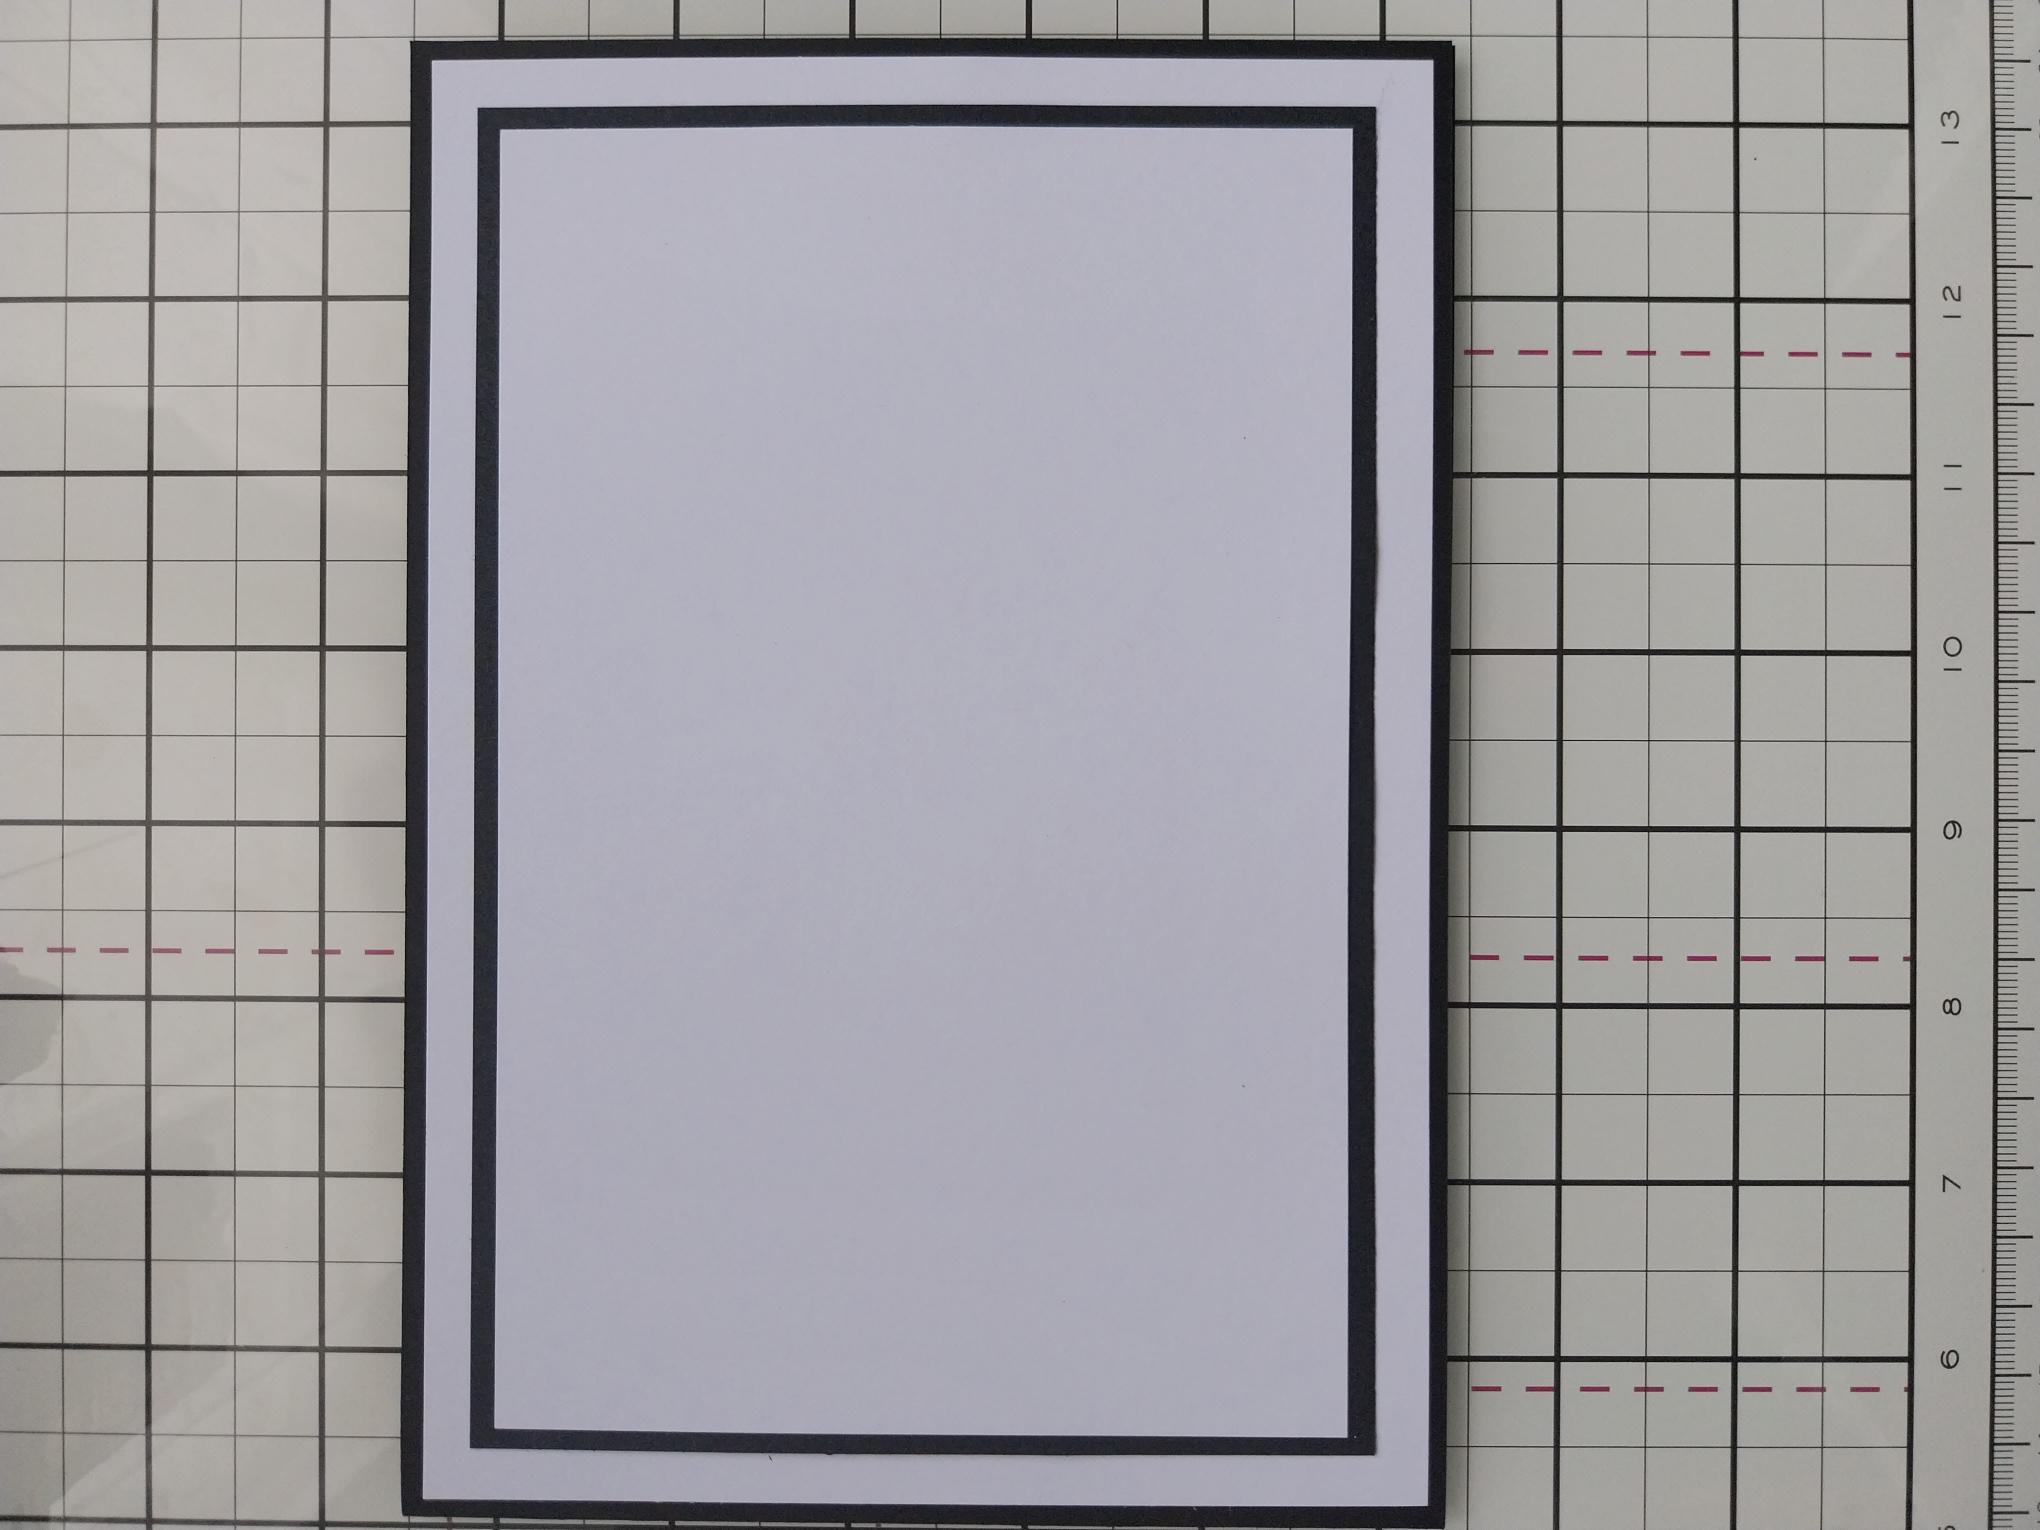
Adhere the white card cut, to 7 1/4 x 4 3/4", on to the black card cut to 7 1/2 x 5". Adhere this on to the white card, cut to 8 x 5 1/2" and then on to your black, landscape card blank. |
|
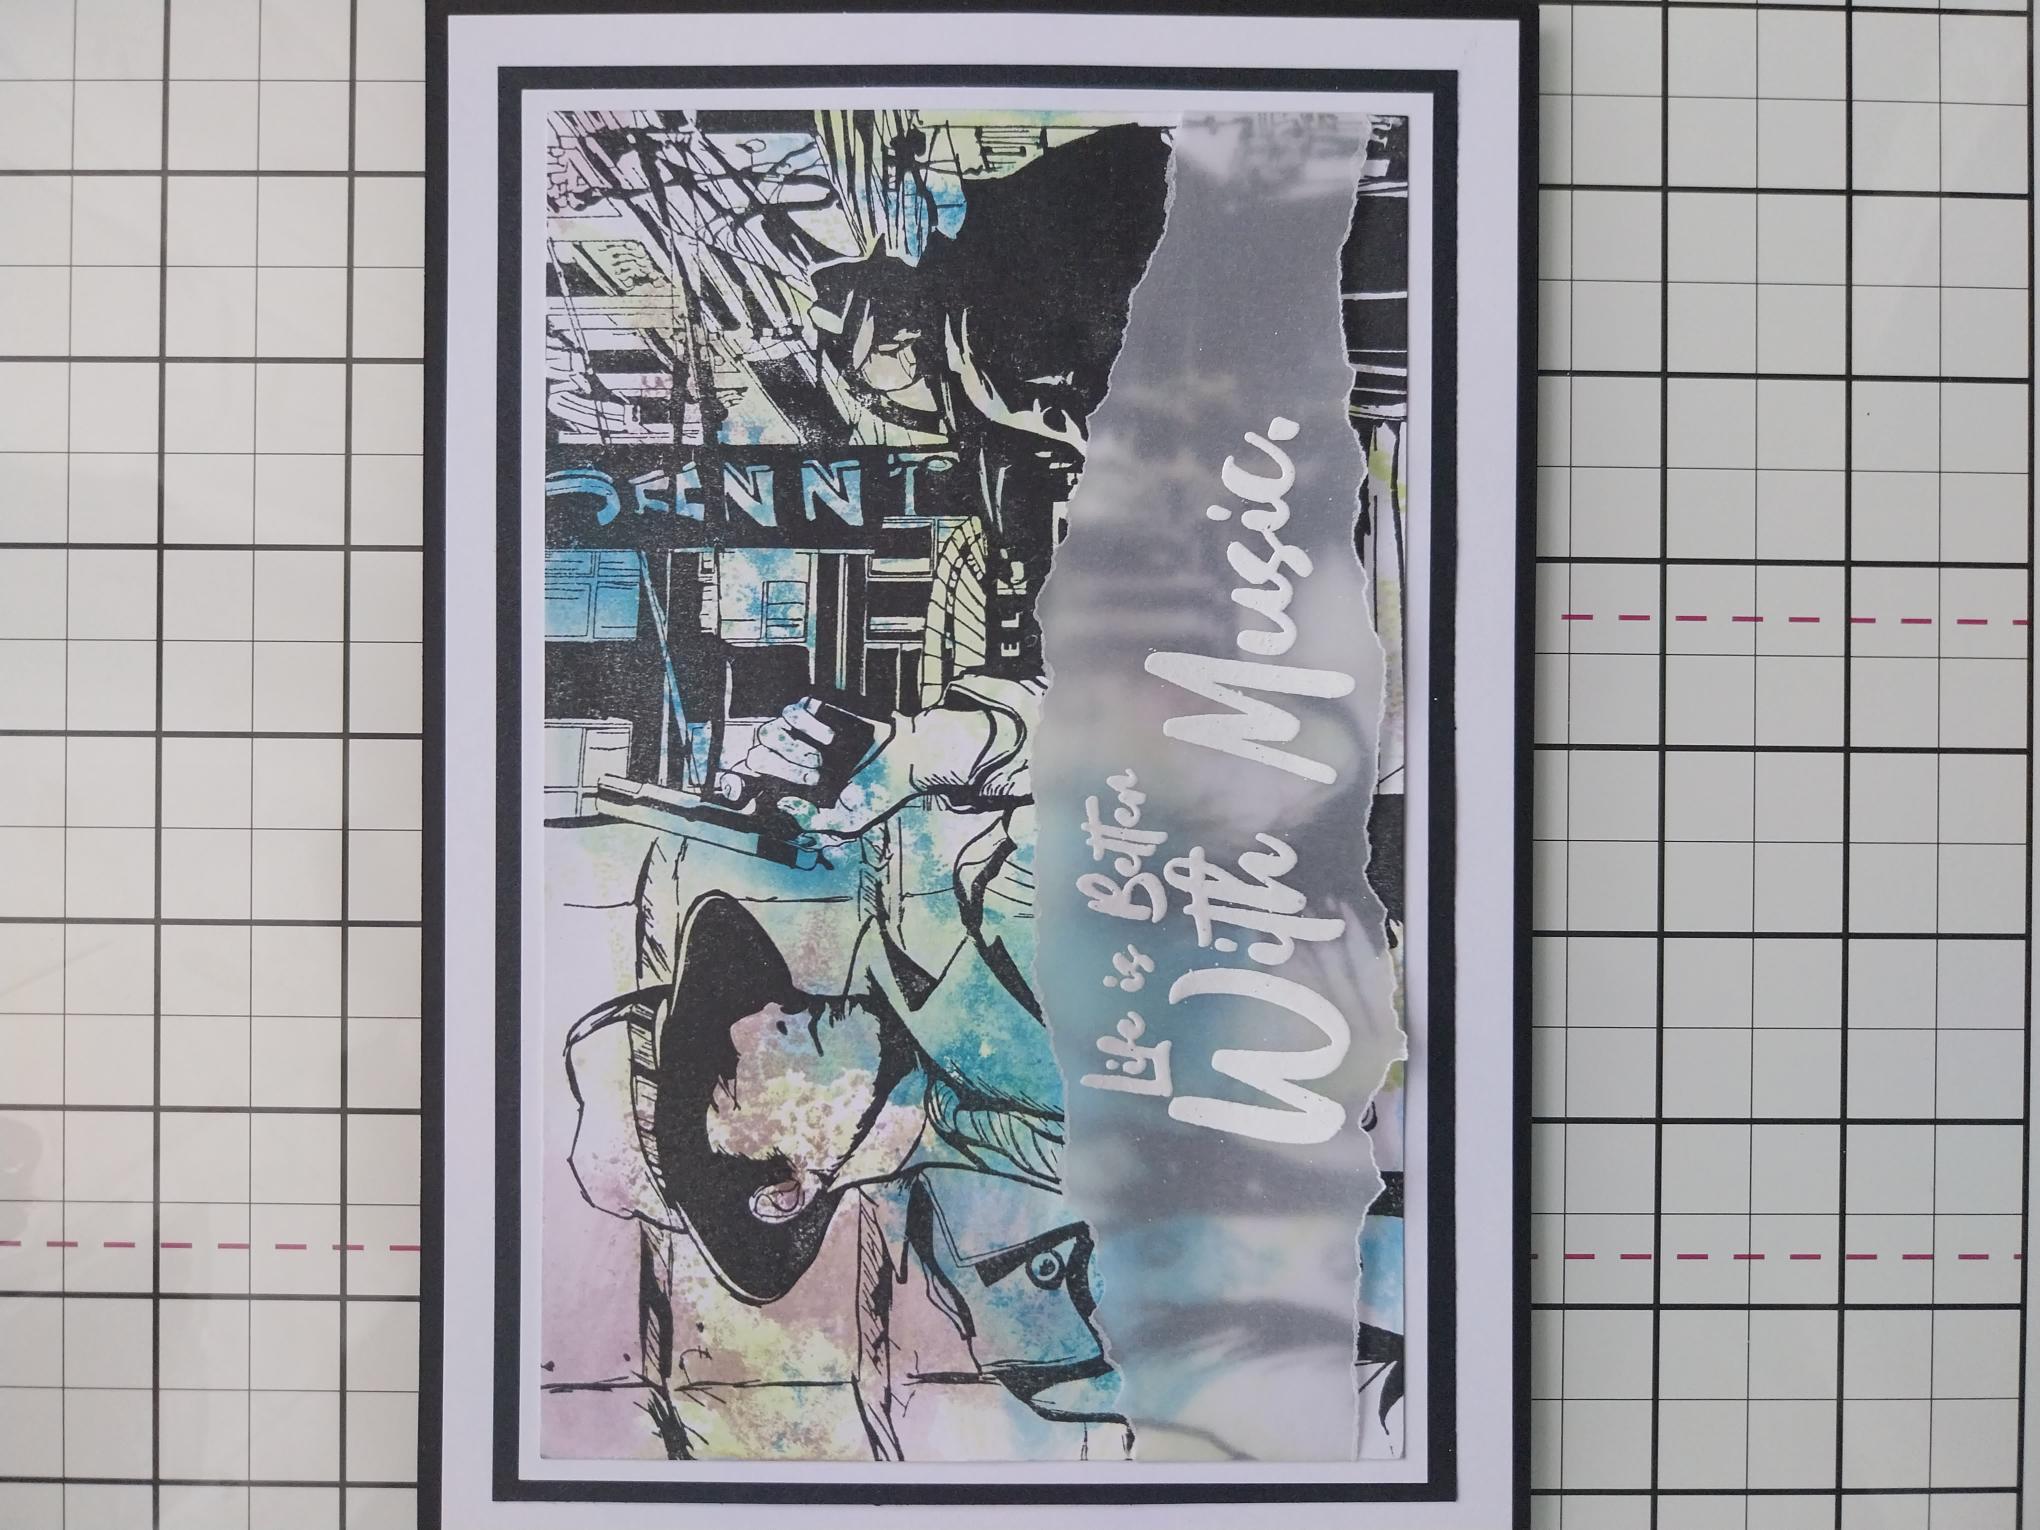
Finally, adhere your artwork on to your layered card. |