Give your friends $10 off their first order!
Refer a FRIEND


WHAT YOU WILL NEED:
Black landscape card blank 8 x 5 3/4"
White card 7 3/4 x 5 1/2"
Vellum
Masking sheet/copy paper
Imala Wild And Free Stamp Collection
Imala London Stamp Collection
SBM Hybrid Ink Pad: Midnight
SBM Premium Dye Ink Pad: Redwood
WOW Embossing Ink Pad
WOW white embossing powder
WOW heat tool
Anti-static bag
Paint brush
Black pen
Water spray bottle
Eureka 101 Watercolour Tablet
SBM Magnetic glass mat
Paper Trimmer
Perfect Together Glue
Double sided adhesive tape/tape runner
[click image to enlarge] 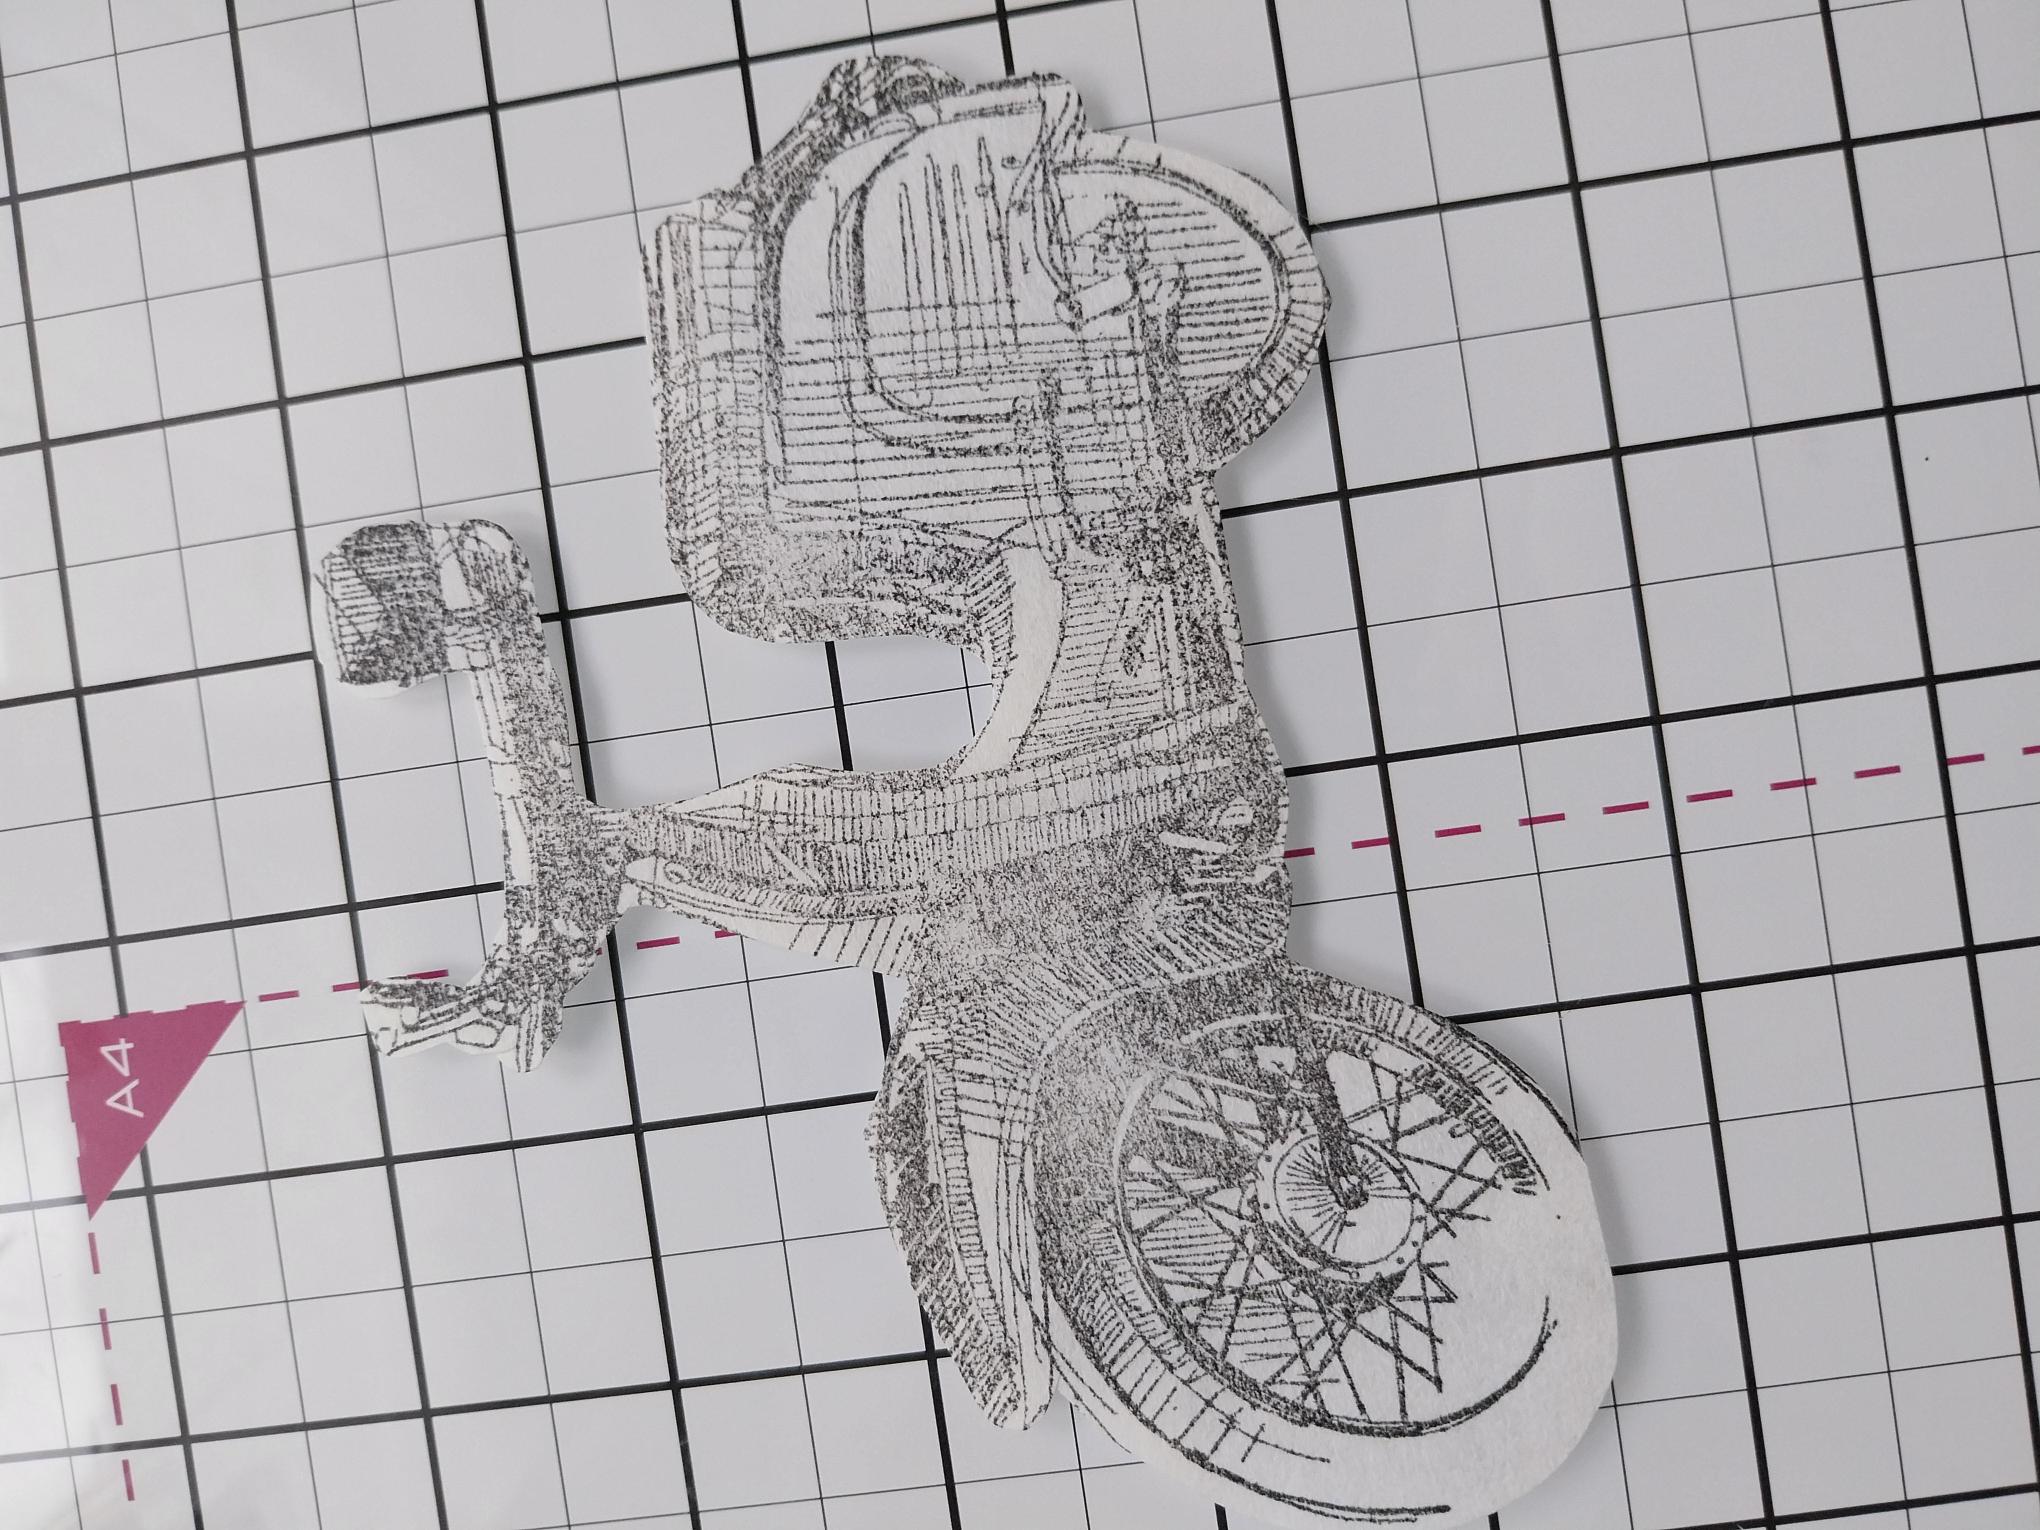
|
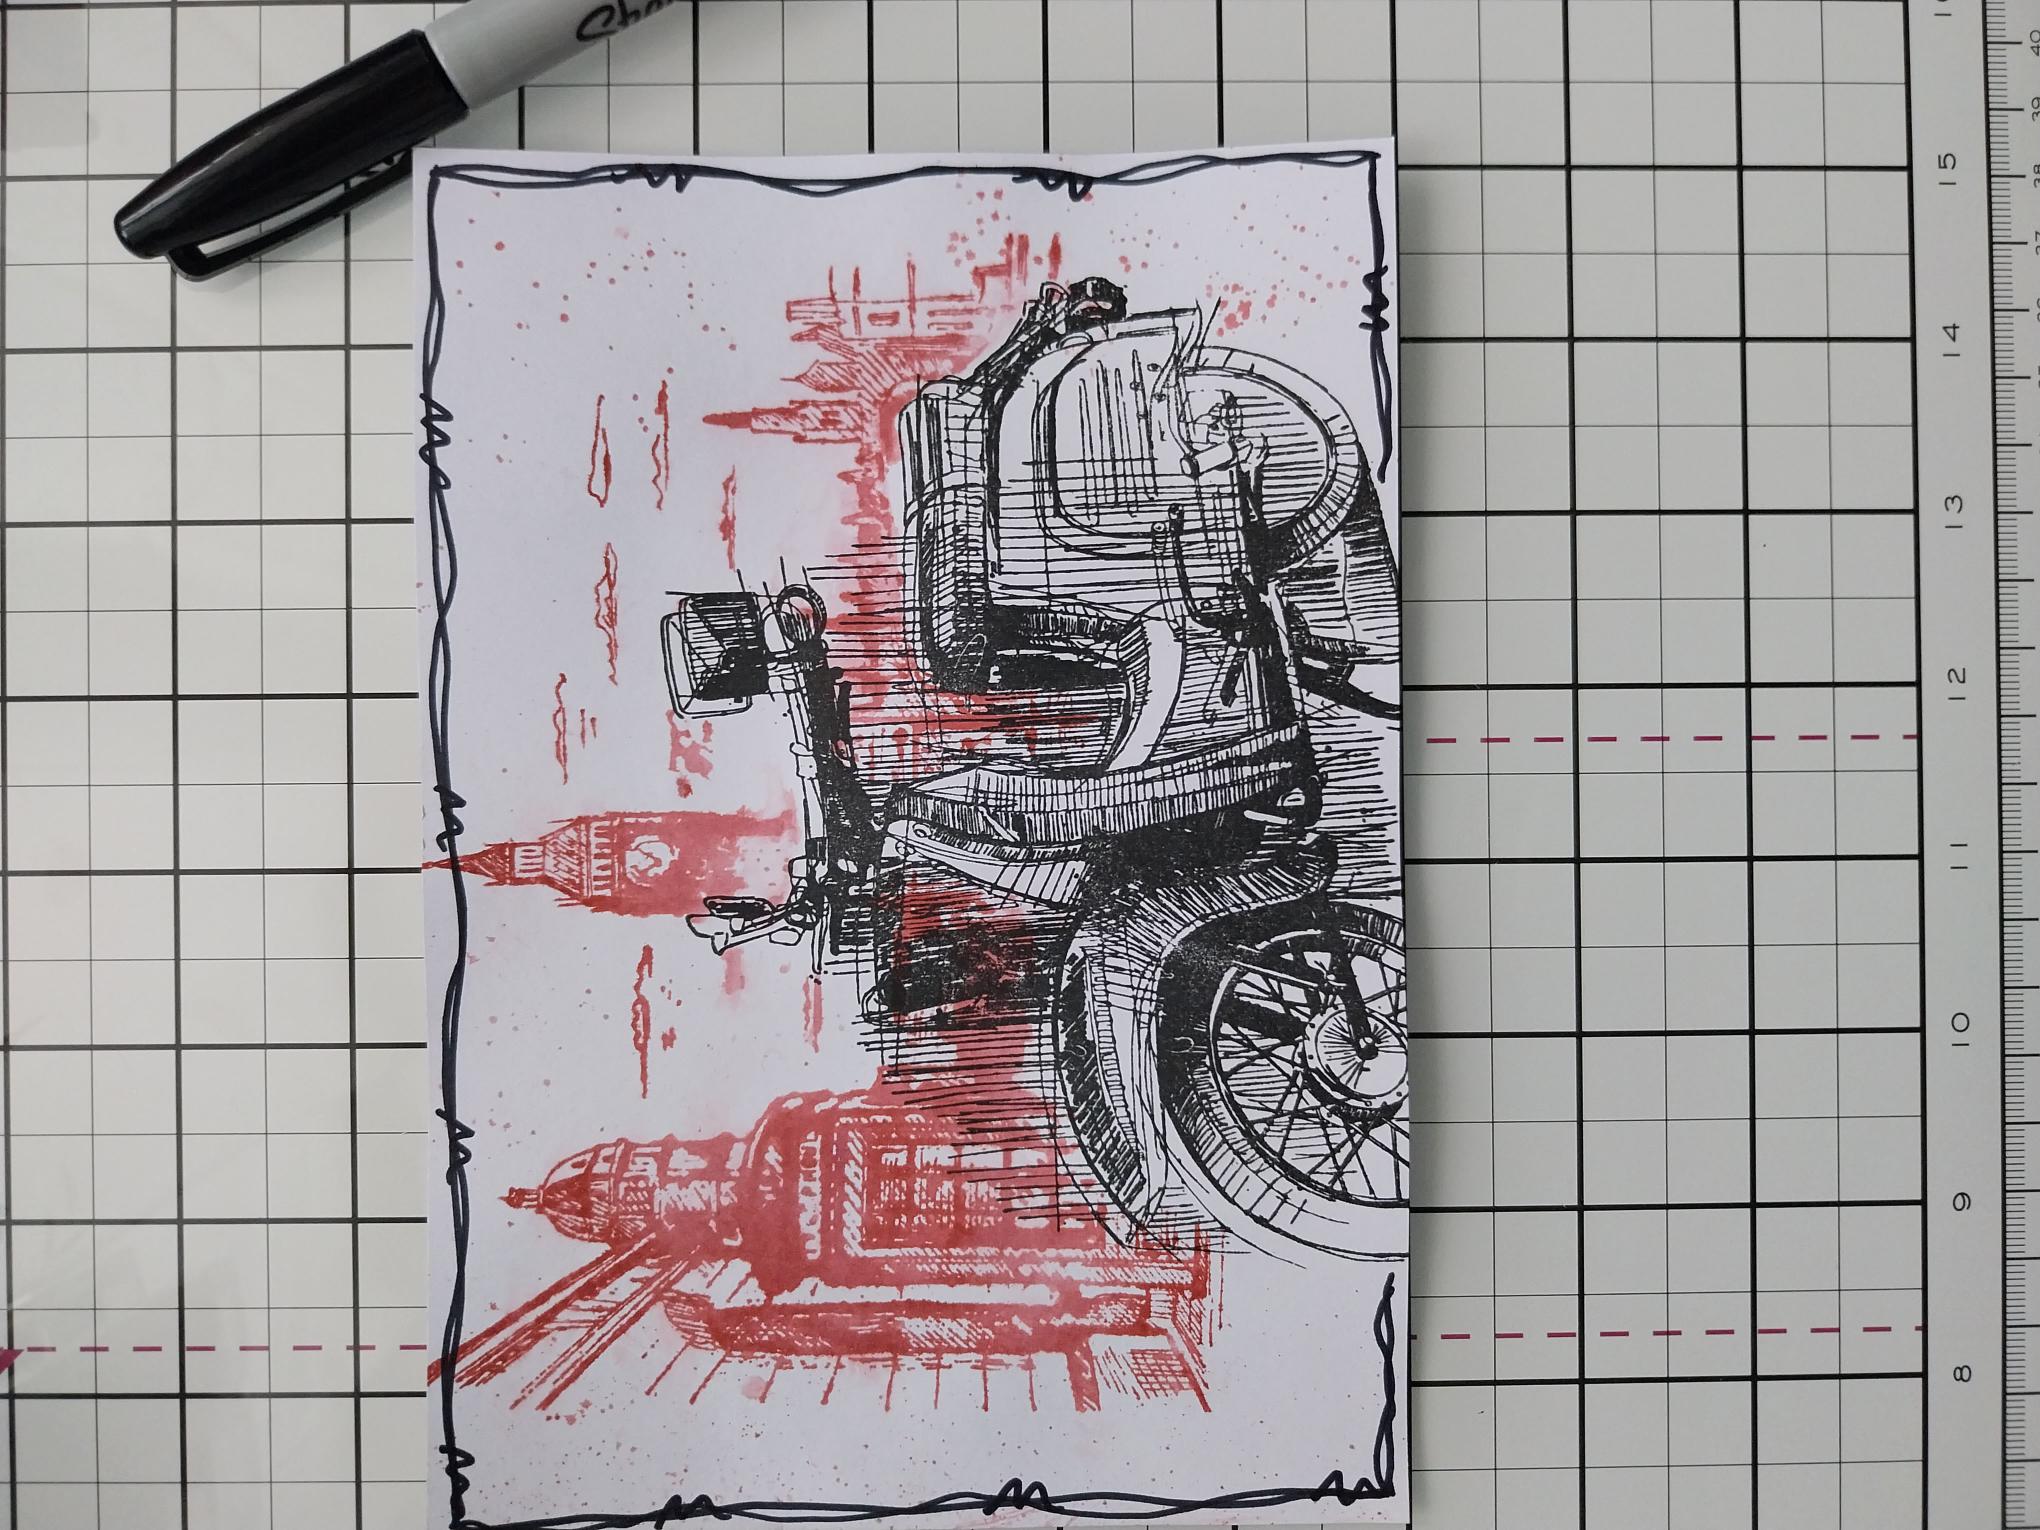
Having inked up the scooter stamp with the Midnight hybrid ink, stamp on to your masking sheet or copy paper and fussy cut, to create your "mask". Don't worry about cutting around the scribble art, just the basic shape of the scooter will be fine. |
|
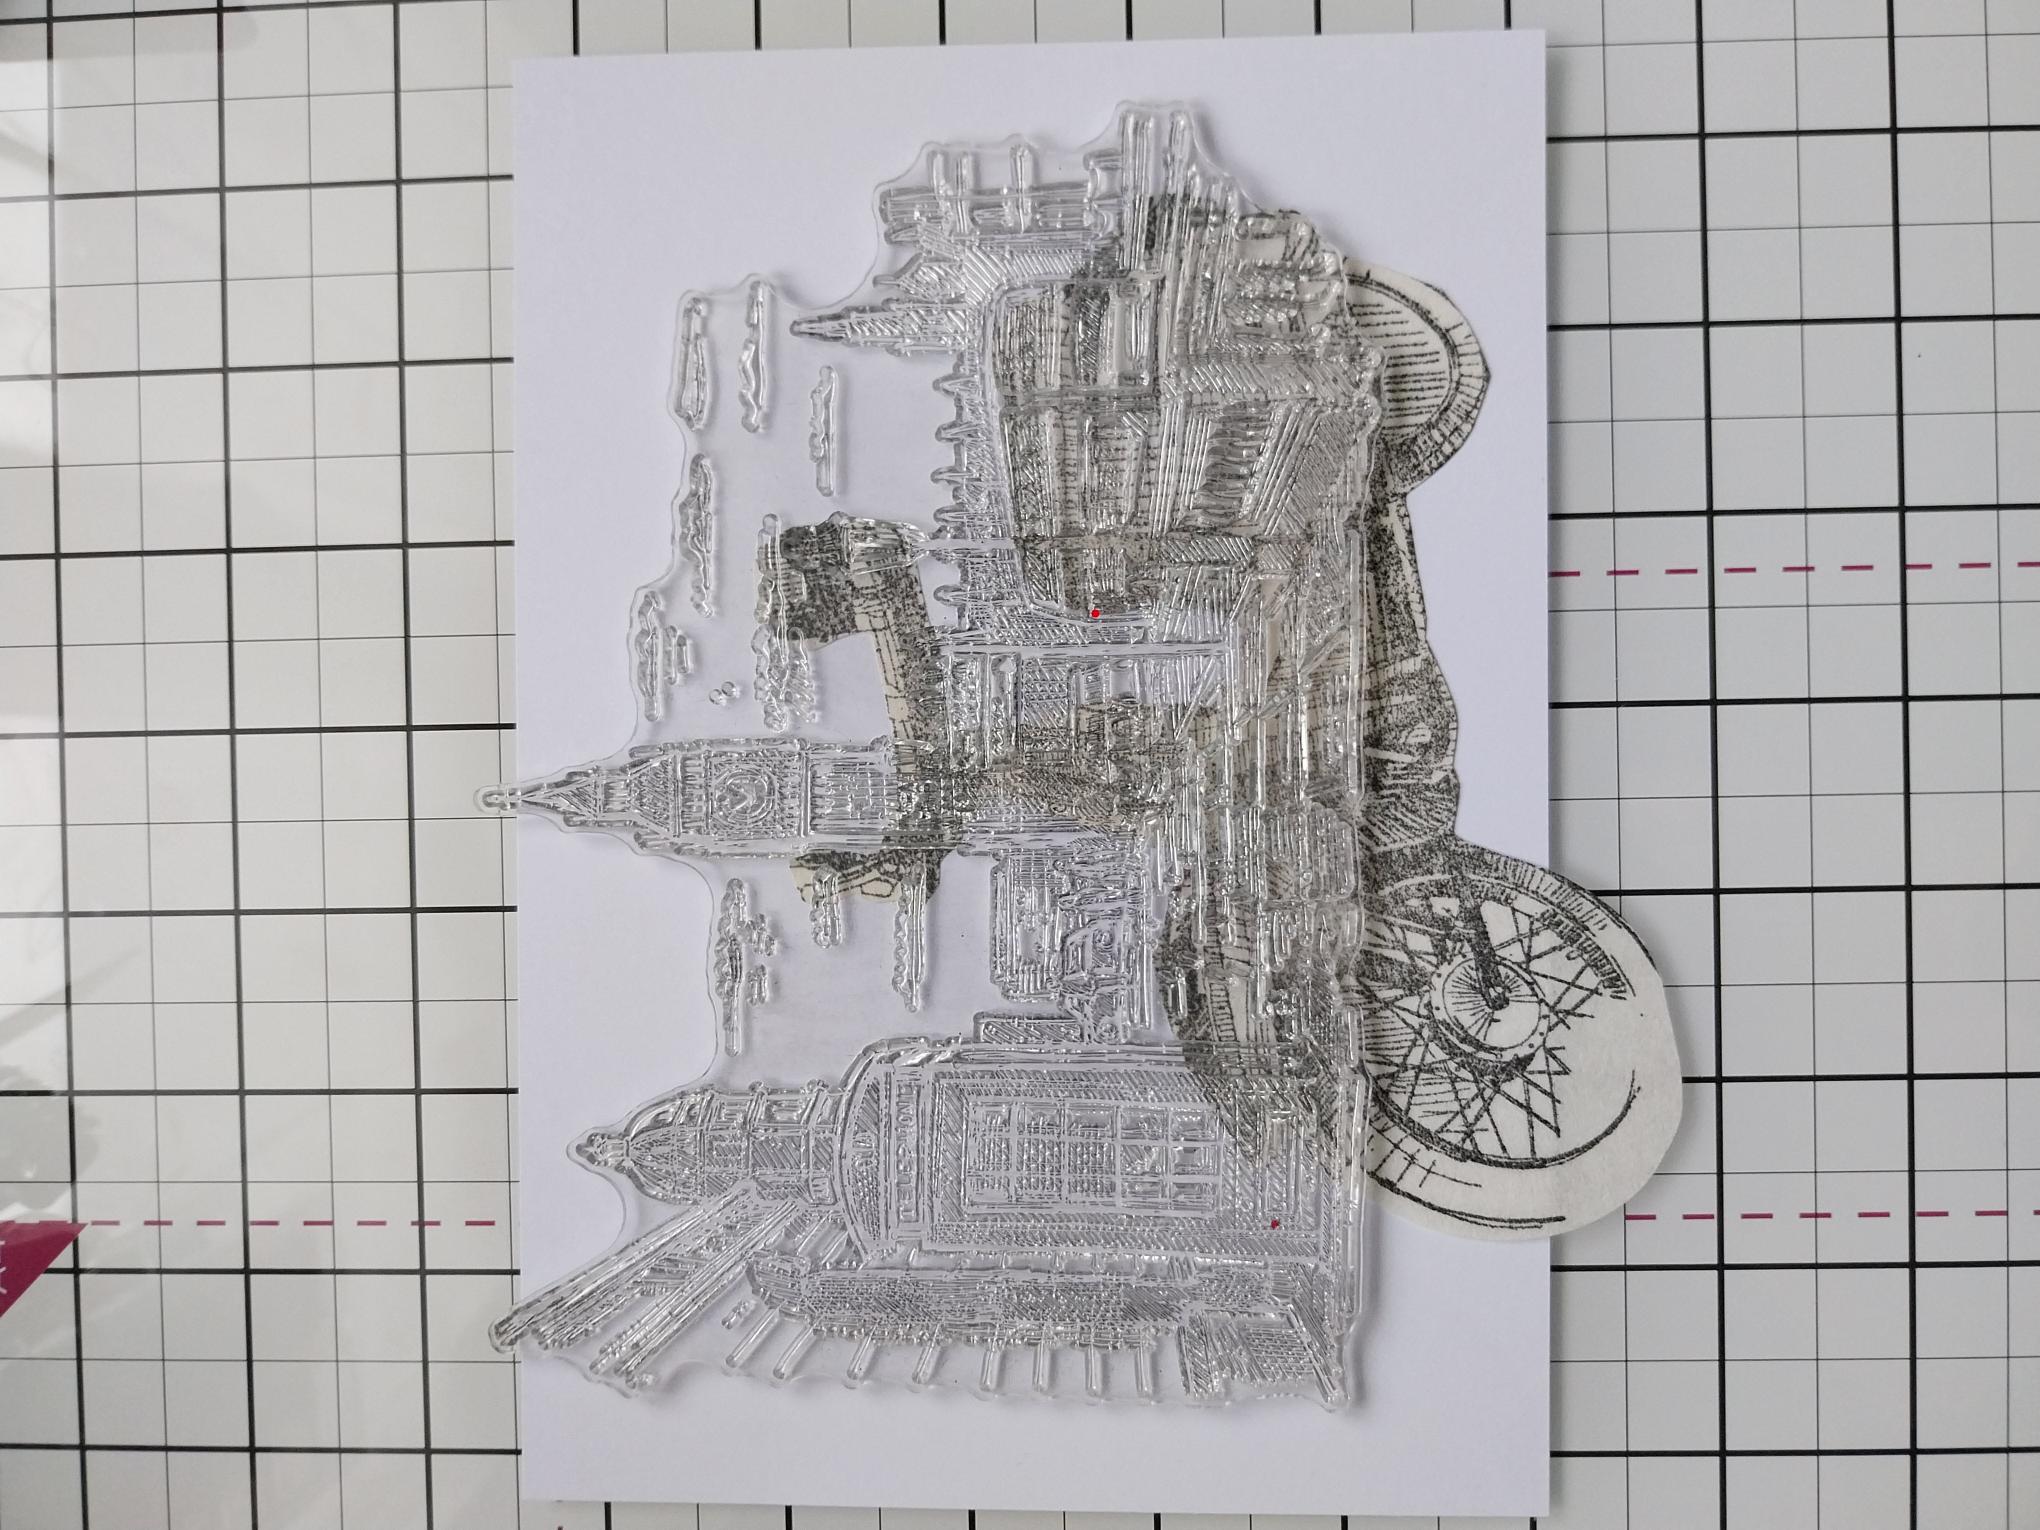
Using your London stamp as a positional guide, secure your mask in place on the white, landscape card. |
|
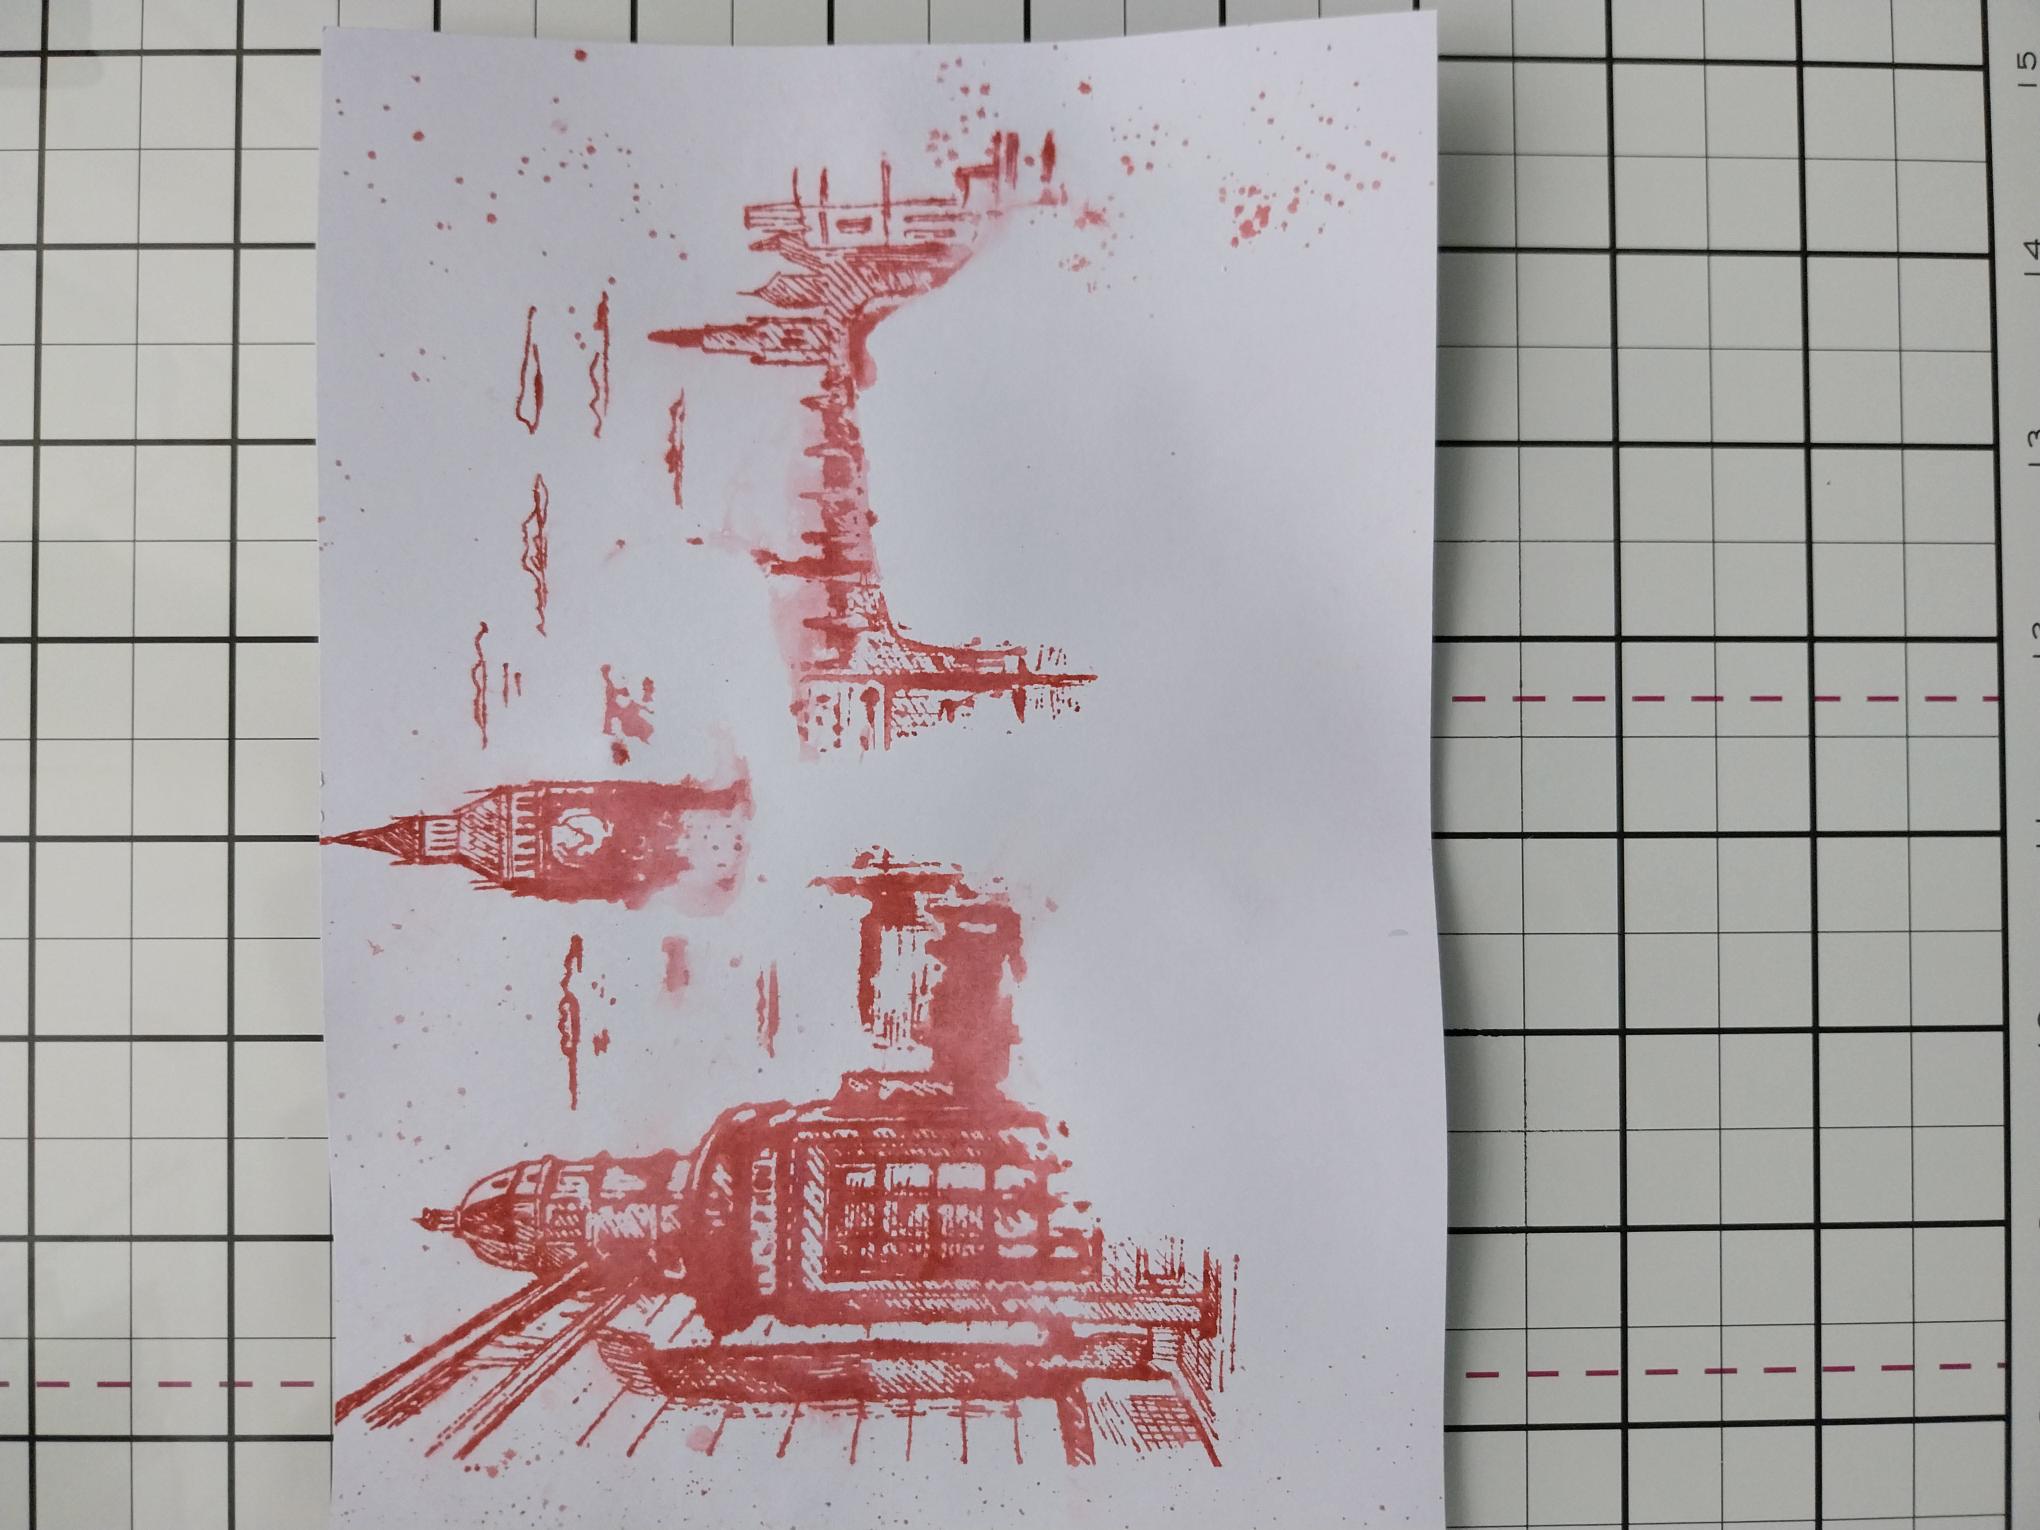
Ink the London stamp with Redwood, spritz the stamp with water and stamp in place, over your mask. Without moving the card or stamp, spritz your stamped image lightly with water, allowing the ink to "bleed" before mopping up the excess water with a paper towel. Reink and stamp back over the image. This is known as the "bleeding technique". Remove your mask and dry the stamped image with your heat tool. |
|
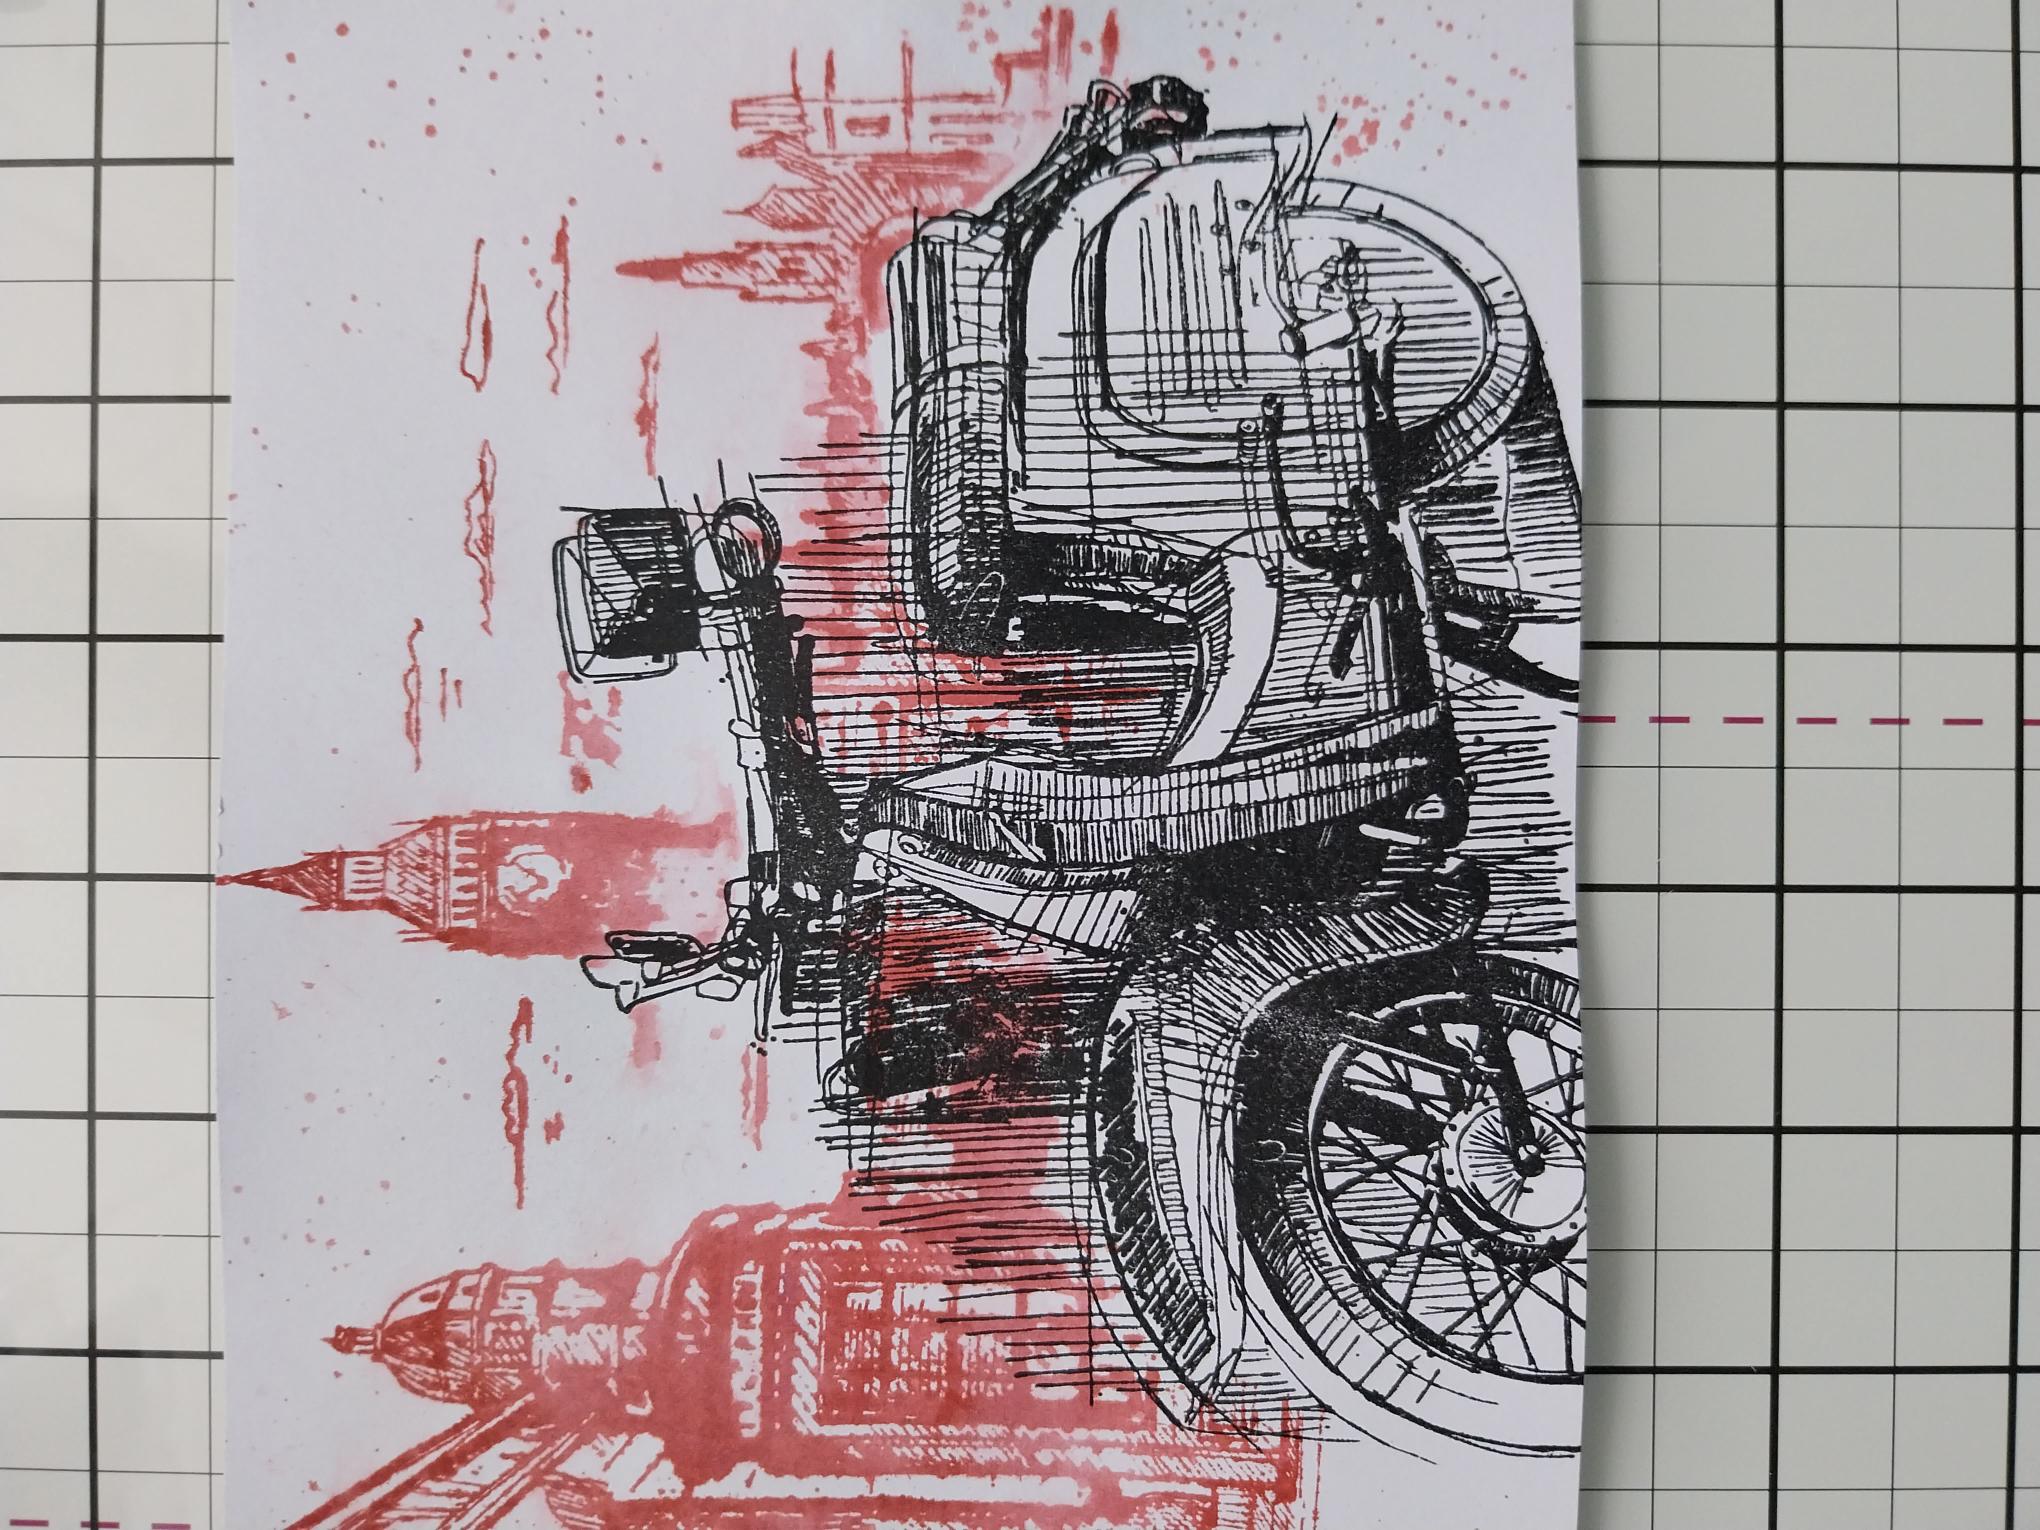
Ink your scooter stamp with the Midnight and stamp in position, on your background, then set to one side to dry. |
|
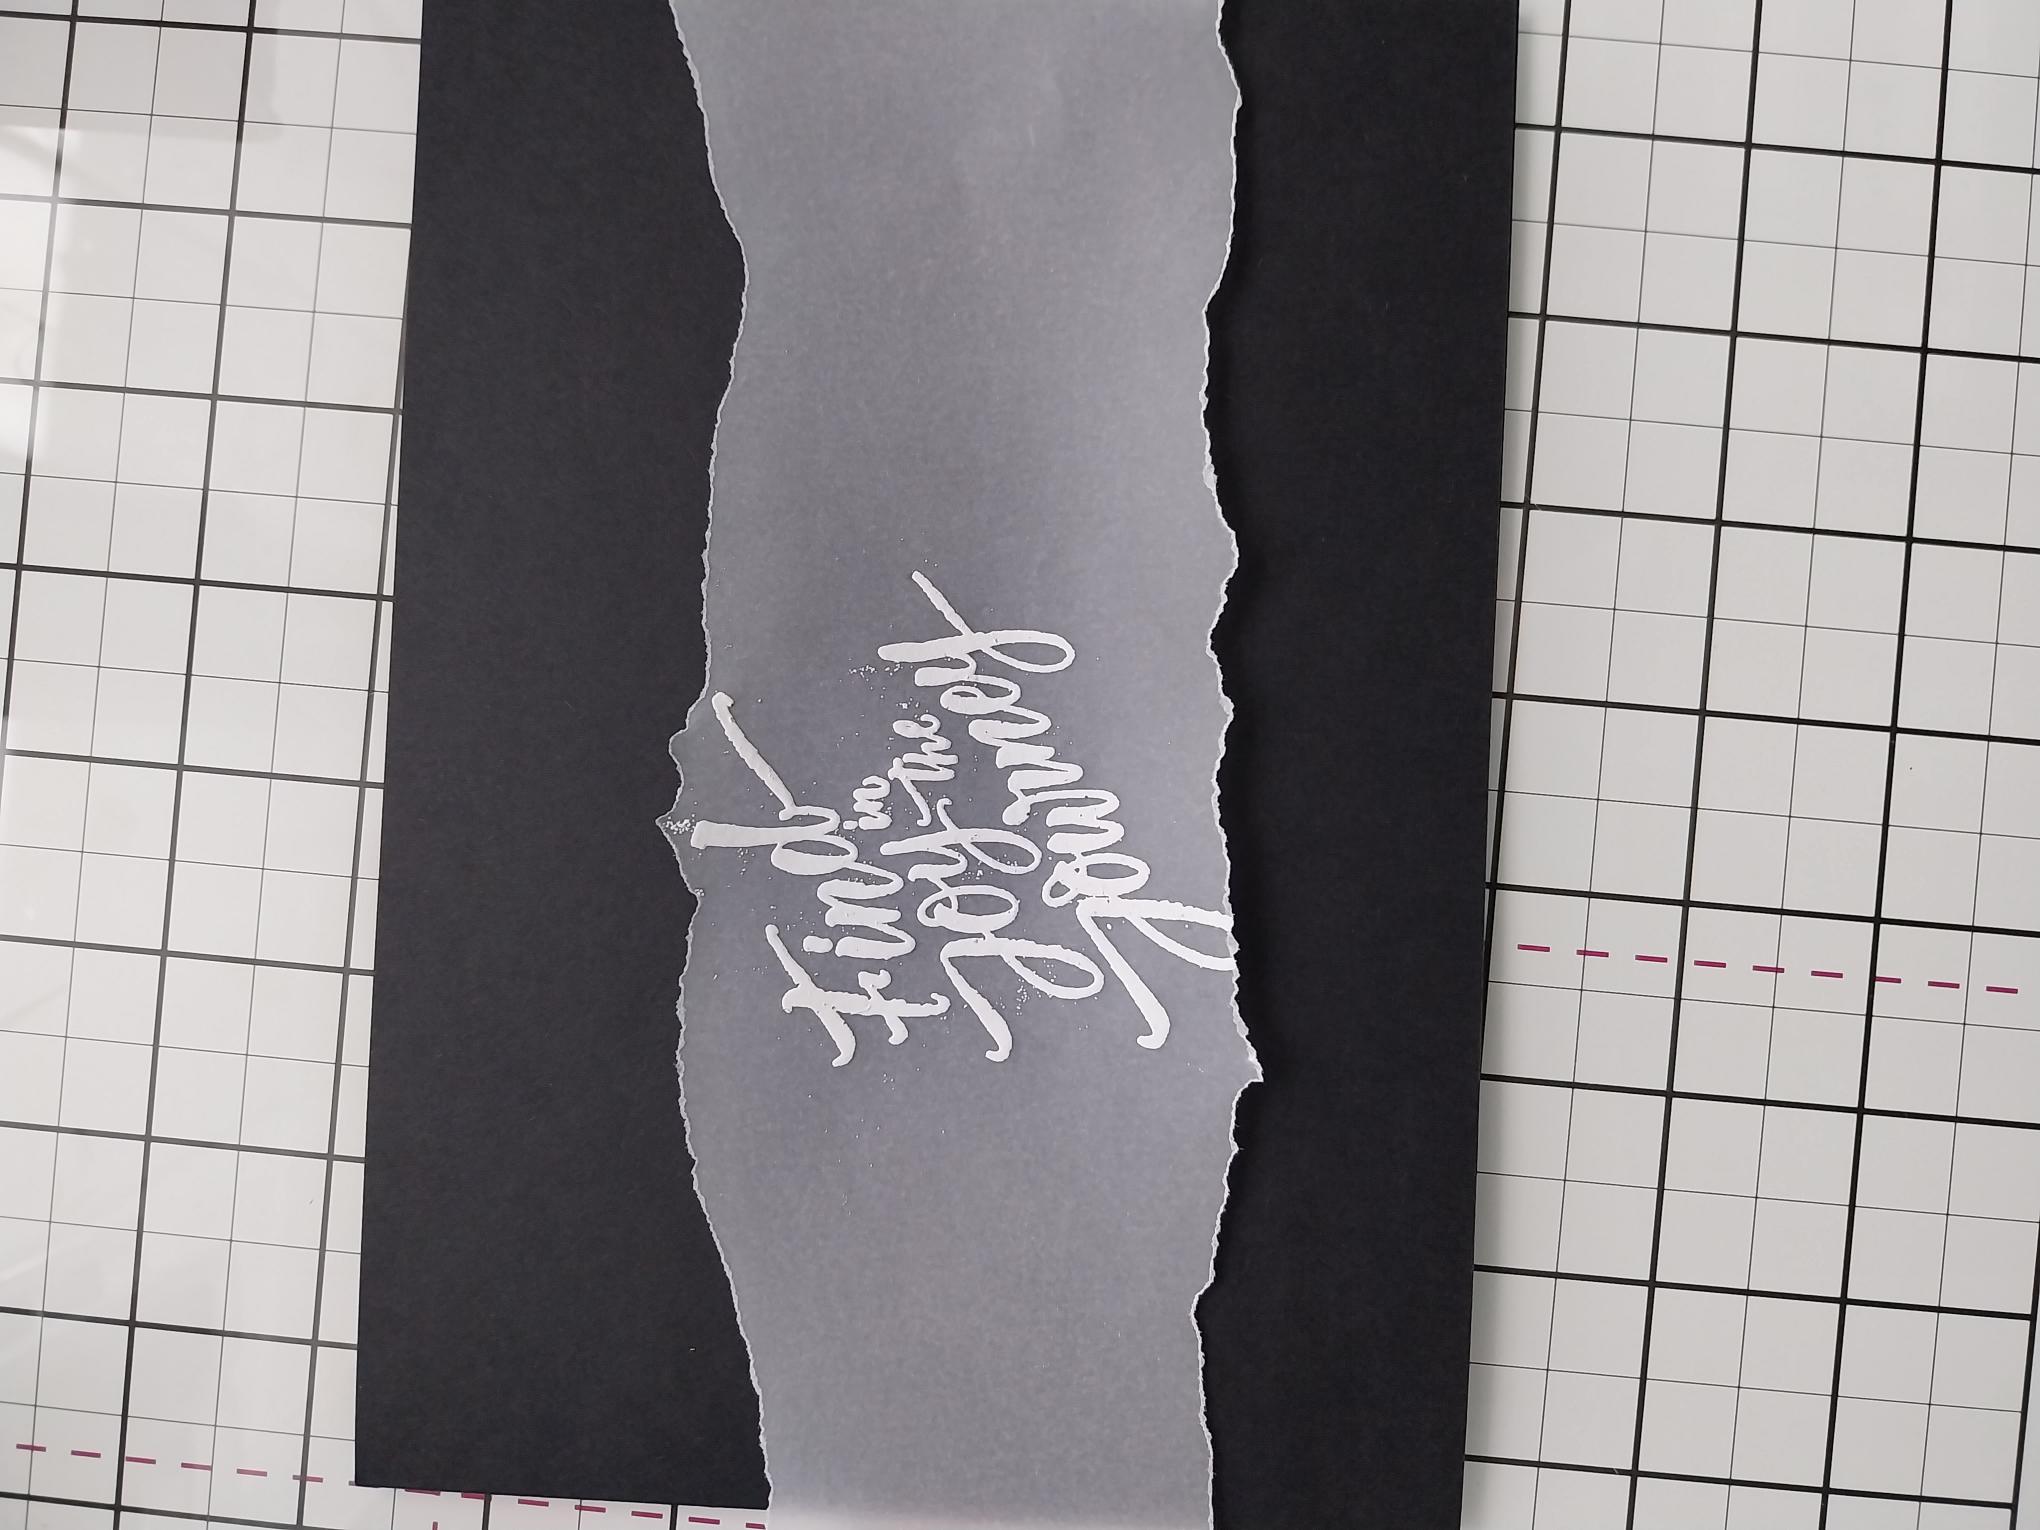
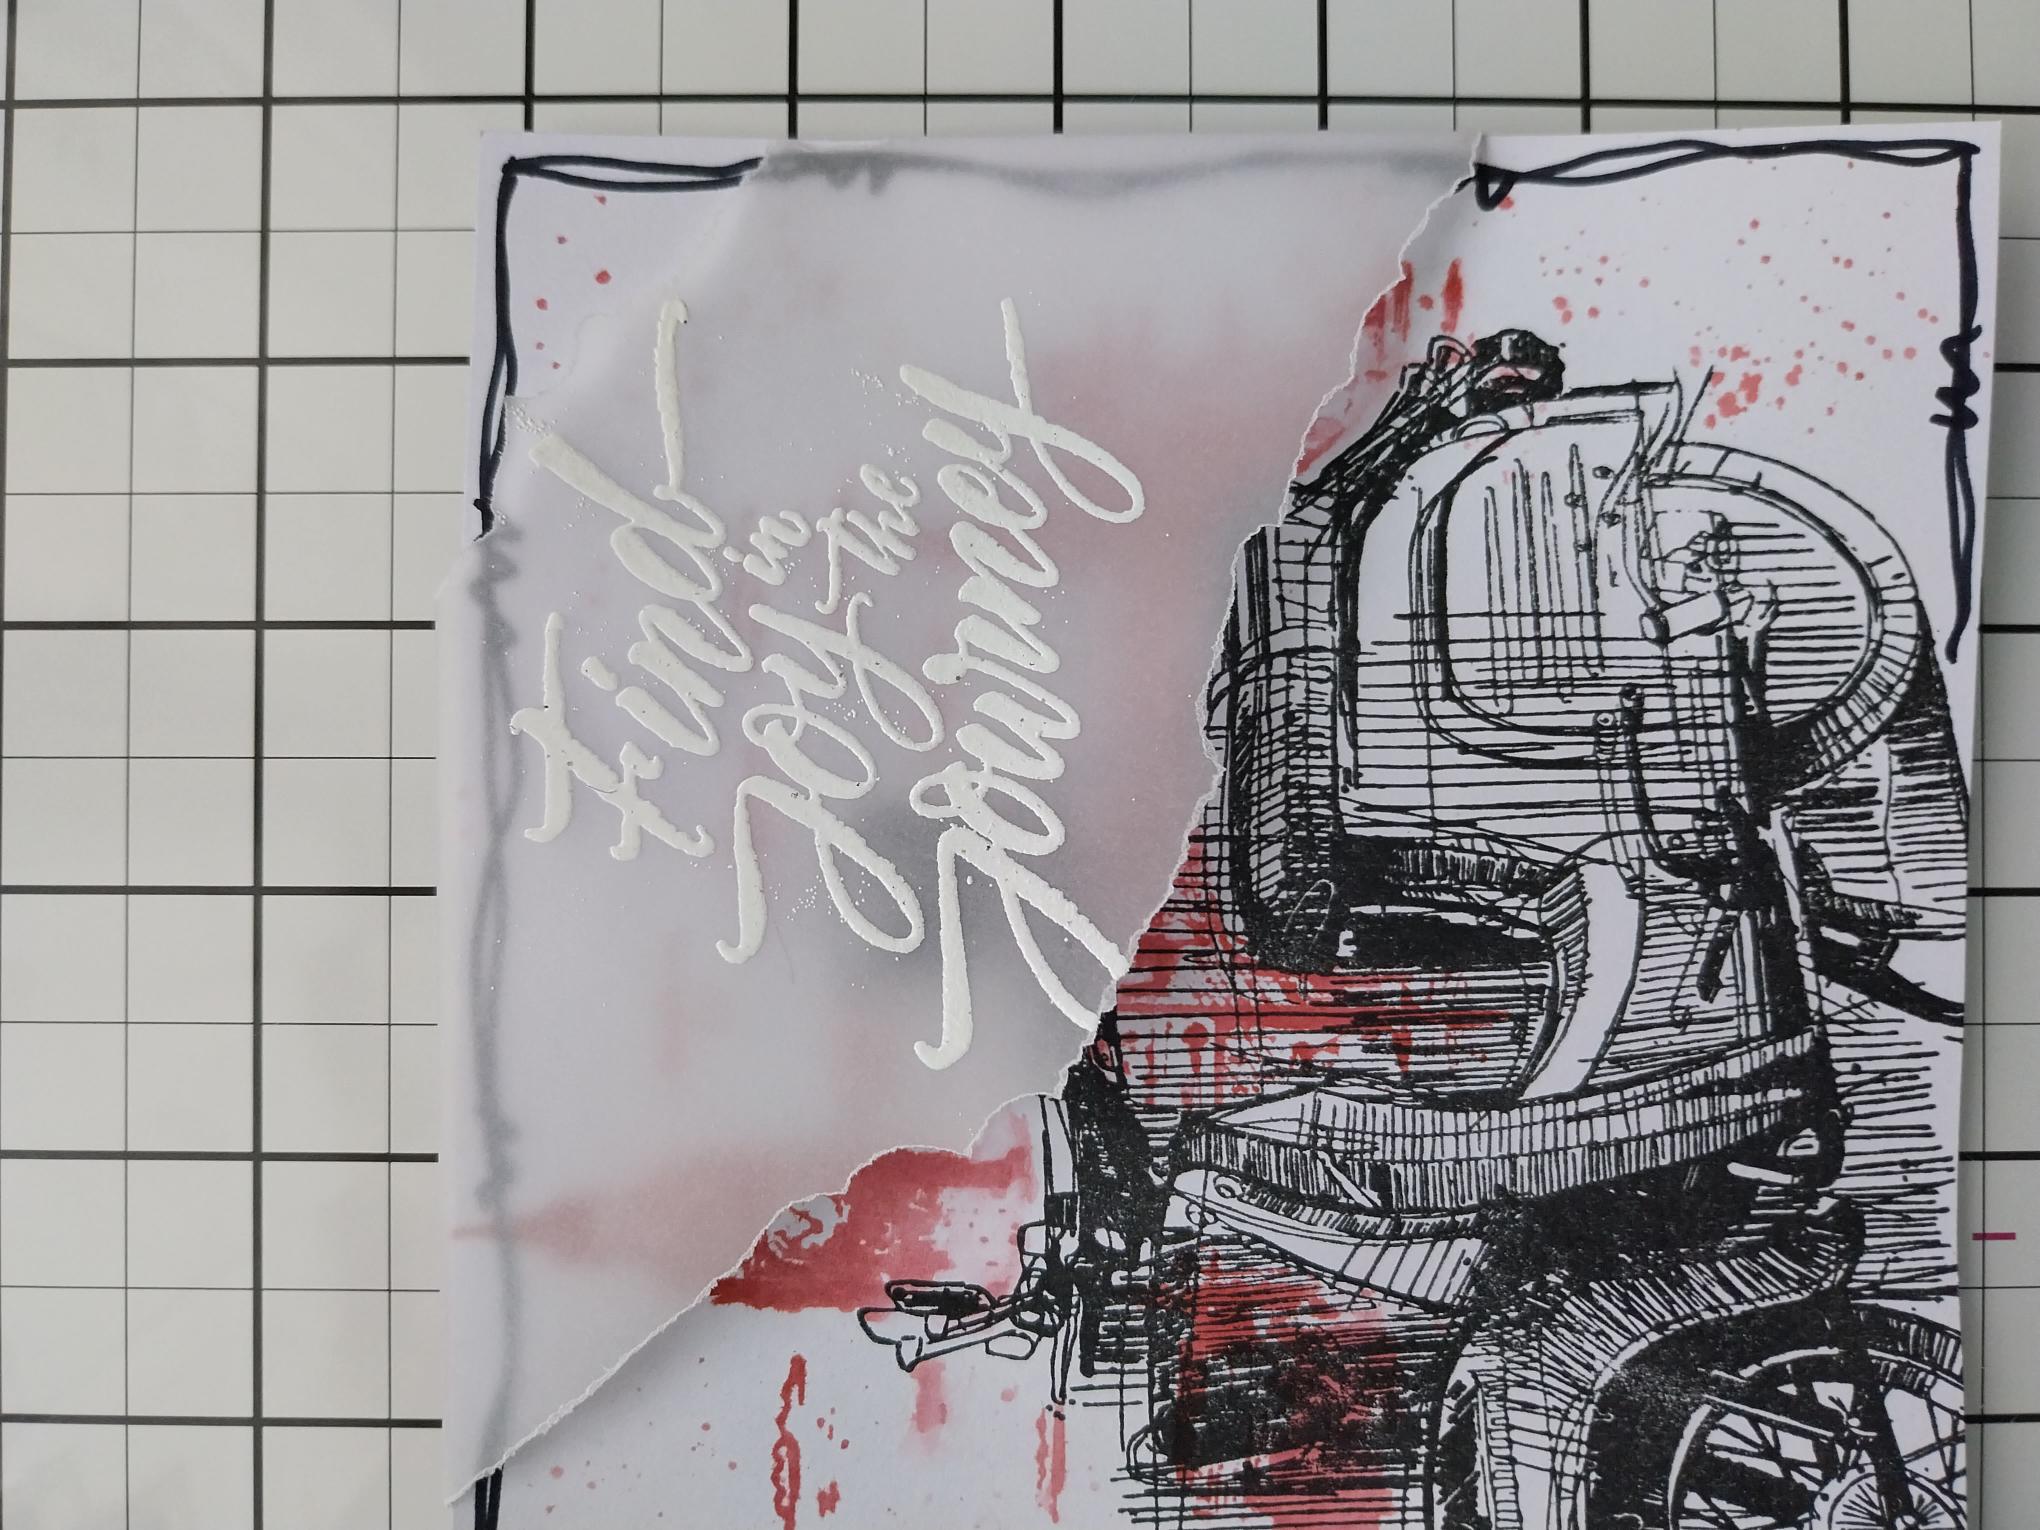
Tear a panel of vellum and wipe over with your anti-static bag. Ink the sentiment stamp with the WOW sticky embossing ink and stamp in the centre of the vellum. Apply the white embossing powder over your stamped image and shake any excess powder back in the pot. Get your heat tool hot before heat setting the powder, ensuring you move the heat tool as soon as the powder starts to turn. This will minimise burning the powder and warping the vellum. |
|
Use a black pen to draw a decorative, wiggly frame around your artwork. |
|
Place the embossed vellum across the right corner of your artwork. Tuck the edges of the vellum over the edges of the card and secure on the reverse, with double sided adhesive tape or a tape runner. |

|
To finish, adhere to the front of your black card blank. |