Give your friends $10 off their first order!
Refer a FRIEND


WHAT YOU WILL NEED:
Black card blank 7 3/4 x 5 3/4"
White card 7 1/2 x 5 1/2"
Black card 7 1/4 x 5 1/4"
White card 7 x 5"
Stylized Sketch Stencil
Dare To Dream Stamp Collection
Imala Impossible Stamp Collection
SBM Hybrid Ink Pad: Midnight
Distress Ink/Oxide: Black Soot
Gossip Iridescent Pens: Green, Blue
Blending tool
Eureka 101 Watercolour Tablet
SBM Magnetic glass mat
Paper Trimmer
Perfect Together Glue
[click image to enlarge] 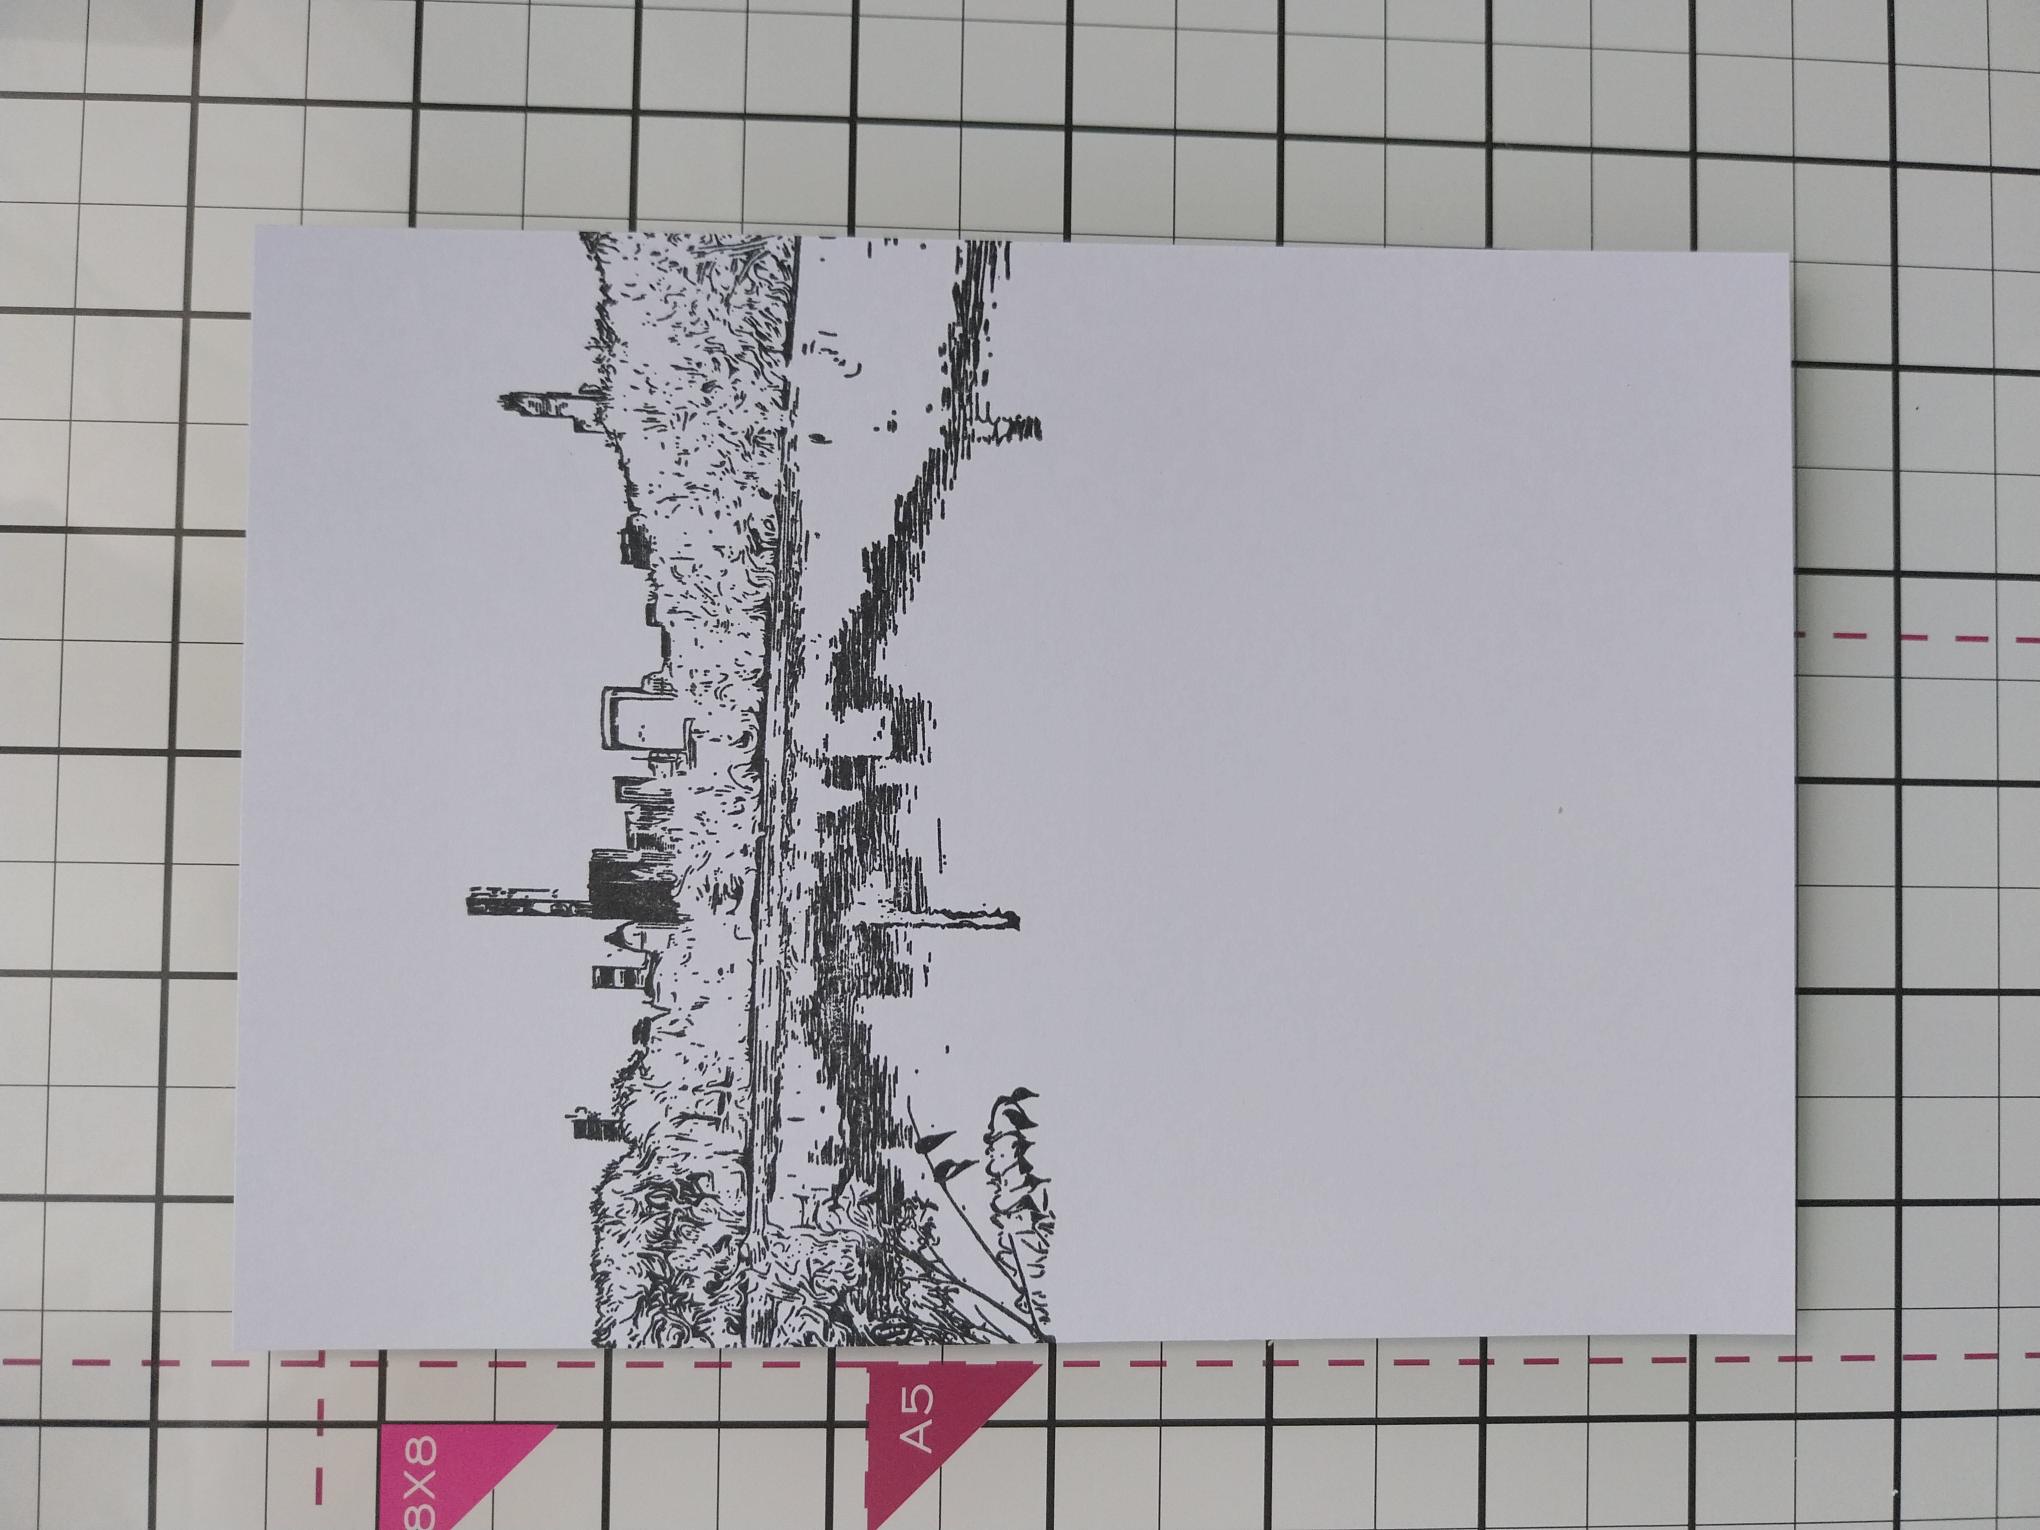
|
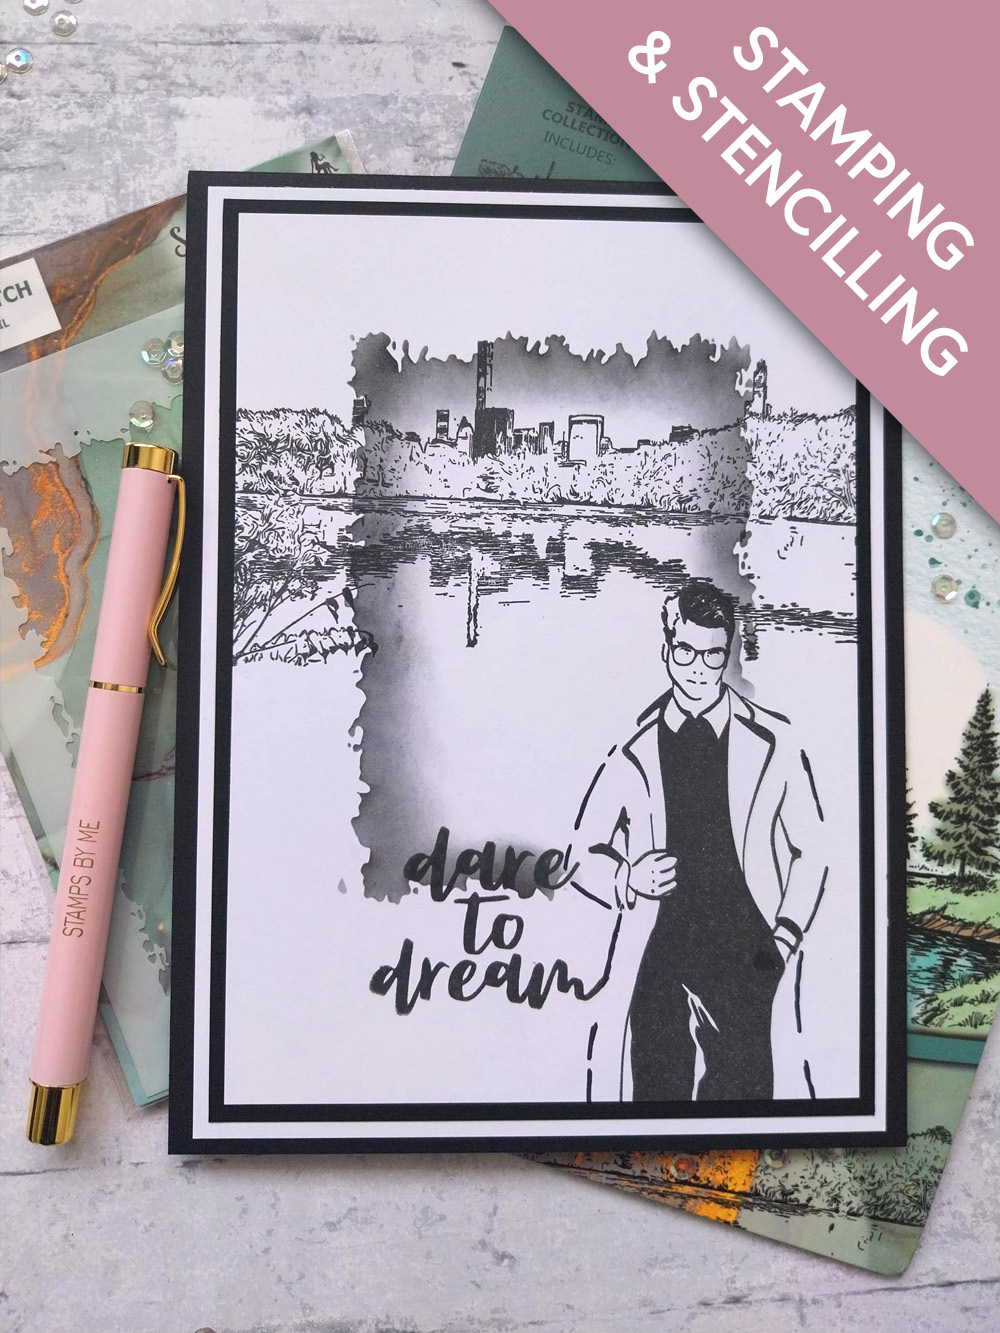
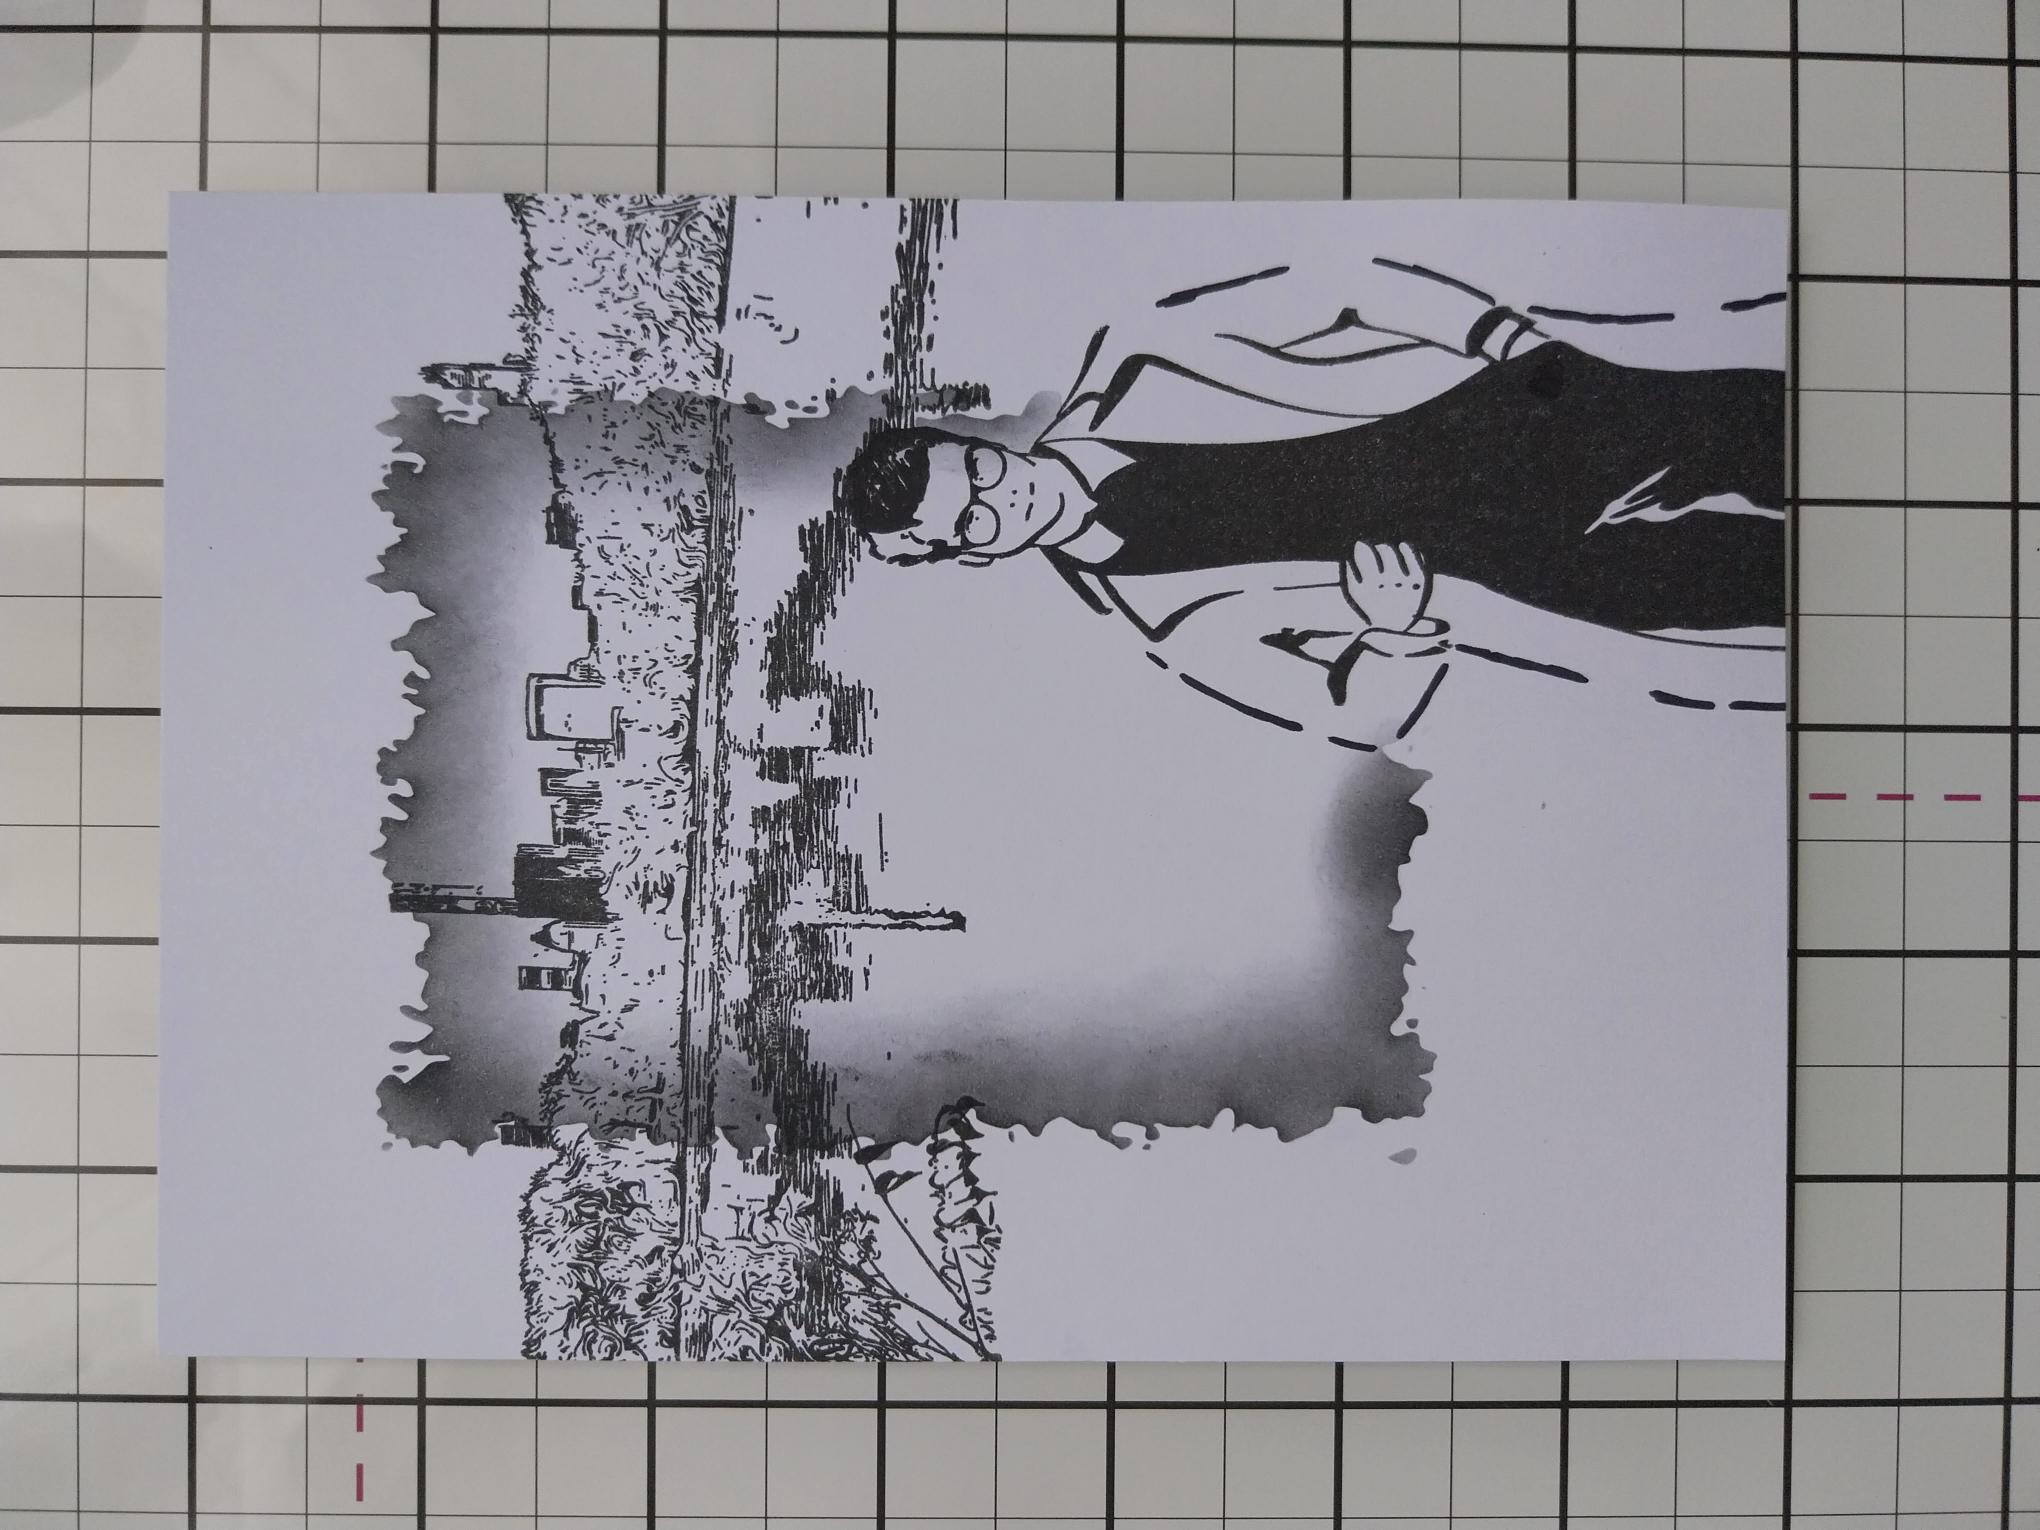
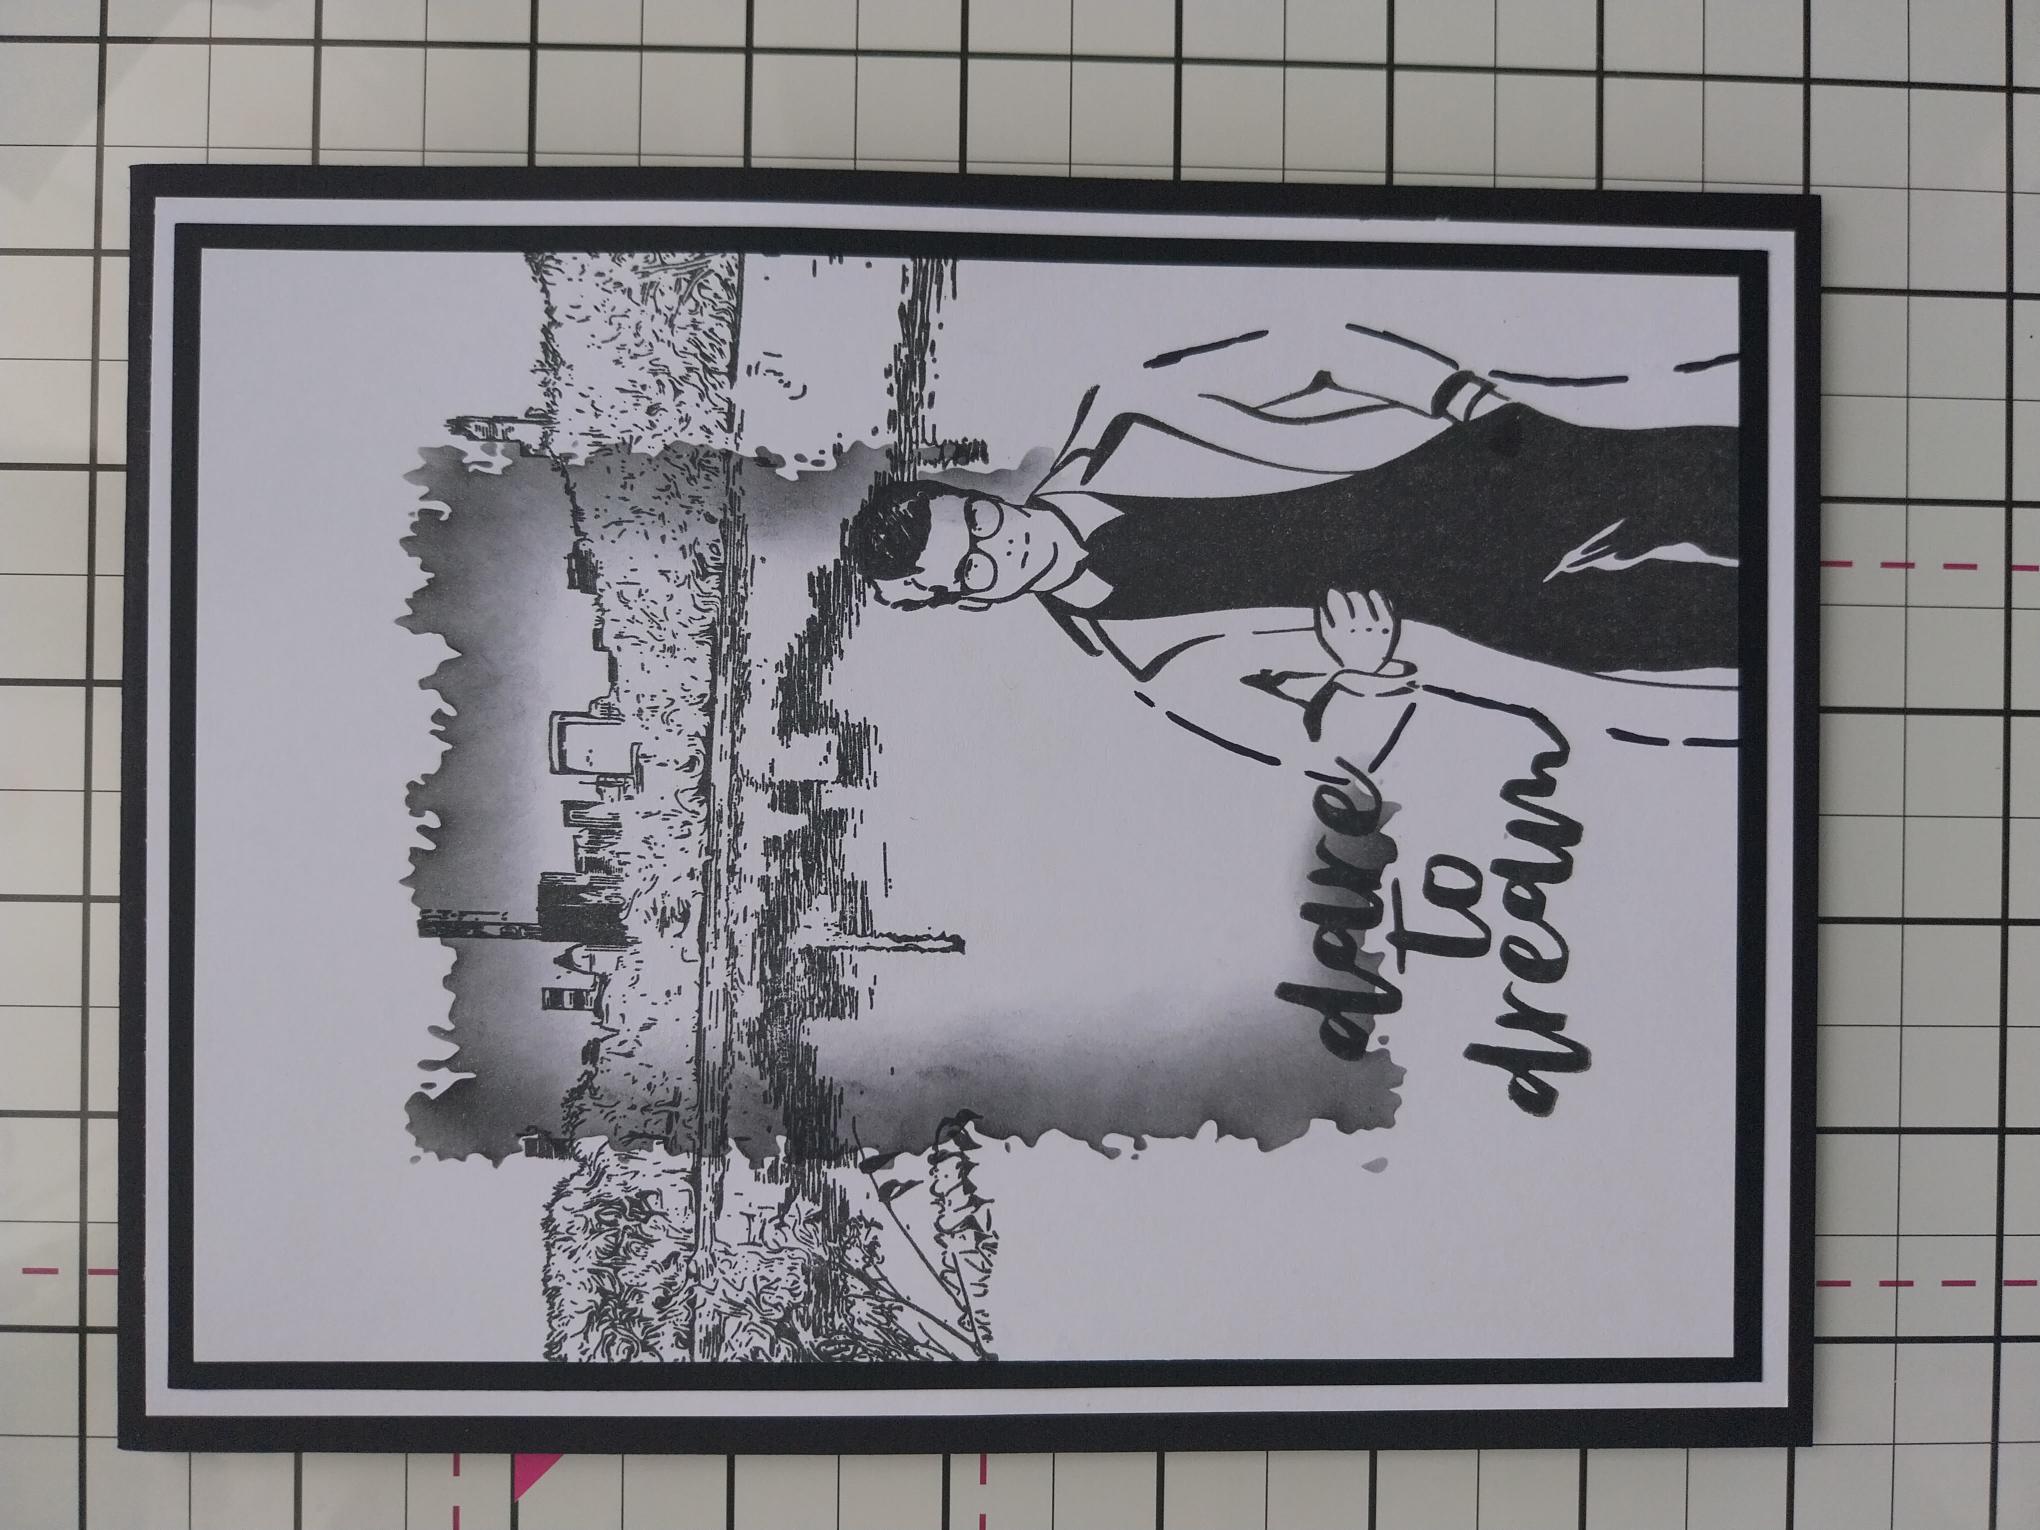
Ink up this reflective cityscape stamp, from Dare To Dream, with the Midnight Hybrid ink and stamp across the top third of the white card, cut to 7 x 5". |
|
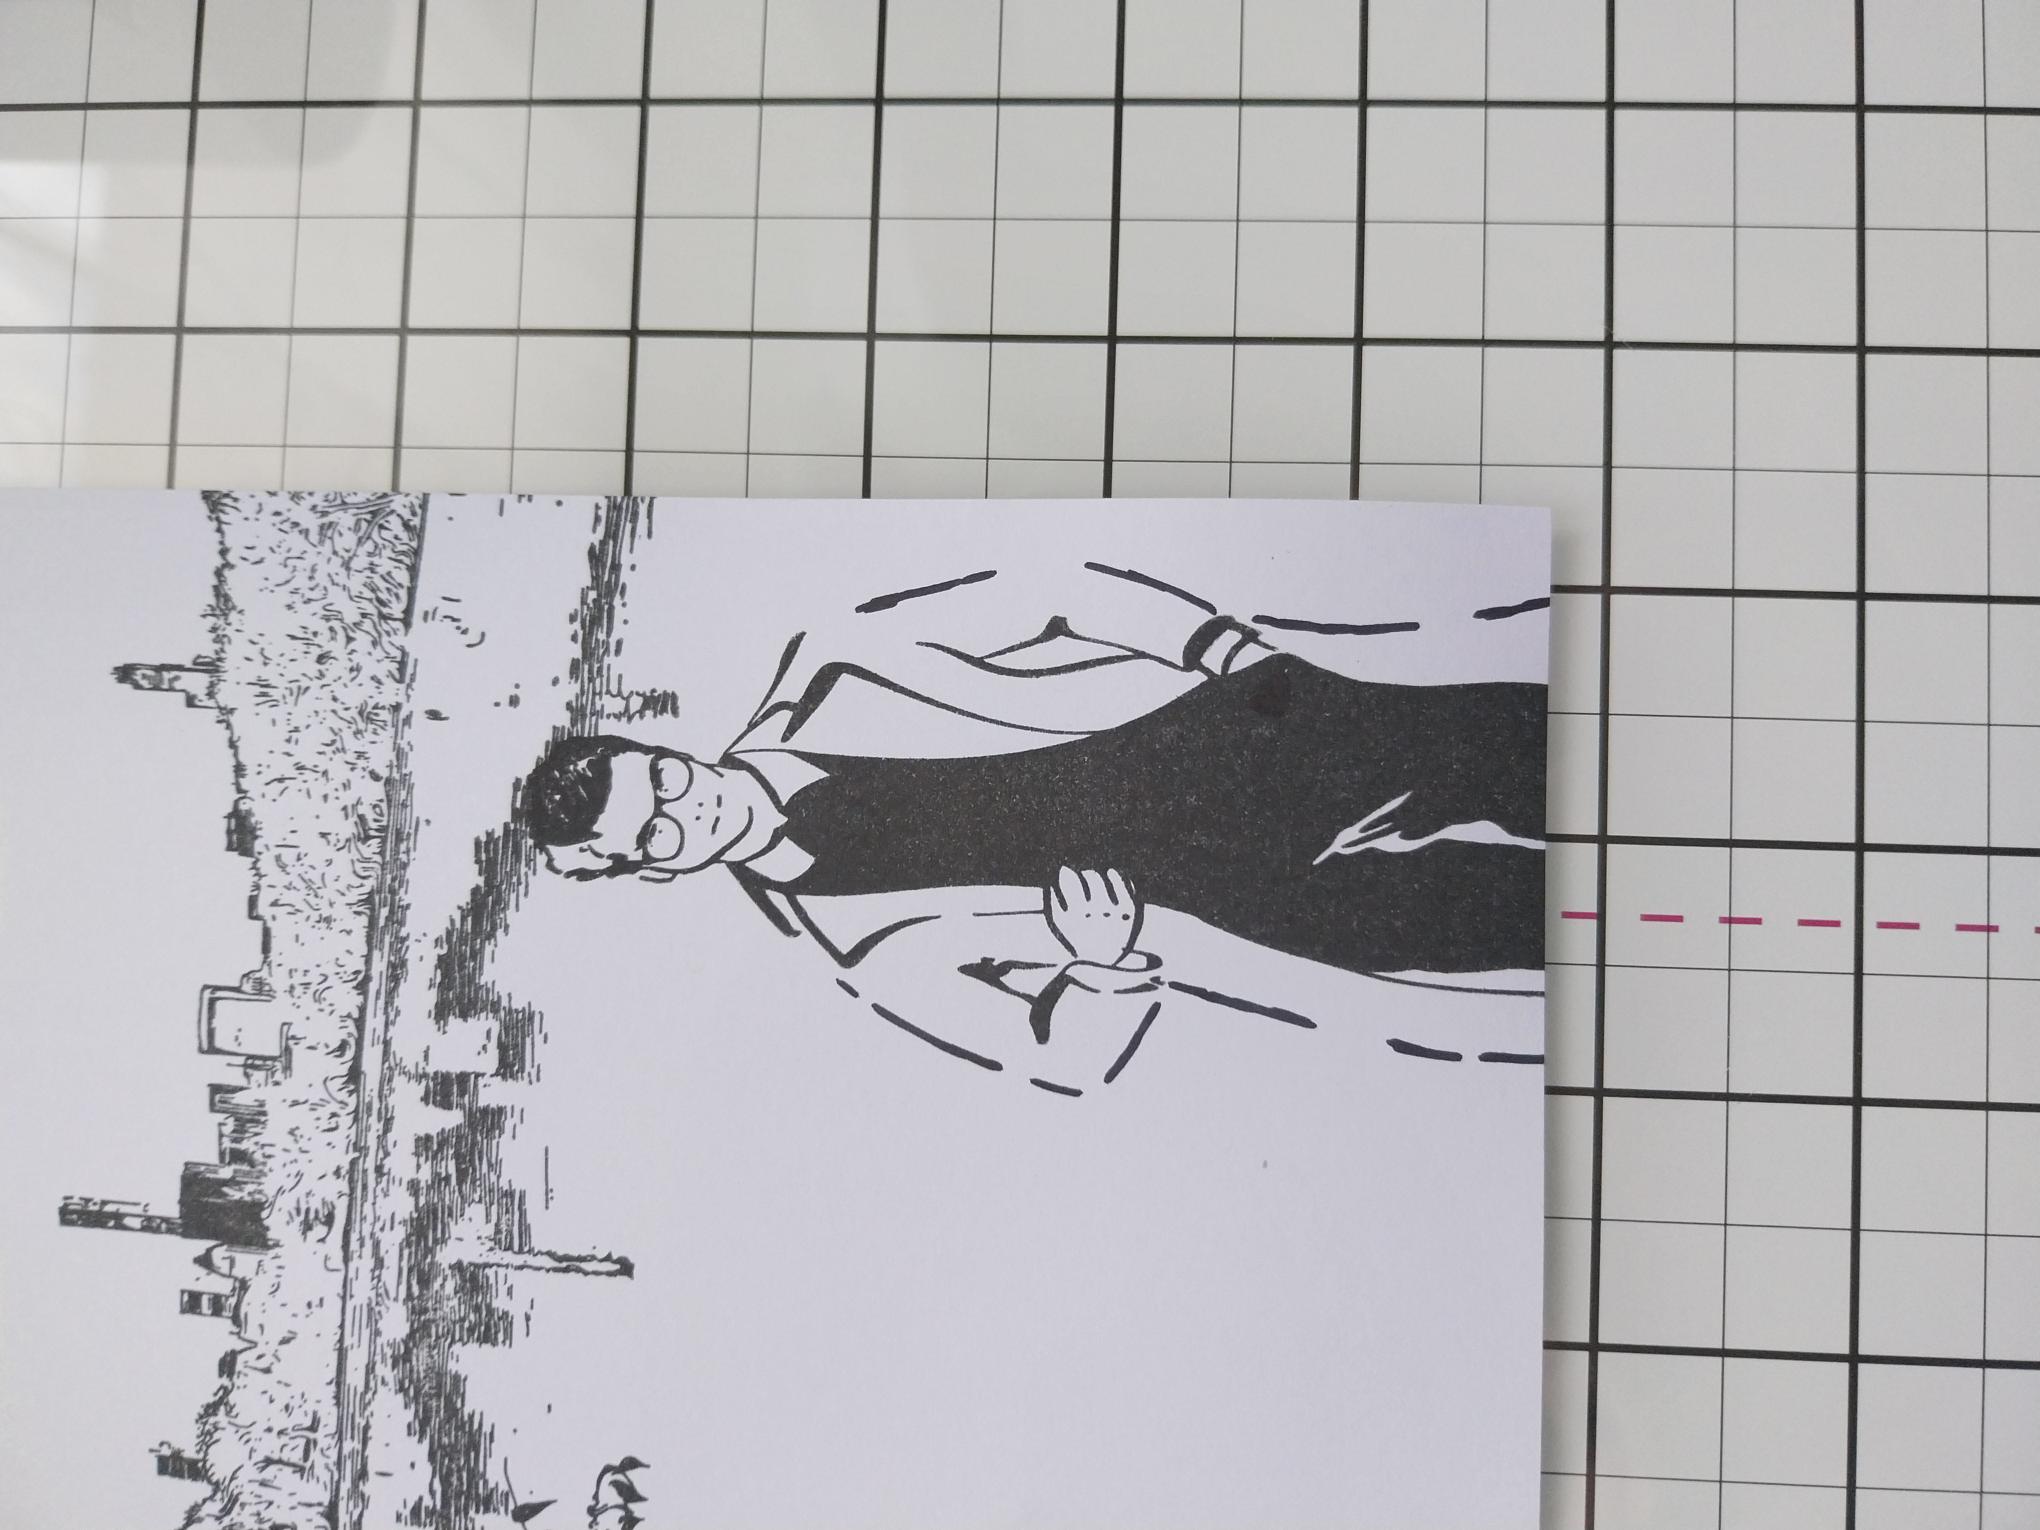
Apply Midnight ink to this lovely young man from the Imala Impossible Collection and stamp to the right of your artwork. |
|
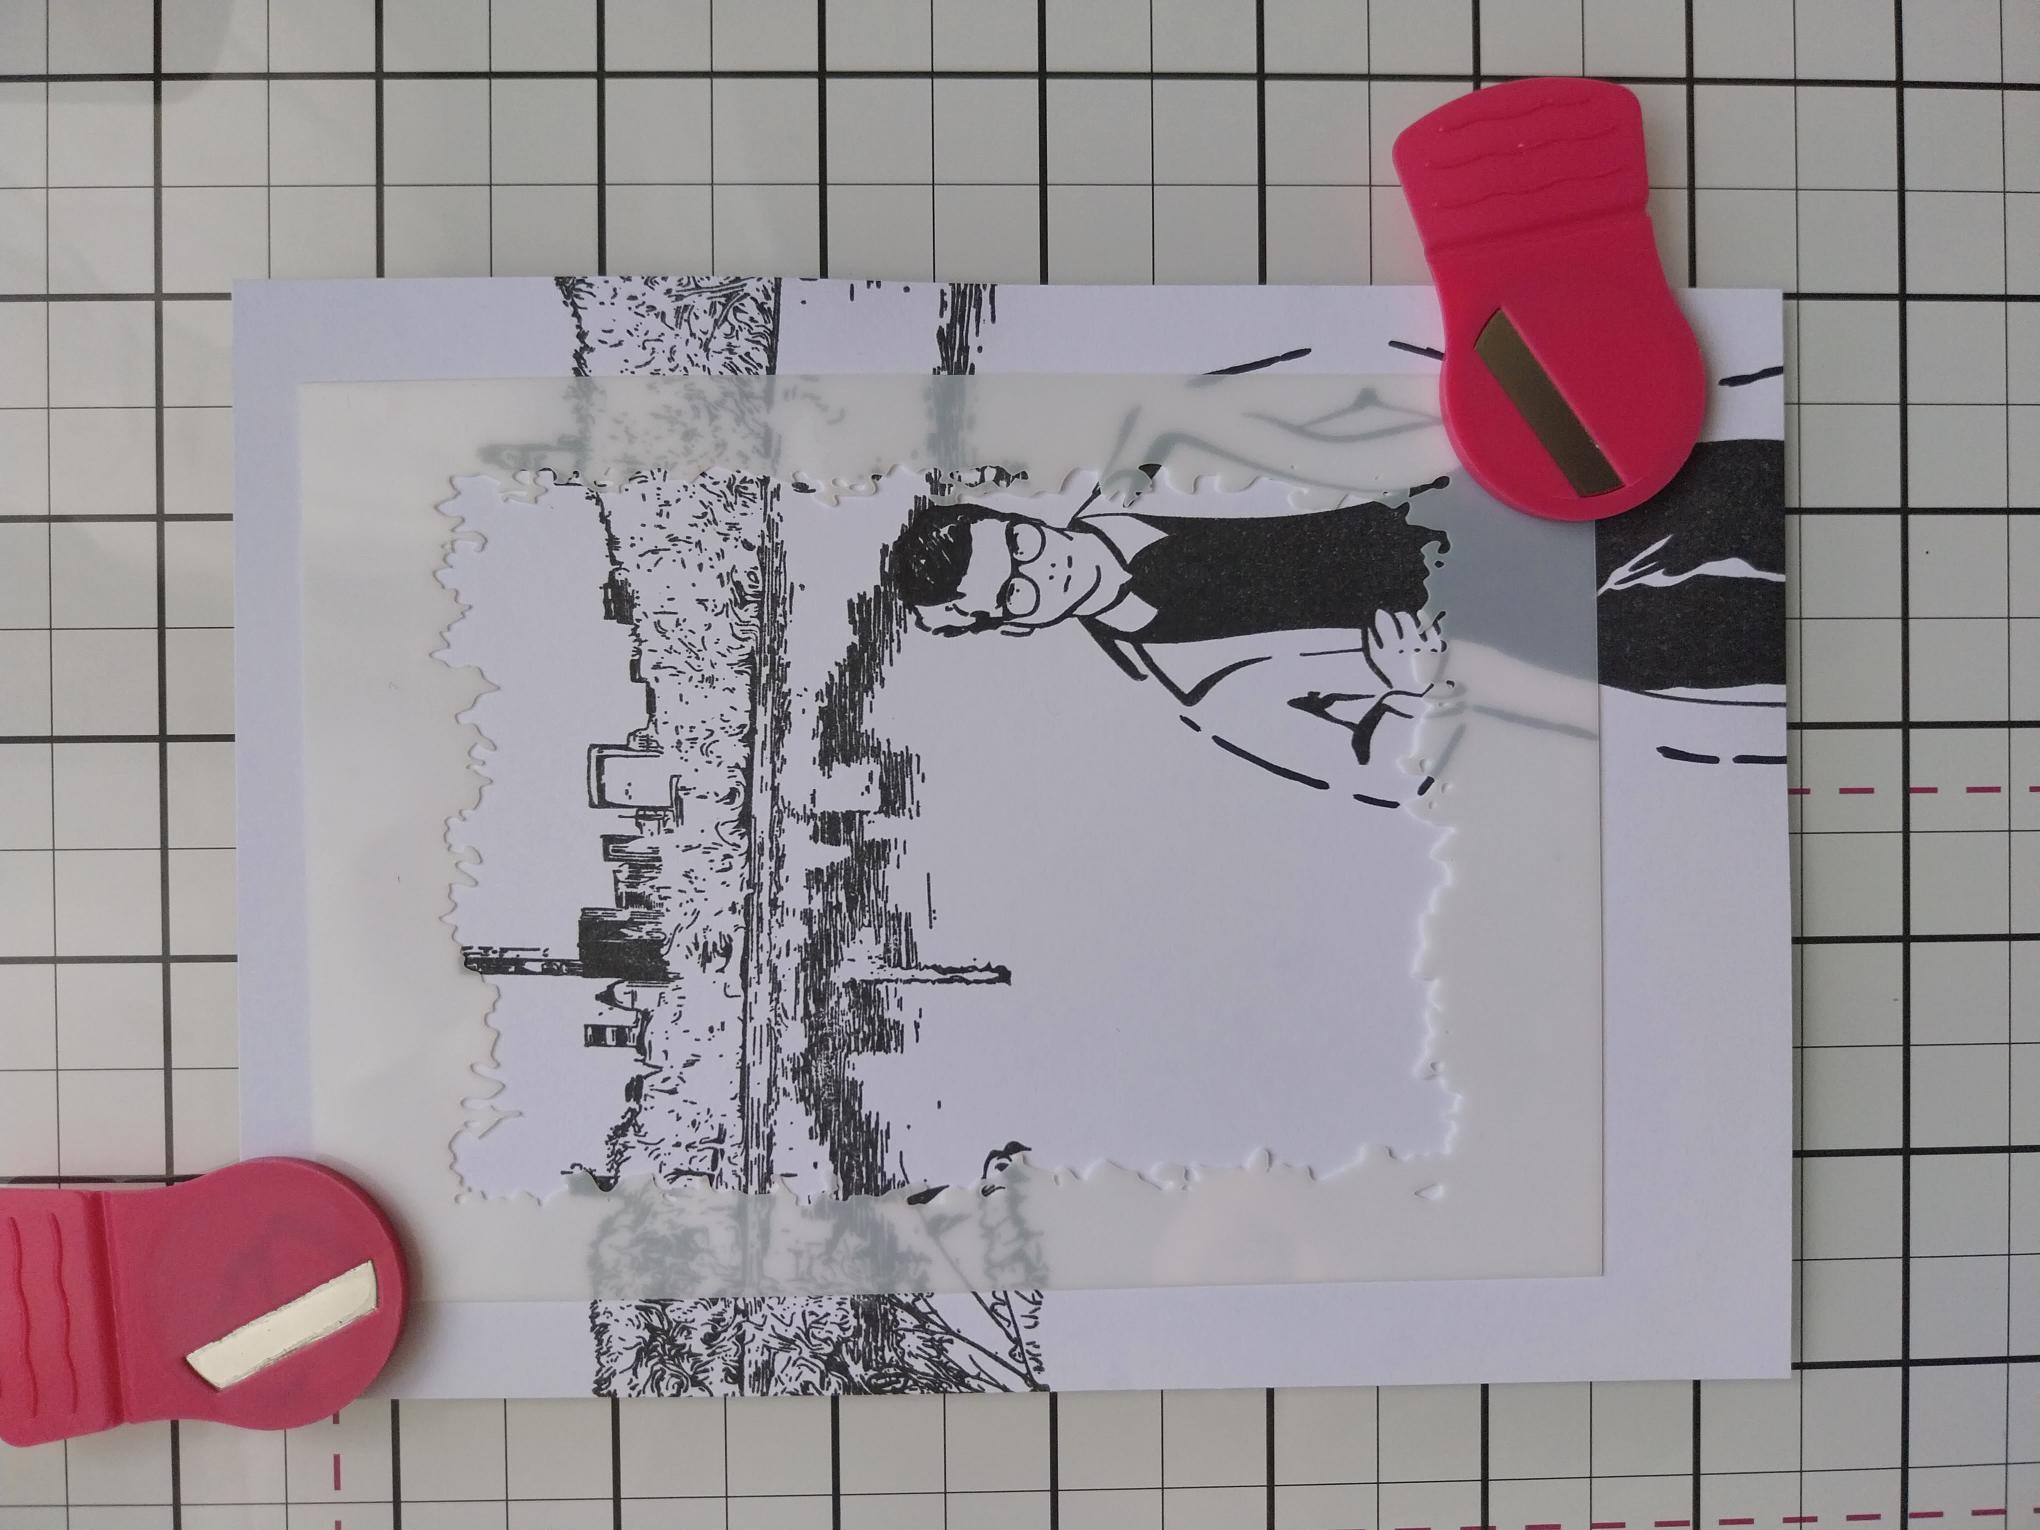
Secure the Stylized Sketch stencil verically, down the centre of your stamped artwork, with magnets or low tack tape. |
|
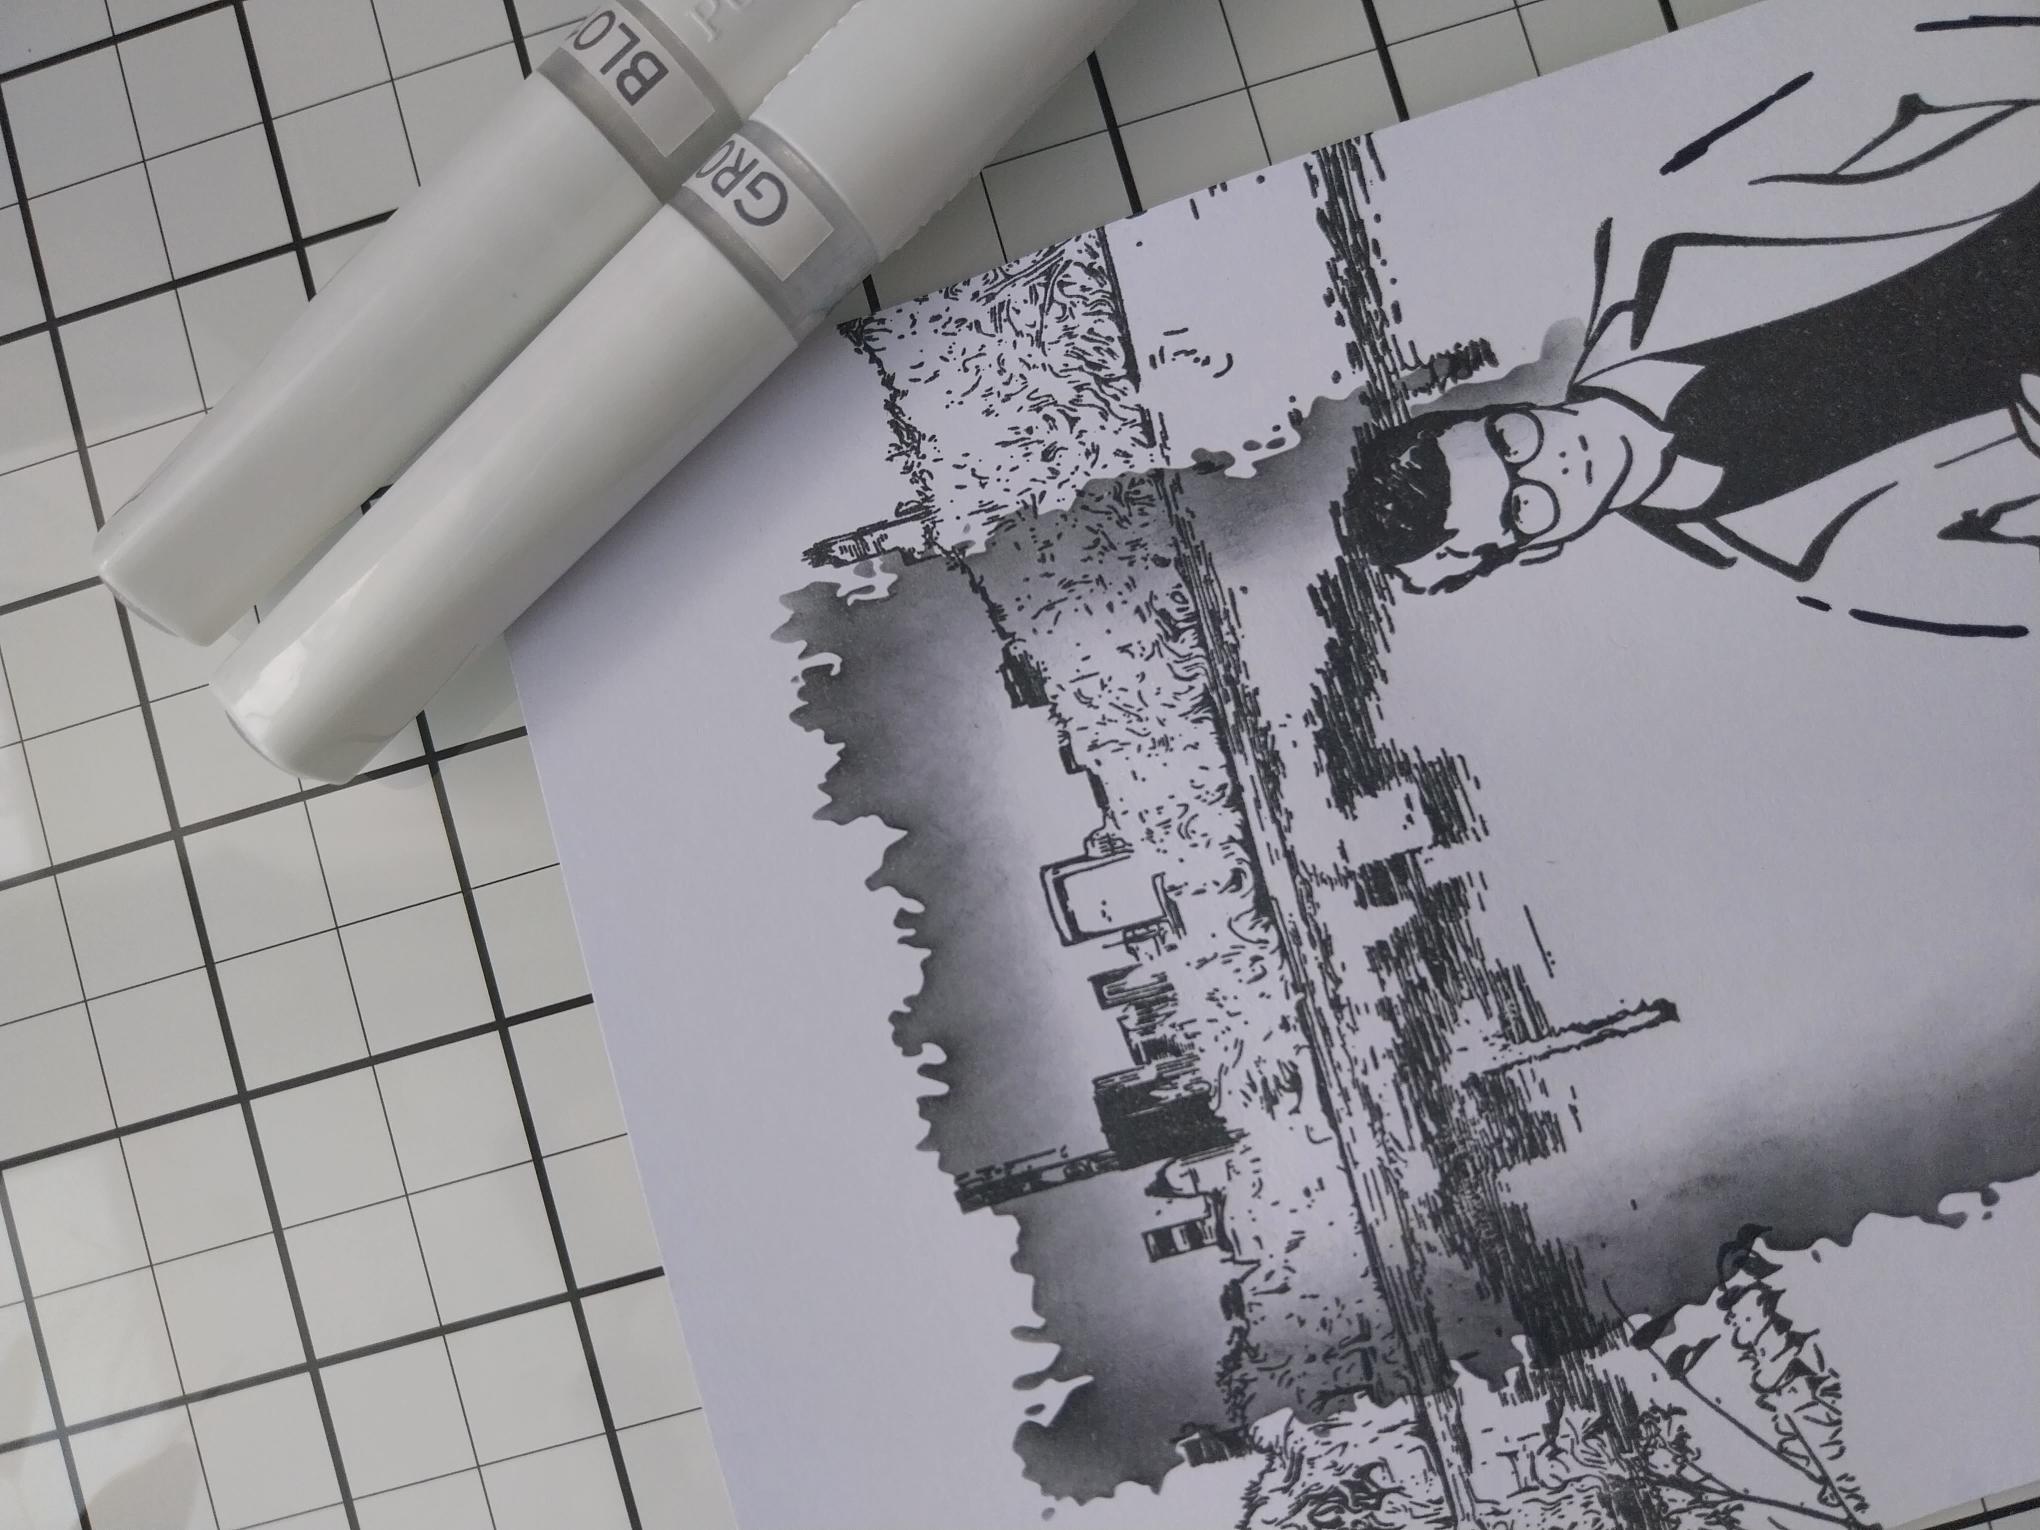
Use a blending tool to apply the Black Soot within the stencil frame, the colour being darker around the outer edges and fading out as you move inwards. |

|
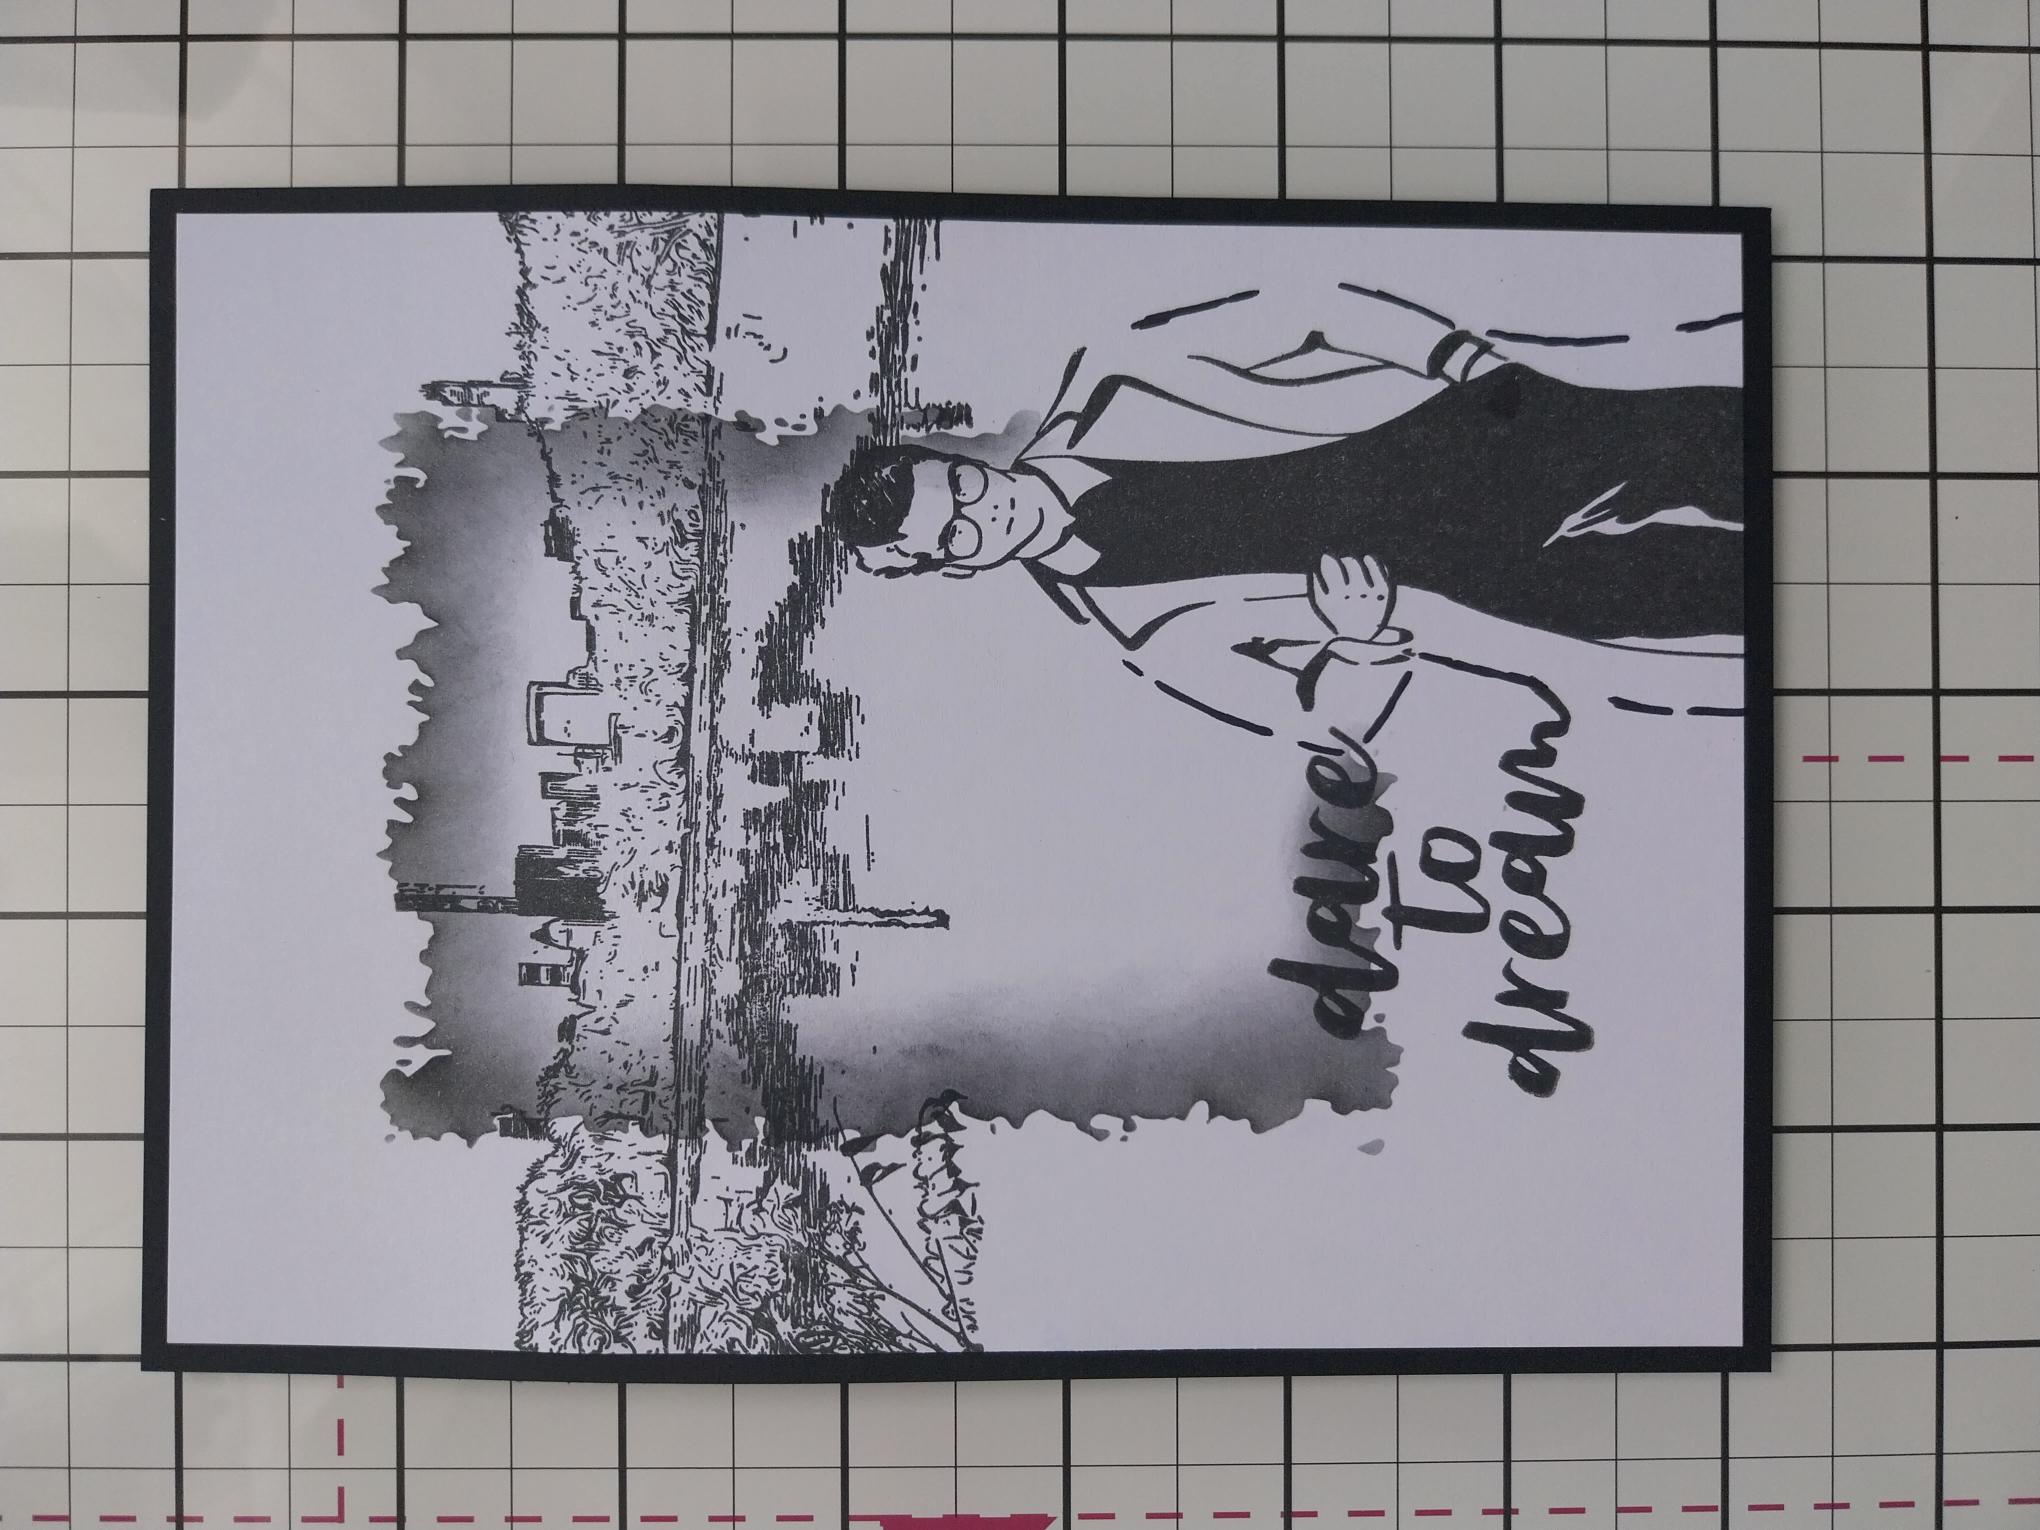
Ink up the "Dare To Dream" sentiment with Midnight, then stamp bottom left of your artwork. |
|
Shake the Gossip Iridescent pens to wake the glitter, then apply to your artwork where required. I added blue glitter to the water reflection and green to the greenery. |
|
Once your artwork is dry, adhere to the black card cut to 7 1/4 x 5 1/4". |
|
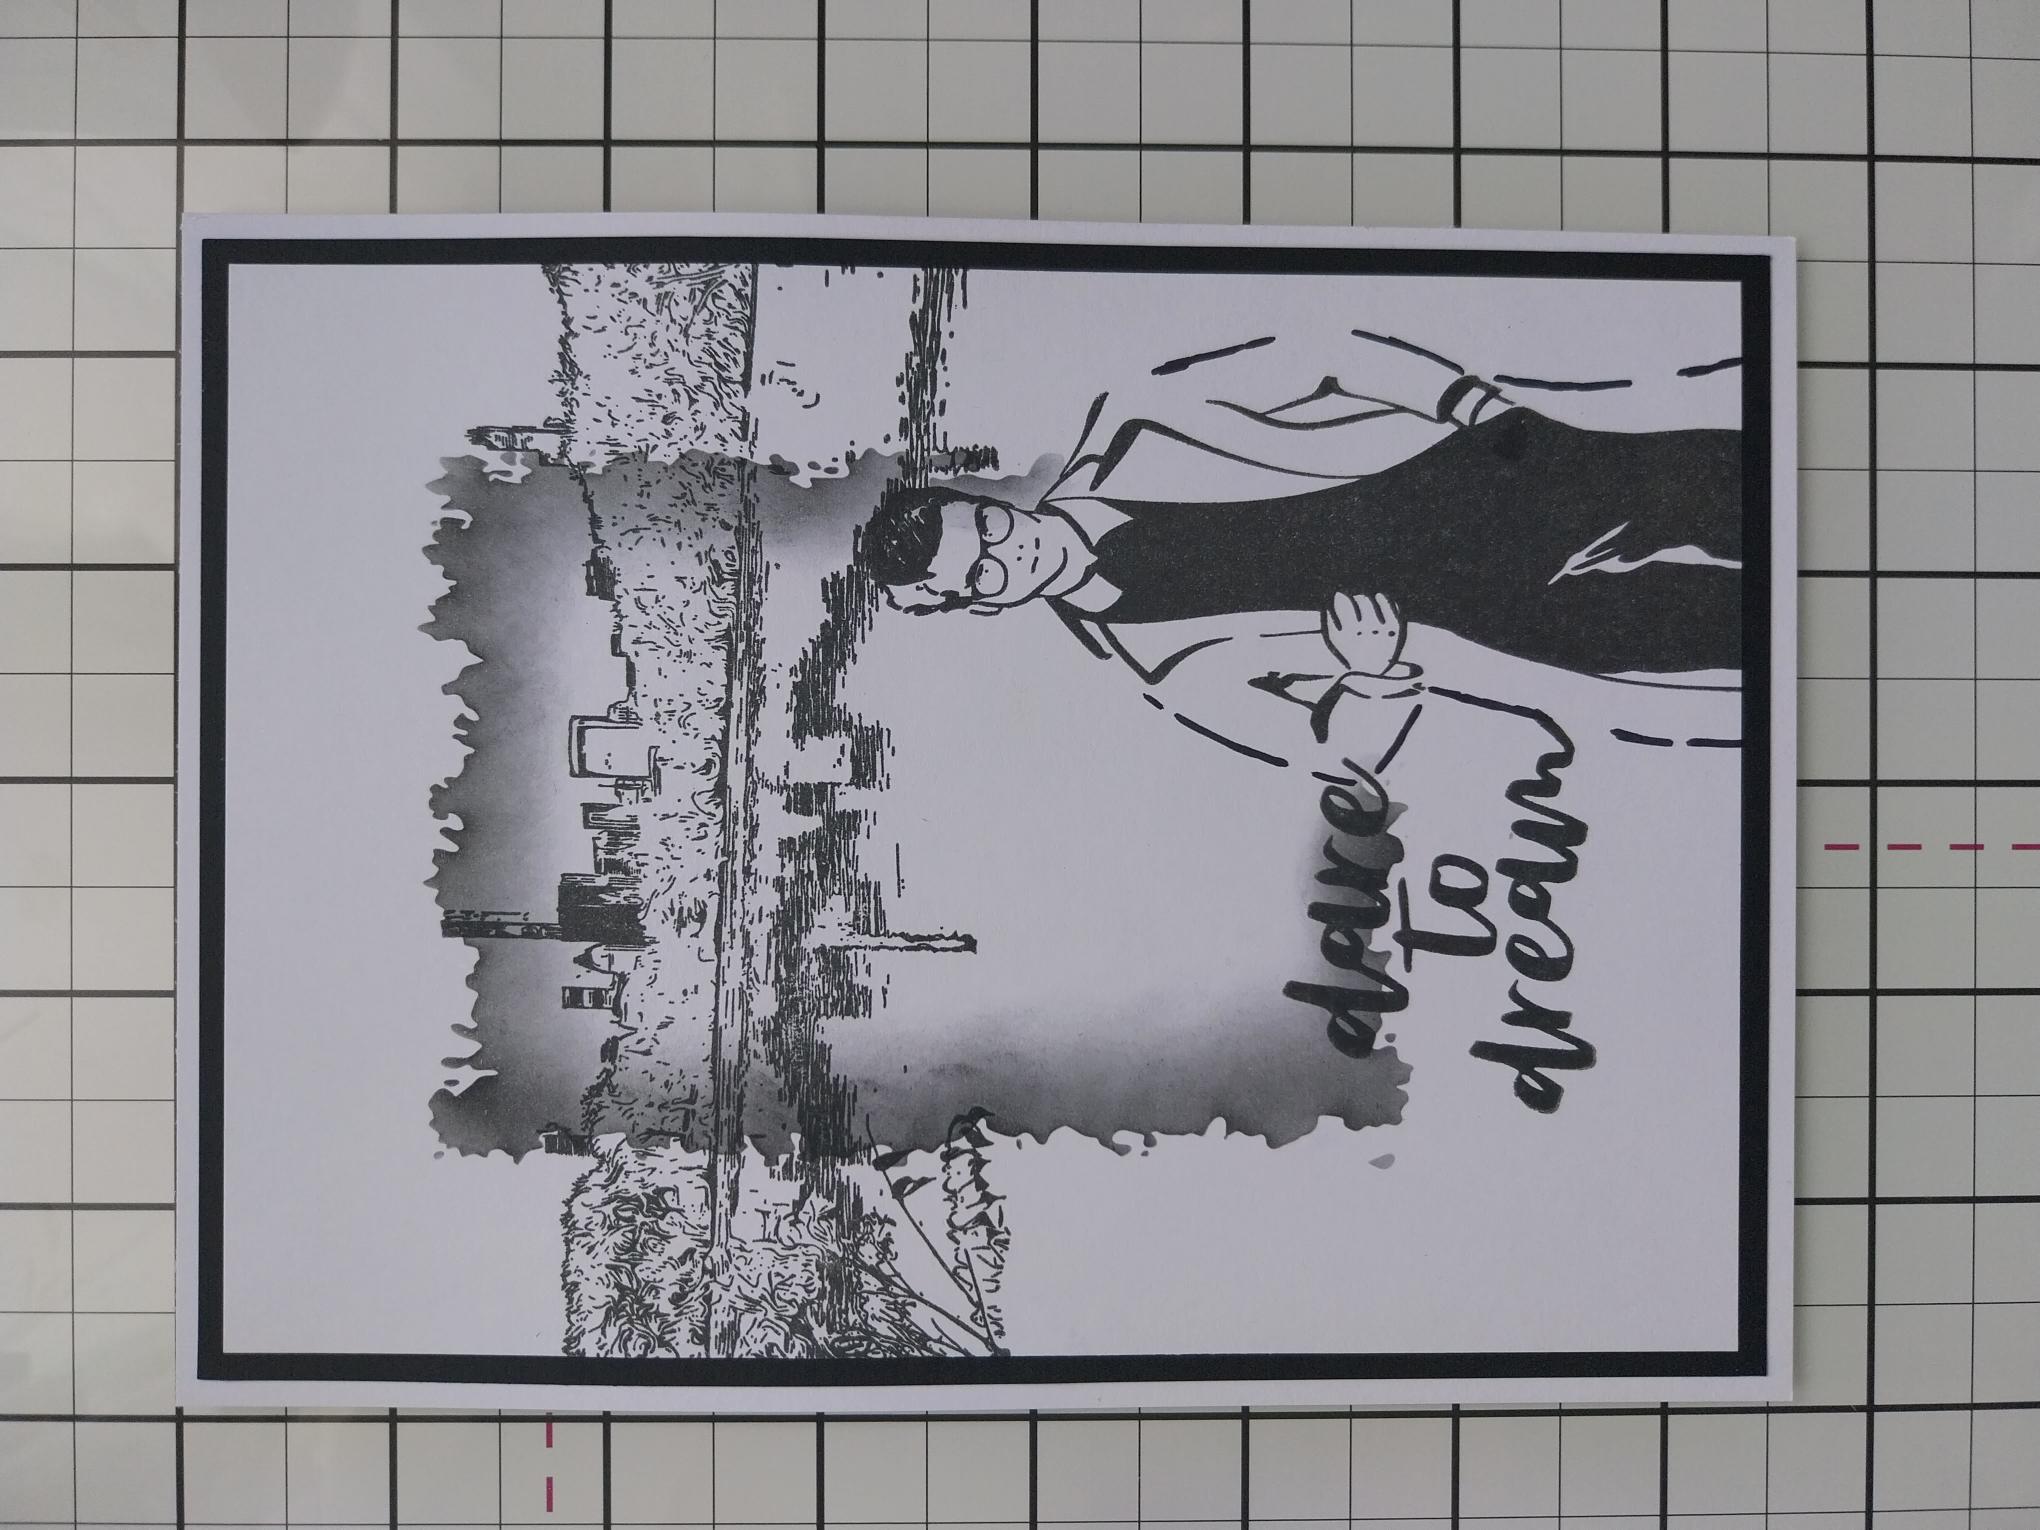
Adhere this on to the white card cut to 7 1/2 x 5 1/2". |
|
Adhere to your black card blank, to finish. |