Offrez à vos amis 10 £ de réduction sur leur première commande !
Parrainez un AMI








 Hidden Gemsmer. 11 nov. 10 h 00
 The Thursday Dropjeu. 12 nov. 18 h 00
 The Friday Final Cutven. 13 nov. 10 h 00
Les prix sont mis à jour immédiatement. Chaque langue est notre propre traduction, pas Google.
Un projet de notre émission en direct HOBBYMAKER TV - Diffusion du 9 novembre 2026 · 09/11/2026 · à voir dès 27:00
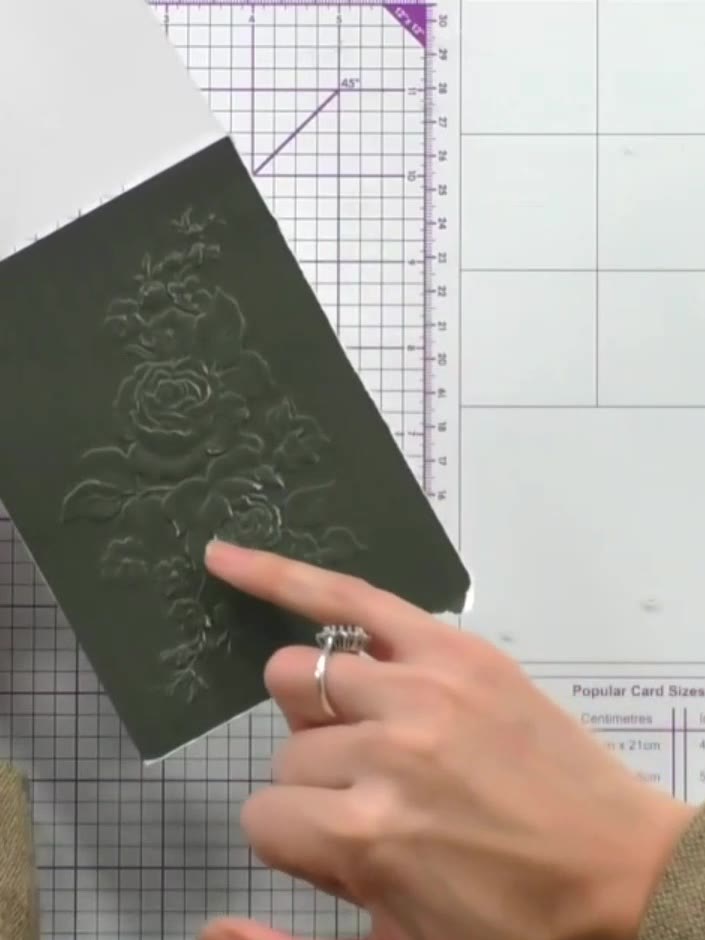
Create an elegant card featuring embossed heritage paper in a rich olive green shade. The design showcases a delicate floral motif with raised details that are highlighted to create depth and dimension. This sophisticated technique combines embossing with selective ink application to produce a vintage-inspired card perfect for special occasions.
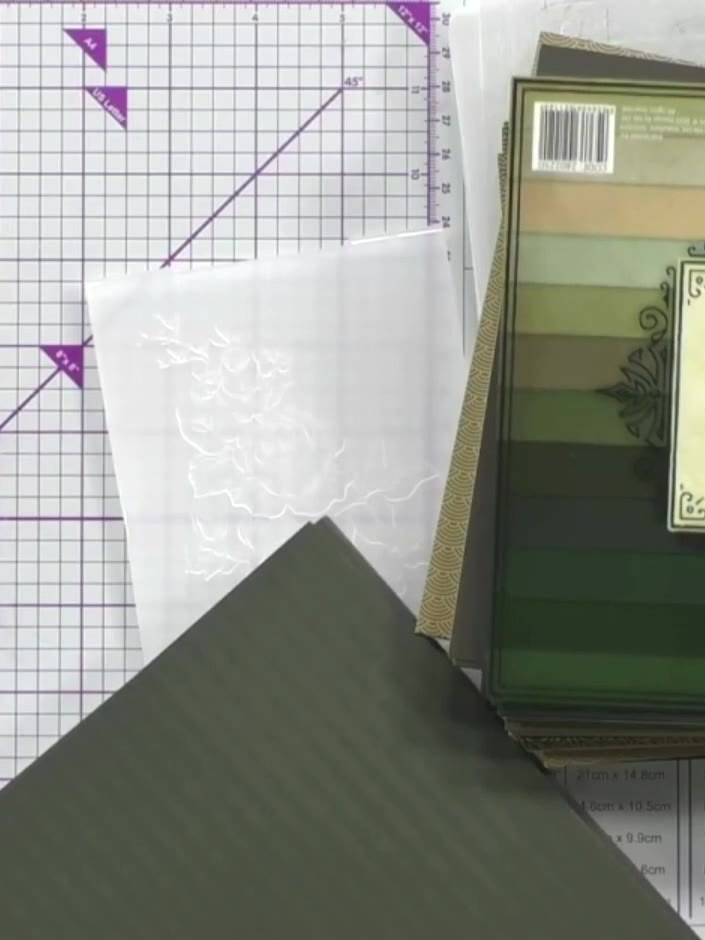
Select a dark green cardstock from the heritage paper collection. Place it into the embossing folder with the raised side of the design facing upwards.
▶ voir cette étape (27:30)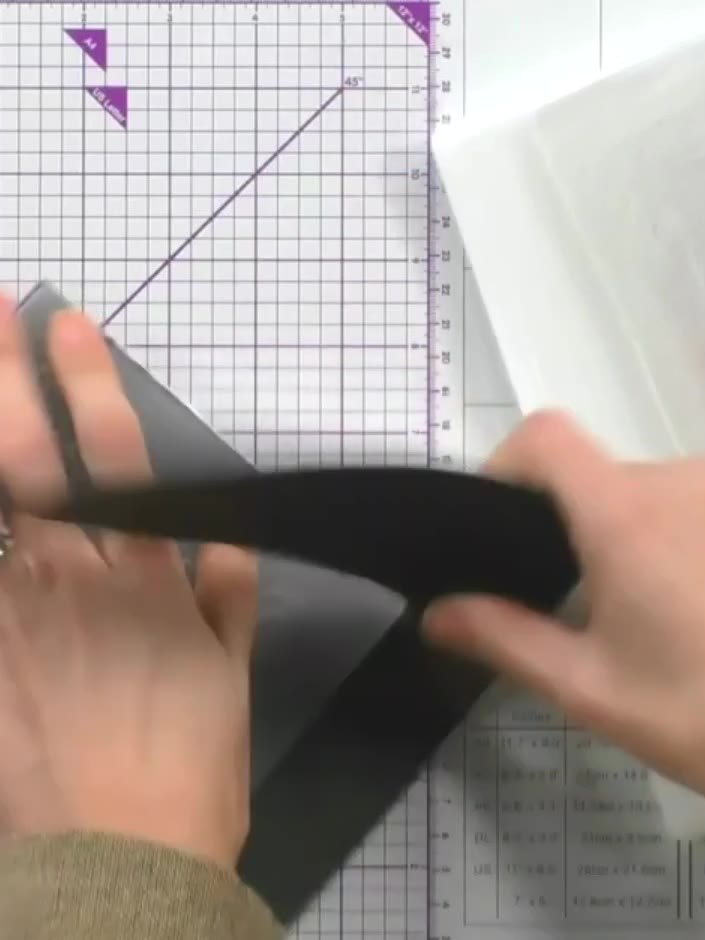
Run the dark green cardstock and embossing folder through your die-cutting machine using the appropriate plates to create the embossed pattern.
▶ voir cette étape (28:00)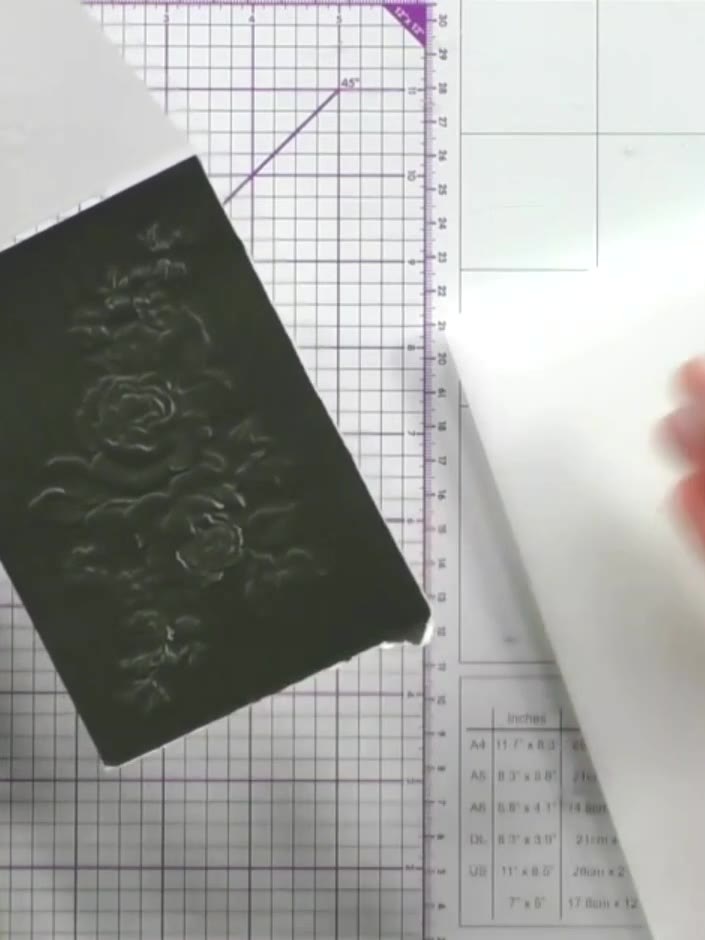
Remove the dark green cardstock from the embossing folder to reveal the embossed floral design.
▶ voir cette étape (28:30)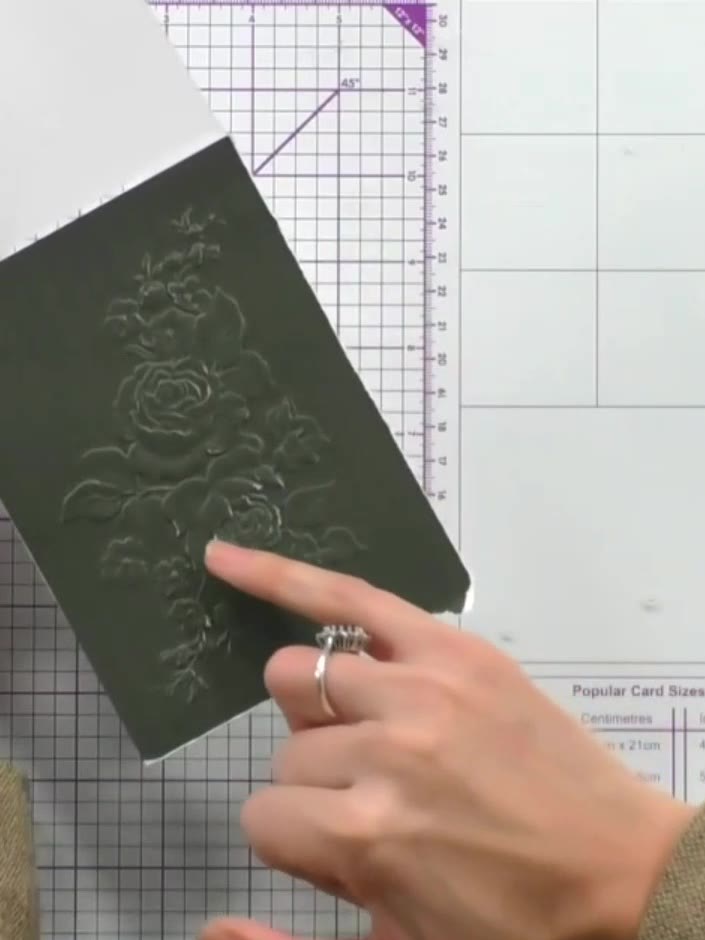
Using a white ink pad, gently tap it over the embossed floral design on the dark green card to highlight the raised details. Work lightly to catch just the raised surface, creating a subtle contrast against the dark background.
▶ voir cette étape (29:00)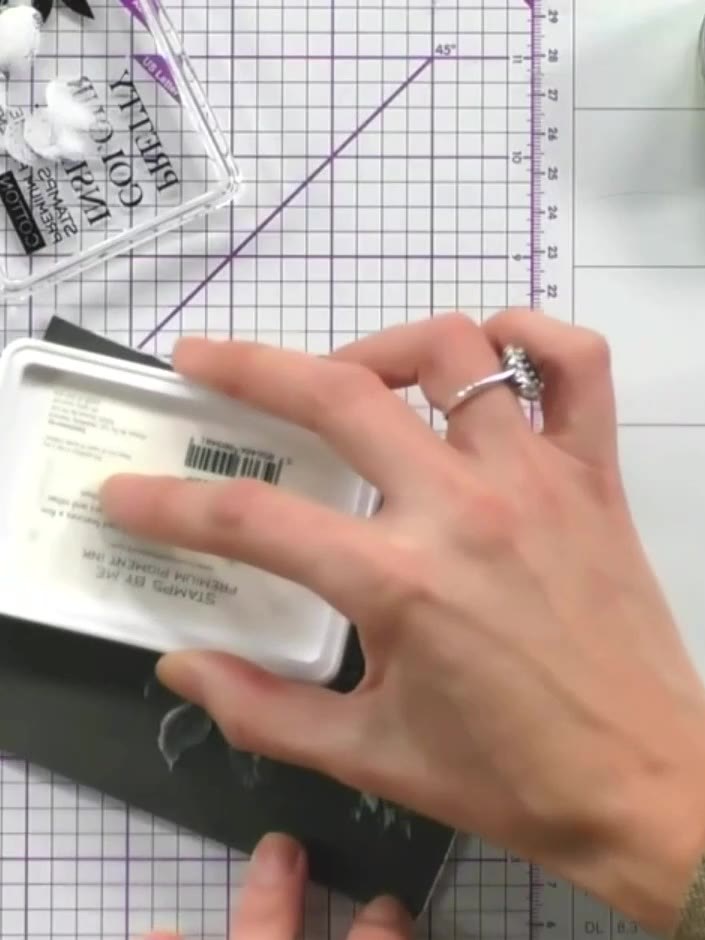
Apply a gold or metallic wax to the embossed areas by rubbing it on with your finger and buffing to create a highlighted finish. Mount the embossed and highlighted green cardstock panel onto your white card base, ensuring it is centred and secure.
▶ voir cette étape (29:45)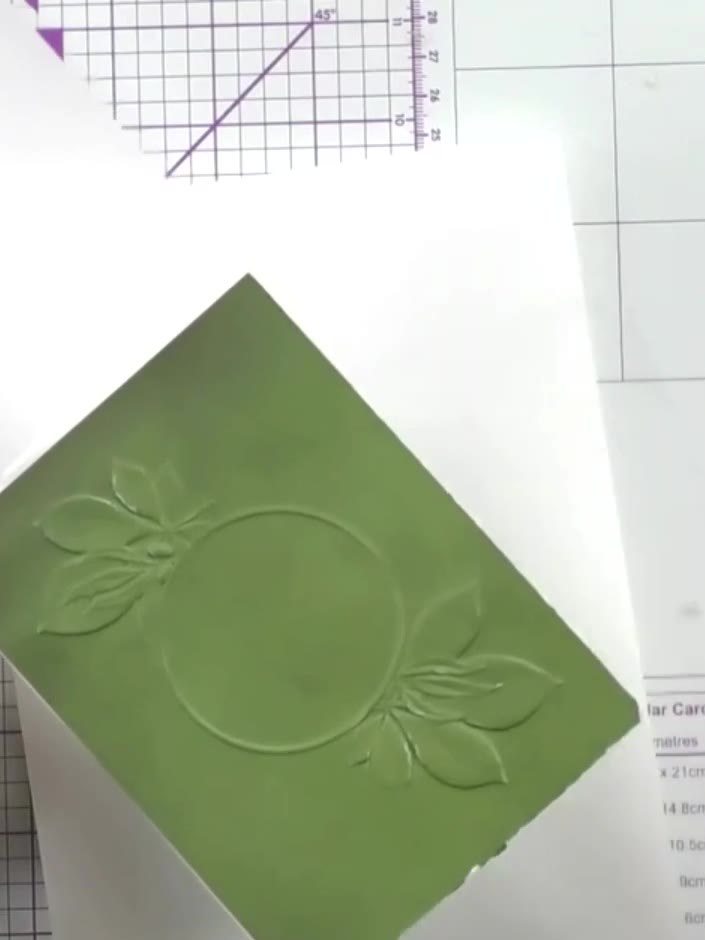
Add a sentiment or greeting to complete your card. Position it on the card front and adhere in place.
▶ voir cette étape (31:15)Rédigé à partir de l'émission elle-même. Découvrez tous les guides de nos émissions · tutoriels gratuits · regarder en direct sur My Telly