Schenke deinen Freundinnen und Freunden 10 £ Rabatt auf ihre erste Bestellung!
Freunde WERBEN








 The Friday Final CutFr., 13. Nov. 10:00 Uhr
 Aus der CommunityMo., 16. Nov. 10:00 Uhr
 Deal HuntersDi., 17. Nov. 13:00 Uhr
Preise ändern sich sofort. Jede Sprache ist unsere eigene Übersetzung, nicht Google.
Ein Projekt aus unserer Live-Show HIDDEN GEMS - Sendung vom 11. November 2026 · 11.11.2026 · ab 55:00 ansehen
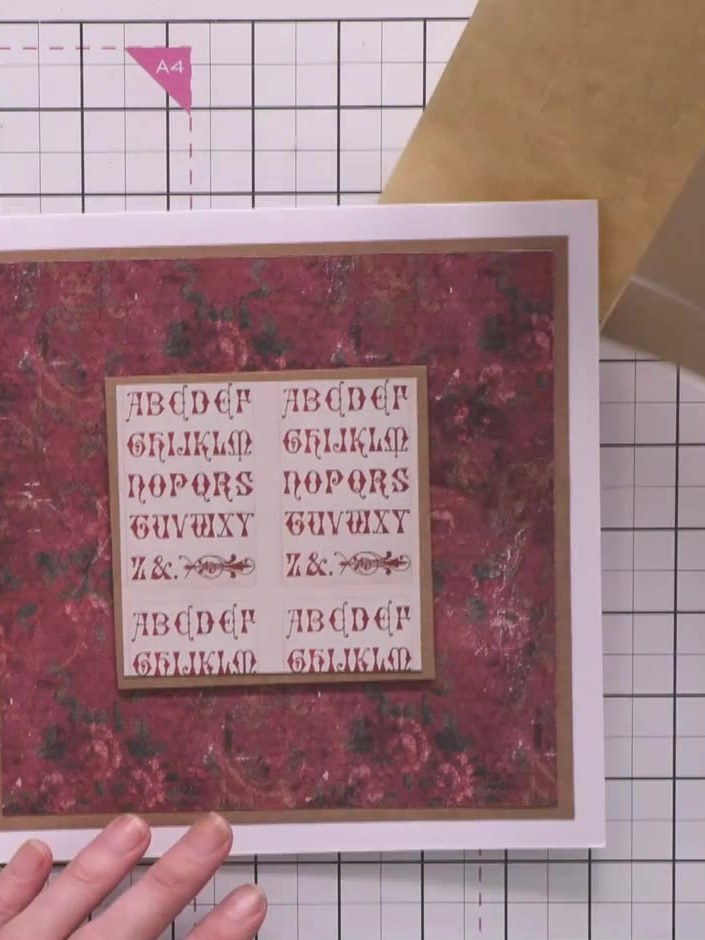
Create a beautiful square engagement card featuring a layered wreath design made from die-cut foliage adornments in cream and red tones. The card showcases inked leaves in brown and green hues, embellished with alphabet stamps, sentiment labels, and iridescent sequins for added sparkle. This elegant design combines stamping, die-cutting, and layering techniques to create a sophisticated celebration card.
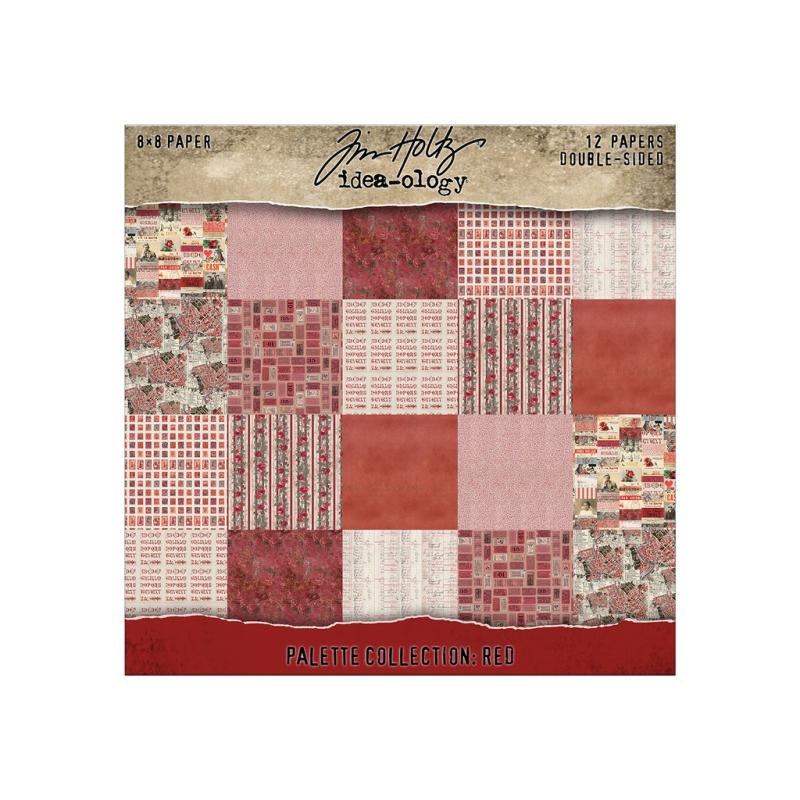 Tim Holtz Idea-ology - Palette Collection: Red (8"x8")ANSEHEN
 STAMPS BY ME - FLORAL DIMENSIONS - FOLIAGE ADORNMENTS -190225IANSEHEN
 Tim Holtz - Distress - Stempelkissen Frayed BurlapANSEHEN
 Tim Holtz - Distress - Stempelkissen Forest MossANSEHEN
 Dry Clear Glue – transparenter Kleber 8Oz.ANSEHEN
DIESE ANLEITUNG HERUNTERLADEN (PDF)
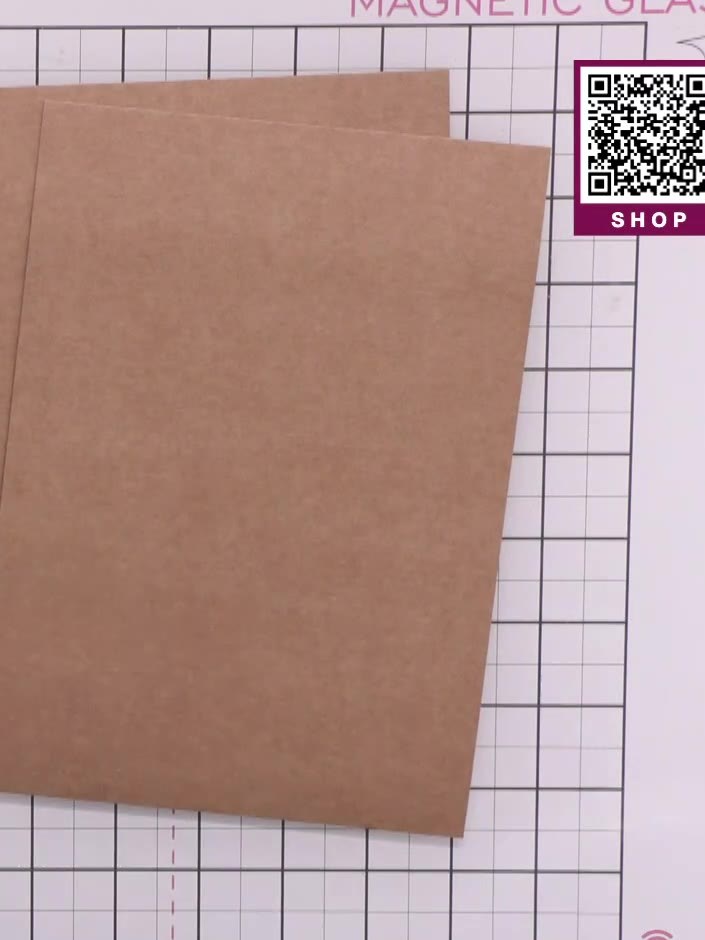
Cut three layers from craft card and red patterned paper in decreasing sizes. Layer and adhere these onto your square card base to create a mat and layer border effect.
▶ diesen Schritt ansehen (57:45)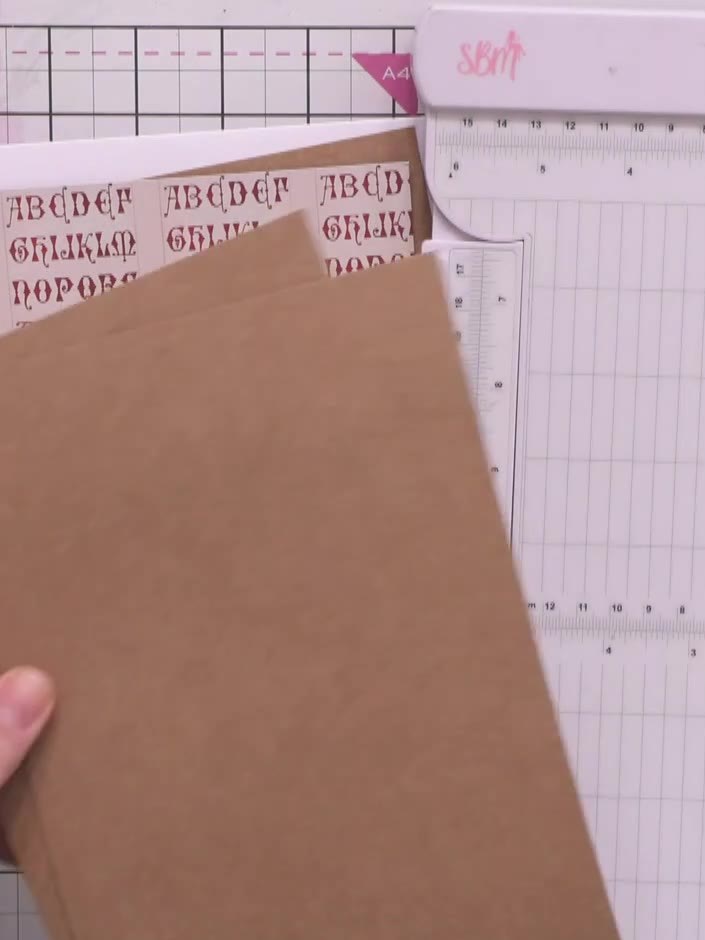
Cut a square panel measuring 3.5 x 3.5 inches from kraft card. This will form the centre opening of your wreath.
▶ diesen Schritt ansehen (59:00)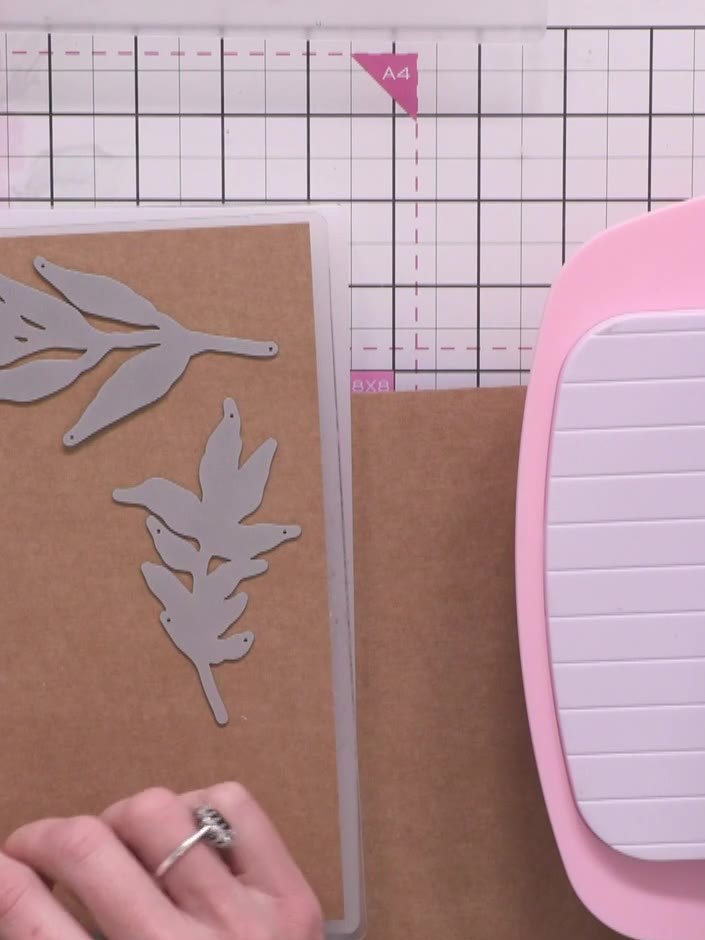
Die-cut the foliage adornments from craft card using your die-cutting machine. Arrange multiple die pieces on your cutting mat to cut a variety of leaf and stem shapes in different sizes.
▶ diesen Schritt ansehen (59:30)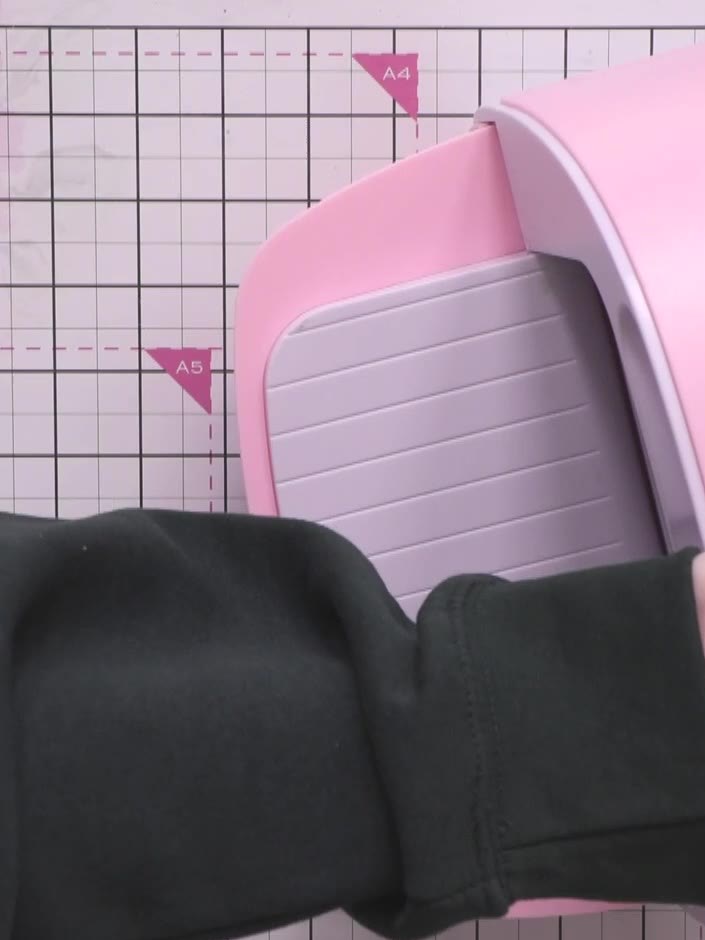
Run the foliage die through your cutting machine a second time to create additional pieces. These extra die-cut foliage elements will be used for layering and filling out your wreath design.
▶ diesen Schritt ansehen (1:01:30)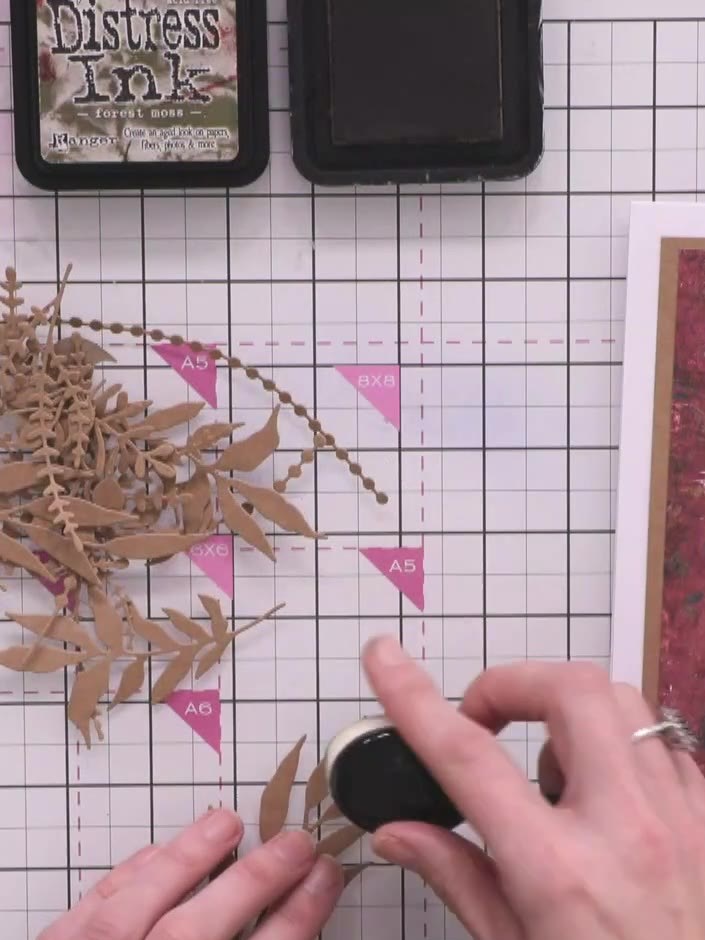
Ink the edges of some foliage pieces with Frayed Burlap distress ink to add brown tones and prevent them from disappearing into the red background paper.
▶ diesen Schritt ansehen (1:11:30)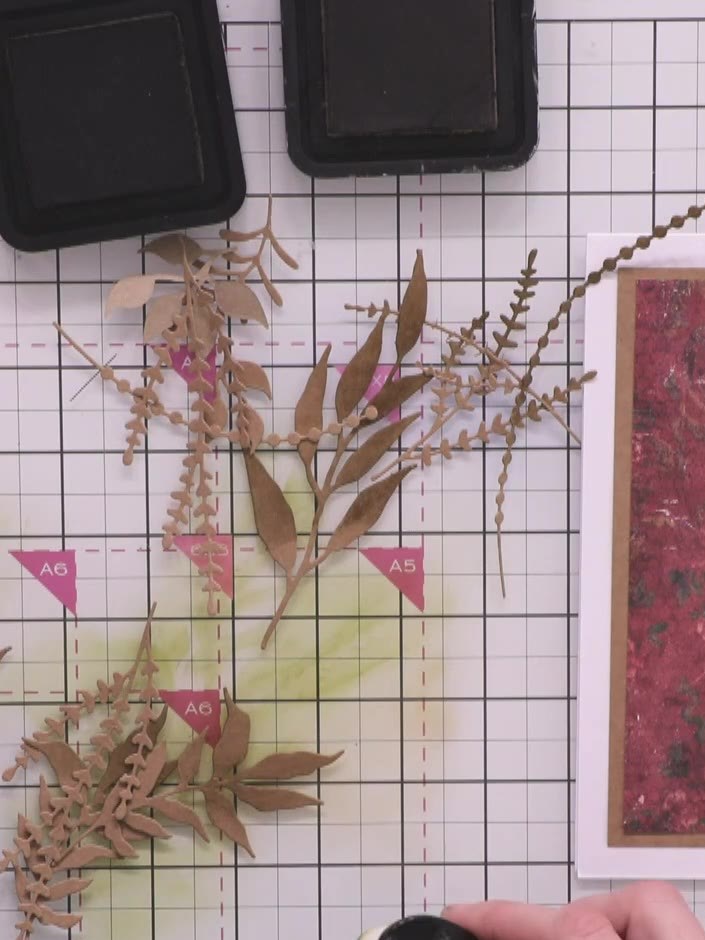
Ink additional foliage pieces with Forest Moss distress ink to add green tones. This creates colour variation throughout your wreath arrangement.
▶ diesen Schritt ansehen (1:12:15)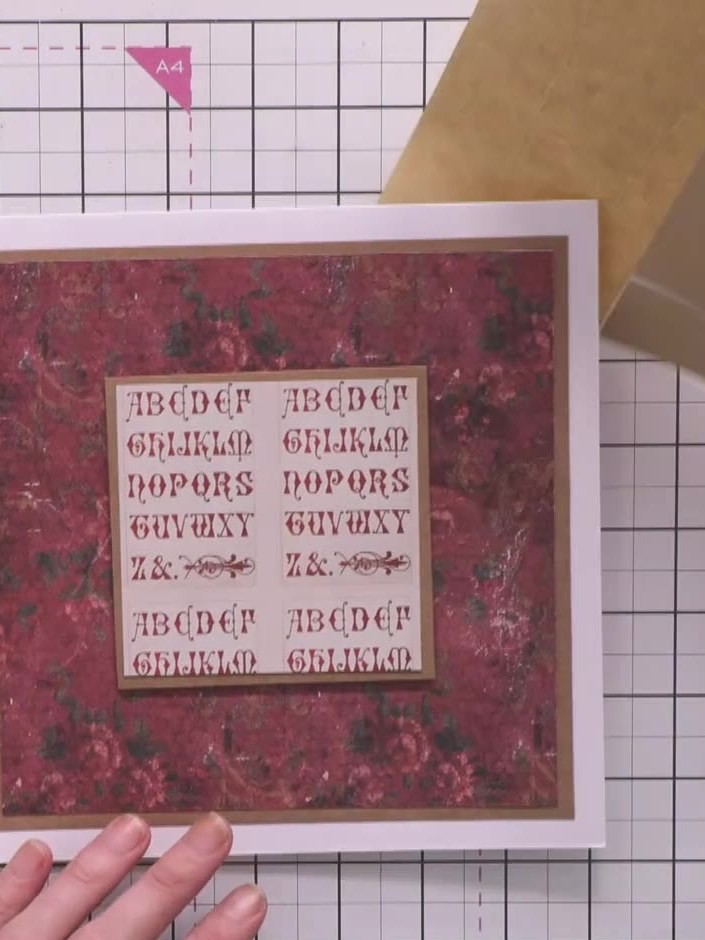
Adhere the stamped square panel to the centre of your layered card base using foam pads to raise it slightly. Ensure the panel is centred evenly on the white card layer.
▶ diesen Schritt ansehen (1:14:00)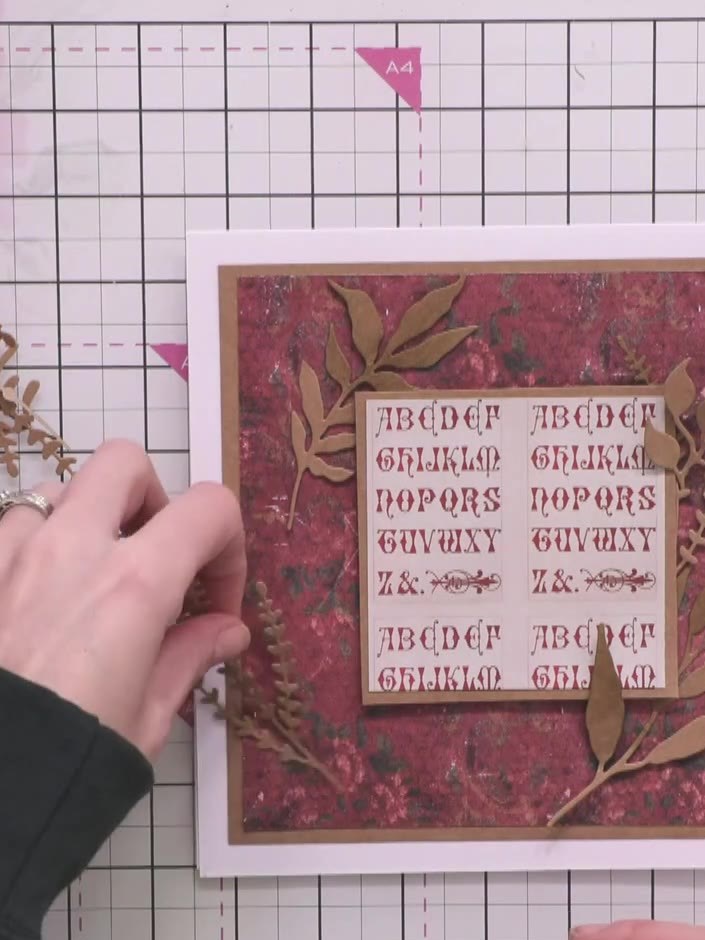
Arrange and glue the inked foliage pieces around the edges of the square panel to create a wreath frame. Start with the larger pieces in the corners and along the sides, then fill in any gaps with smaller foliage elements.
▶ diesen Schritt ansehen (1:15:00)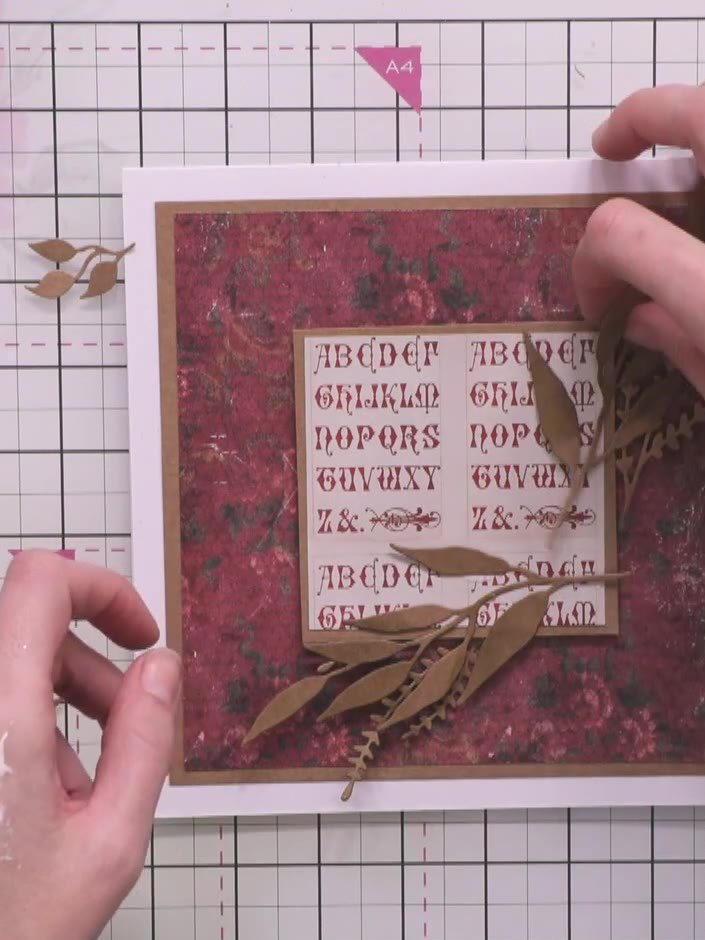
Glue small curled foliage pieces into the gaps of your wreath to add dimension and fullness to the design. Use dry clear glue to attach the brown foliage adornments, filling in any sparse areas around the wreath.
▶ diesen Schritt ansehen (1:17:45)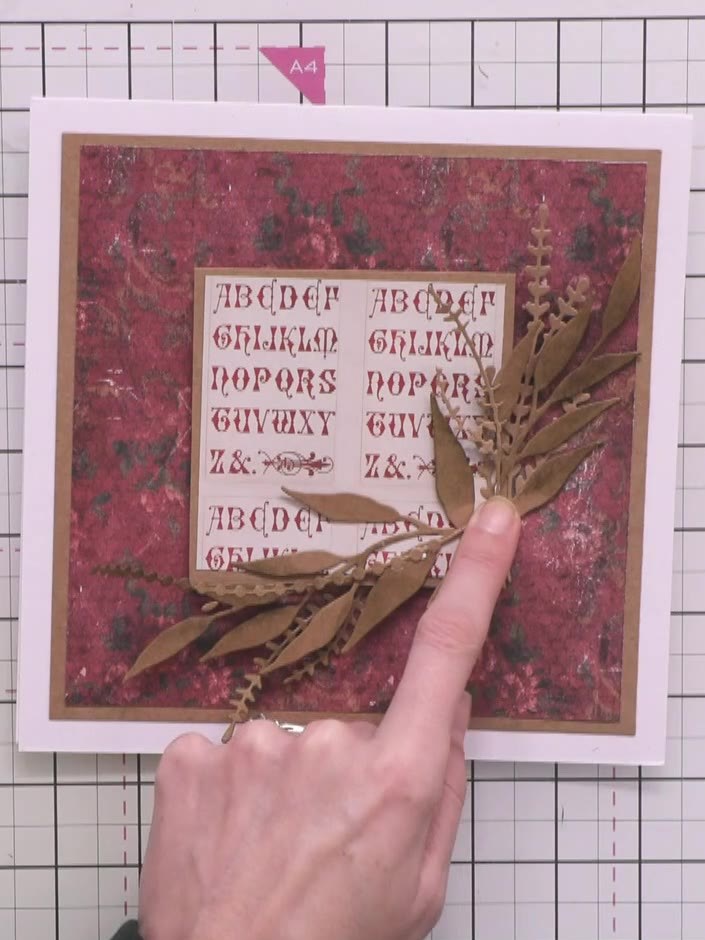
Add iridescent sequins to the foliage leaves and centre details using clear glue. Space them out to catch the light without overwhelming the design. Mount the completed wreath card onto your card base using dry clear glue. Add a sentiment such as 'To both of you on your engagement' to the centre of the wreath to finish the card.
▶ diesen Schritt ansehen (1:20:00)Direkt aus der Show aufgeschrieben. Alle Anleitungen aus unseren Shows ansehen · kostenlose Anleitungen · live auf My Telly ansehen